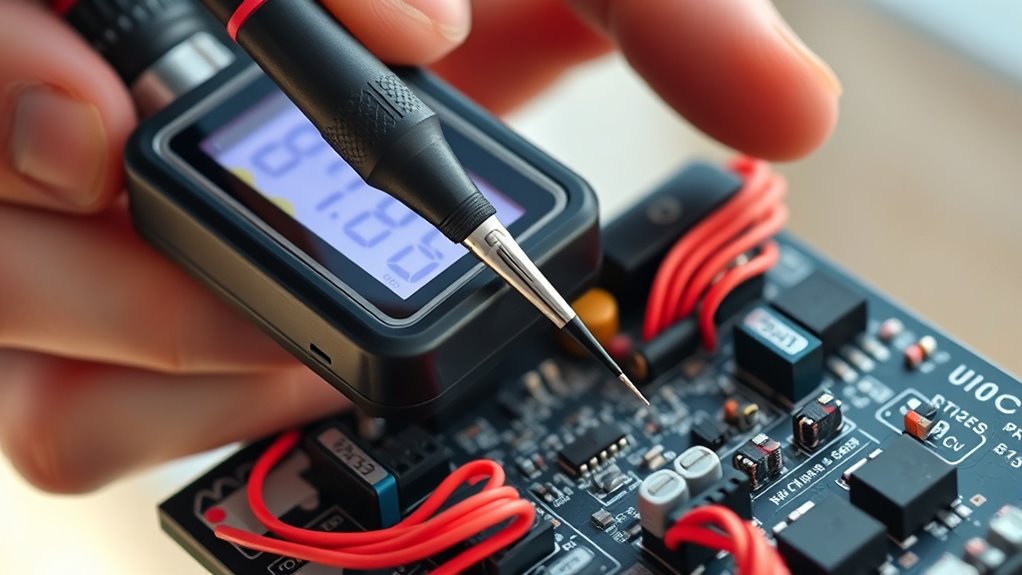
To use a digital multimeter, start by turning it off before connecting the test leads. Set it to the right mode for measuring voltage, current, or resistance, then connect the black lead to the common terminal and the red lead to the correct measurement port. Touch the probes to the circuit, ensuring good contact, and follow safety precautions like wearing insulated gloves for high voltages. If you keep exploring, you’ll learn all the essential steps for safe and accurate measurements.
Key Takeaways
- Always turn off the device before connecting test leads to prevent electrical hazards.
- Select the correct measurement mode (voltage, current, or resistance) and range on the dial.
- Connect the black lead to the common (COM) terminal and the red lead to the appropriate measurement terminal.
- For voltage and resistance, place the probes across the component; for current, connect in series with the circuit.
- After testing, turn off the multimeter and disconnect the leads to ensure safety and device longevity.
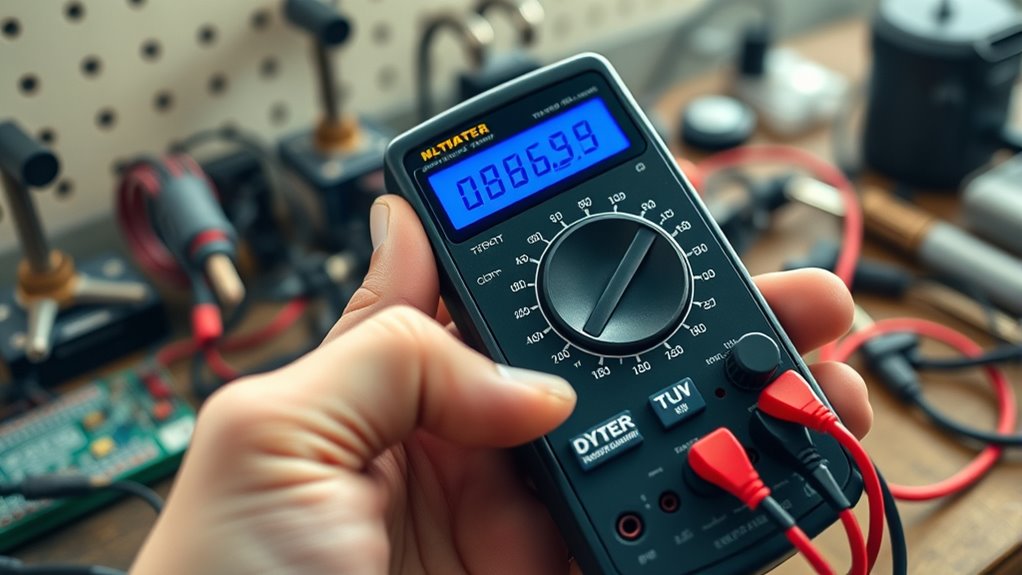
A digital multimeter is a versatile tool that helps you measure electrical values like voltage, current, and resistance with ease. Before you start, it’s vital to prioritize safety precautions to prevent electrical shock or damage. Always ensure the device is turned off when connecting or disconnecting test leads, and avoid working on live circuits whenever possible. Use insulated gloves and tools if you’re handling high voltages, and double-check that your multimeter is rated for the voltage and current levels you’ll be testing. Keep your workspace dry and free of conductive materials to minimize risks. Remember that understanding the role of a multimeter in electrical safety can make your measurements safer and more effective.
Proper calibration of your multimeter is essential for accurate measurements. Calibration procedures involve verifying that the device provides correct readings by testing known reference values. Many multimeters have a self-test feature or come with calibration instructions in the user manual. Regular calibration ensures your measurements are reliable, especially if you notice inconsistent readings or after dropping the device. To calibrate, you can compare your multimeter’s readings against a known standard or a calibration device. If discrepancies are found, consult professional calibration services or follow the manufacturer’s guidelines for recalibration, which might include adjusting internal settings or replacing parts.
Regular calibration ensures accurate multimeter readings and reliable measurements over time.
When you’re ready to measure voltage, set your multimeter to the appropriate voltage range—DC or AC—and connect the black lead to the common terminal and the red lead to the voltage terminal. Touch the leads to the circuit points you want to test, ensuring good contact without applying excessive force. For current measurements, switch the dial to the correct current setting and connect your multimeter in series with the circuit, meaning the current flows through the meter. Resistance measurements require you to disconnect power from the circuit to prevent damage or incorrect readings. Place the leads across the component or section of the circuit, ensuring firm contact.
Throughout the process, keep in mind that safety should always come first. Never measure resistance on a circuit that’s powered, and avoid touching exposed metal parts while testing. When finished, turn off your multimeter and disconnect the test leads. Store your device in a safe, dry place, and periodically check the calibration to maintain measurement accuracy. By following these safety precautions and calibration procedures, you maximize both your safety and the reliability of your measurements, making your experience with a digital multimeter both effective and secure.
Frequently Asked Questions
Can I Use a Multimeter to Test Wireless Signals?
You can’t use a multimeter for wireless testing or measuring signal strength directly, as it’s designed for electrical measurements like voltage, current, and resistance. To test wireless signals, you’ll need a specialized tool like a Wi-Fi or RF signal tester. These devices help you assess signal strength, detect interference, and troubleshoot wireless networks effectively. A multimeter simply isn’t built for analyzing signals in wireless communication.
What Is the Maximum Voltage a Multimeter Can Safely Measure?
Voltage limits define what your multimeter can safely handle. Ignoring these limits risks damaging the device or causing injury. Typically, most multimeters measure up to 600V or 1000V in high-voltage settings, but always check your model’s specifications. Safety precautions include selecting the right range, wearing protective gear, and avoiding contact with live wires. Staying within voltage limits keeps your measurements accurate and guarantees your safety during testing.
How Do I Calibrate My Digital Multimeter?
To calibrate your digital multimeter and guarantee accuracy, start by referencing the manufacturer’s calibration procedures. Use a known voltage source or a calibration standard to test its readings. Adjust the multimeter if it has a calibration screw or follow the device’s instructions for recalibration. Regular calibration maintains multimeter accuracy, helping you perform reliable measurements and troubleshoot effectively. Always follow safety guidelines during calibration.
Is It Safe to Measure Live Circuits With a Multimeter?
Imagine standing on the edge of a thin ice sheet, feeling the crack beneath your feet. Measuring live circuits can be risky, but with proper testing and strict safety precautions, you can do it safely. Always turn off power before connecting your multimeter, use the correct settings, and keep your fingers clear of metal parts. Following these steps guarantees your safety while effectively troubleshooting electrical issues.
Can a Multimeter Detect Hidden Electrical Faults?
A multimeter can help detect hidden electrical faults by checking circuit continuity and electrical insulation. You should test connections and insulation resistance to identify breaks or deterioration that aren’t visible. While it can’t find every fault, it’s effective for revealing issues like damaged wiring or poor insulation. By systematically testing electrical pathways, you can spot hidden problems early, ensuring safety and proper functioning of your electrical system.
Conclusion
Now that you know how to use a digital multimeter, you can confidently troubleshoot electrical problems yourself. Imagine discovering a faulty car battery cable and fixing it before your morning commute, saving time and money. With practice, you’ll gain the skills to confidently diagnose issues and avoid costly repairs. Don’t let uncertainty hold you back—embrace this handy tool and empower yourself to handle electrical challenges with ease and confidence.