
To make mortising less intimidating, start by preparing your workspace and double-checking safety features. Measure and mark your mortise locations precisely, then clamp the workpiece securely. Set the mortiser’s depth and test on scrap wood to guarantee accuracy. Consistently follow this routine—inspection, marking, clamping, testing—and you’ll find your project becoming more controlled and confident. Keep going to discover more tips that will help you master your joinery skills.
Key Takeaways
- Always perform a test cut on scrap wood to dial in proper settings before working on your project.
- Securely clamp the workpiece to prevent shifting, ensuring consistent and accurate mortises.
- Double-check that the mortiser’s bit is properly aligned and tightly secured.
- Set the depth stop precisely to match the desired mortise length for cleaner results.
- Maintain a routine of safety checks and tool inspections to build confidence and reduce errors.
Setting up a mortiser can be tricky, but with a simple trick, you can guarantee precise and consistent cuts every time. The key is to focus on a systematic setup process that emphasizes woodworking safety and proper tool maintenance. When you start, always make certain your work area is clean and free of obstructions. This reduces the risk of accidents and helps you maintain control over the tool during operation. Before you power up the mortiser, double-check that all guards and safety features are in place. Woodworking safety isn’t just about wearing protective gear—it’s about preparing your workspace and tools properly.
Ensure your workspace is clean and safety features are in place for precise, safe mortising.
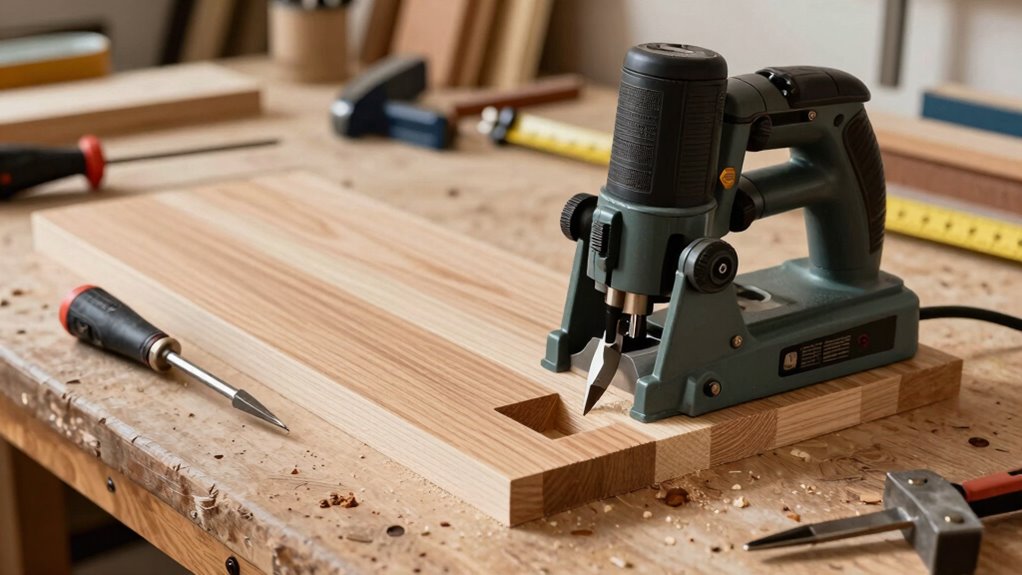
Next, take the time to inspect your mortiser for any signs of wear or damage. Dull or damaged bits can cause uneven cuts or kickbacks, which are dangerous. Keeping your tools sharp and well-maintained not only improves precision but also prolongs their lifespan. Regular tool maintenance, including cleaning and lubrication, is essential to keep the mortiser running smoothly. When setting the bit, make sure it’s tightly secured and aligned correctly. A misaligned bit can lead to inconsistent joinery, making your project less accurate and more frustrating. Remember, proper tool calibration is essential for maintaining accuracy over time.
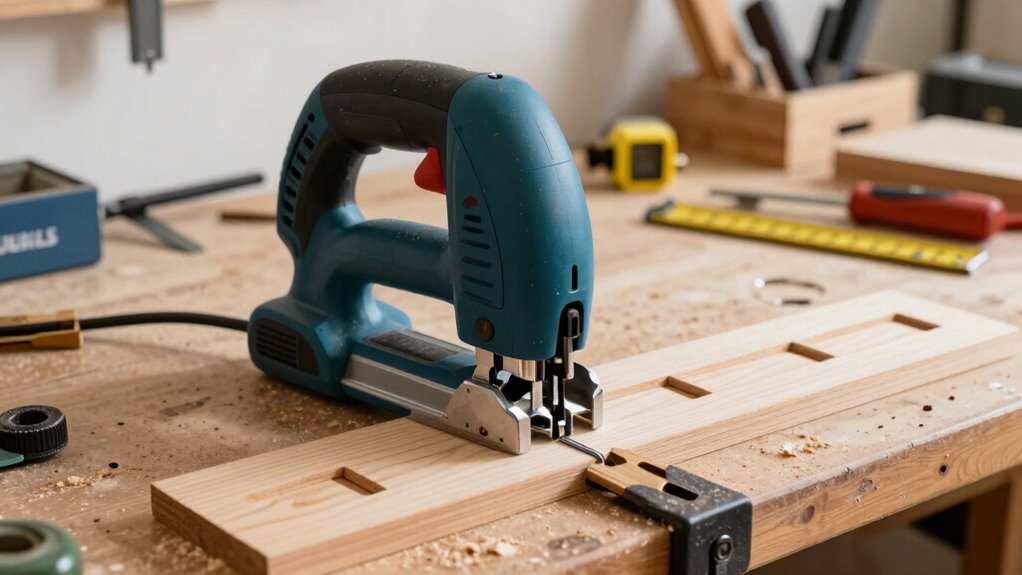
Now, the trick that makes setup foolproof involves marking your material. Before you start drilling, measure and mark the exact location for your mortise. Use a pencil or a marking knife for precision. Clamp your workpiece firmly to the worktable—this prevents shifting during cutting, ensuring your mortise is straight and clean. Once clamped, set the mortiser’s depth stop to match your required mortise length. This simple step will give you consistent results across multiple pieces, saving you time and effort. Additionally, inspecting your workpiece for any warping or splitting can help avoid mishaps during cutting, enhancing your accuracy. Using proper tool maintenance techniques can ensure your mortiser performs at its best for every project.
When you’re ready, always run a test cut on a scrap piece of wood. This helps you verify that the settings are correct and that the cut will be clean. Adjust if necessary before proceeding to your actual workpiece. This extra step might seem minor, but it’s vital for achieving perfect joinery. By incorporating these setup routines—checking safety features, maintaining your tools, marking carefully, and testing—you reduce errors and build confidence. The process becomes less intimidating because you control every variable, leading to precise, professional-looking joints every time. Proper tool calibration is also crucial for ensuring your mortiser remains accurate over time. With this simple setup trick, you’ll find that mortising becomes a manageable, even enjoyable part of your woodworking projects.
mortiser woodworking machine
As an affiliate, we earn on qualifying purchases.
As an affiliate, we earn on qualifying purchases.
Frequently Asked Questions
Can I Use a Mortiser for All Types of Wood?
Yes, you can use a mortiser for most types of wood, but pay attention to the wood grain. Dense or hard woods might be tougher to cut, so adjust your approach accordingly. Always maintain your tool properly, including sharpening and cleaning, to guarantee clean cuts. Soft woods can be more forgiving, but proper tool maintenance helps prevent splintering and prolongs your mortiser’s life.
How Often Should I Calibrate My Mortiser?
Imagine your mortiser as a finely tuned orchestra instrument—regular calibration keeps everything harmonious. You should calibrate your mortiser at least every few months or after any major impacts. Follow a setup checklist during each calibration to make certain of precision. Regular tool maintenance, including checking the fence alignment and chisel sharpness, guarantees smooth cuts and accurate joints. Staying consistent with this routine keeps your mortiser reliable and your projects spot-on.
Is There an Alternative to Using a Mortiser?
Yes, there are alternative methods to using a mortiser. You can opt for hand tool options like chisels and a mallet to create mortises, which allows precise control and can be more cost-effective. Alternatively, a router with a mortising jig offers a power tool solution that’s faster and still provides good accuracy. Both methods are great for those looking to avoid or supplement the use of a traditional mortiser.
What Safety Gear Is Essential During Setup?
Like a knight preparing for battle, you should gear up before using the mortiser. Wear safety glasses to protect your eyes from wood chips and debris, and don a dust mask to avoid inhaling fine dust particles. These essentials keep you safe from potential hazards during setup. Always double-check your safety gear, ensuring a clear, secure environment—your shield against accidents, making your joinery projects smoother and safer.
How Long Does It Take to Master Proper Mortiser Setup?
Mastering proper mortiser setup takes consistent practice, usually a few hours to several sessions, depending on your experience. Focus on setup precision by carefully aligning the drill bits and fence, and regularly maintaining your tools to guarantee accuracy. As you gain familiarity, you’ll develop a steady rhythm, making the process quicker and more intuitive. Remember, patience and attention to detail are key to achieving perfect mortises every time.
bench mortiser for joinery
As an affiliate, we earn on qualifying purchases.
As an affiliate, we earn on qualifying purchases.
Conclusion
Once you master this mortiser setup trick, your joinery projects will feel like a well-choreographed dance rather than a formidable ordeal. It’s the secret ingredient that turns chaos into harmony, transforming your workshop into a symphony of precision. With each cut, you’ll gain confidence, like a seasoned conductor leading a flawless performance. Embrace this trick, and watch your woodworking journey become a smooth, inspiring adventure—more art than effort, more skill than struggle.
woodworking mortising bits
As an affiliate, we earn on qualifying purchases.
As an affiliate, we earn on qualifying purchases.
manual mortising jig
As an affiliate, we earn on qualifying purchases.
As an affiliate, we earn on qualifying purchases.