
Creating a shiplap accent wall is a simple way to add charm and warmth to your space. Start by choosing your material, like real wood or MDF, and measure your wall carefully. Prepare the surface by cleaning and patching imperfections. Attach the panels from the bottom up, ensuring each piece is level and properly spaced. Finish with paint or stain if desired, and seal for durability. Keep going to discover essential tips for a flawless installation.
Key Takeaways
- Measure your wall accurately and gather all necessary tools before starting installation.
- Choose the appropriate material (wood, MDF, or PVC) and finish to match your decor style.
- Start attaching shiplap panels from the bottom, ensuring each piece is level for a professional look.
- Countersink nails and fill holes for a smooth, clean finish; consider staining or painting panels beforehand.
- Seal the completed wall with a protective clear coat to enhance durability and enhance the aesthetic.
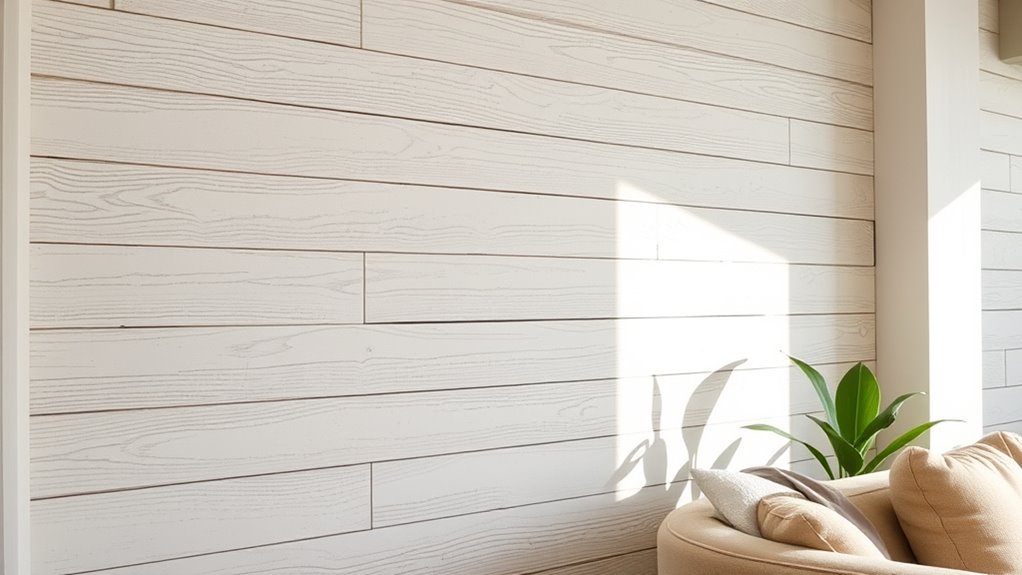
Have you ever wondered how to instantly add character and warmth to a room? One of the most effective ways is by creating a shiplap accent wall. This trend has gained popularity in interior design because it combines rustic charm with modern elegance. The beauty of shiplap lies in its simplicity, but it can dramatically transform the vibe of any space. To achieve this look, you might consider incorporating wood paneling, which is a classic element in interior design. Wood paneling adds texture and depth, making your walls more inviting and visually interesting.
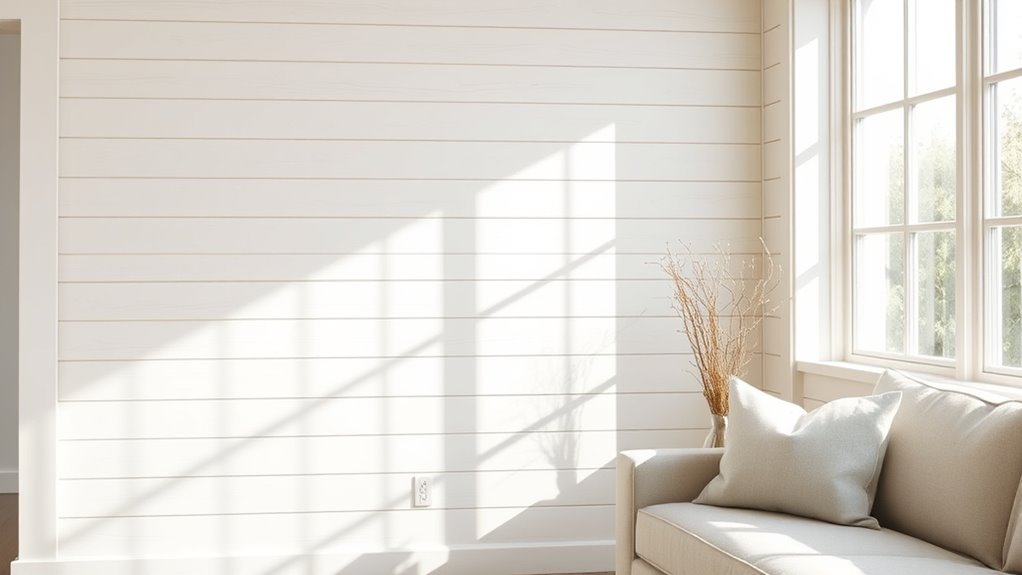
Create a cozy, stylish space with a simple shiplap accent wall adding warmth and character.
When you decide to install a shiplap accent wall, the first step is choosing the right materials. You can opt for real wood or go for affordable and eco-friendly options like MDF or PVC that mimic the appearance of natural wood. The key is selecting a finish and color that complements your existing decor. Light-colored wood paneling creates an airy, fresh feel, perfect for small rooms or spaces you want to brighten. Darker shades add warmth and a cozy atmosphere, ideal for living rooms or bedrooms. The natural grain of the wood adds subtle texture, making the wall a focal point without overwhelming the room.
Preparation is essential before you begin. Measure the wall carefully, and gather all your tools—saw, level, hammer, nails, or a nail gun, depending on your preference. Before installing, ensure the wall surface is clean, dry, and smooth. If you’re working with existing drywall, patch any holes or imperfections. When attaching the wood panels, start from the bottom and work your way up, ensuring each piece is level. Using a level or a chalk line helps keep everything straight. If you’re concerned about the appearance of nails or fasteners, you can countersink and fill the holes for a cleaner look.
Painting or staining the wood panels before installation can save you time and effort, especially if you want a uniform color or finish. Once installed, you can leave the wood as is or add a protective clear coat for durability. Keep in mind that shiplap isn’t just stylish; it’s versatile. It works well in different rooms—whether you’re aiming for a farmhouse vibe in the kitchen or a cozy retreat in the bedroom. Pair it with modern fixtures or vintage accessories to customize the aesthetic. Creating a shiplap accent wall is a straightforward project that can elevate your interior design, giving your space a warm, inviting feel with timeless appeal.
Frequently Asked Questions
What Are the Best Types of Wood for Shiplap?
When choosing wood types for shiplap, you want to contemplate durability and appearance. Popular options include pine, cedar, and oak, each offering unique benefits. Pine is affordable and easy to work with, while cedar resists moisture and pests. Oak provides strength and a classic look. Think about durability considerations, like exposure to humidity or wear, so you pick the best wood for your space and style.
How Do I Remove a Shiplap Wall Without Damage?
To remove a shiplap wall without damage, you should carefully use removal techniques like gently prying boards with a pry bar and a putty knife. Start at the edges and work slowly to prevent damage. Keep your tools flat against the wall and avoid force. Take your time, and you’ll successfully detach the shiplap without harming the wall behind, ensuring damage prevention and a clean removal process.
Can Shiplap Be Painted or Stained Later?
Imagine you’re in the 1920s, and yes, shiplap can be painted or stained later, just like vintage furniture. You have a variety of painting options, from latex to chalk paint, which allow for a smooth, durable finish. For staining techniques, you can choose a semi-transparent or solid stain to enhance the wood’s natural beauty. Just prep the surface properly, and your shiplap will look stunning with your chosen finish.
How Much Does It Cost to Install a Shiplap Wall?
The cost estimate to install a shiplap wall varies based on material pricing and your project’s size. You can expect to pay anywhere from $1 to $3 per square foot for materials like pine or MDF, with labor adding another $3 to $8 per square foot. Factors like wall complexity and finish choices influence the total cost. Budget accordingly and get multiple quotes to find the best deal for your space.
What Are Common Mistakes to Avoid When Installing Shiplap?
Imagine your hands carefully lining up each shiplap panel, ensuring smooth, even panel alignment. Avoid common mistakes by paying close attention to nail placement—nails should be driven straight and flush to prevent gaps or bulges. Rushing the process can cause uneven lines or warped panels. Take your time, double-check measurements, and regularly step back to view your work, ensuring your wall looks seamless and professionally finished.
Conclusion
Now that you’ve created your shiplap accent wall, you’ve added texture, warmth, and personality to your space. You’ve transformed a plain wall into a stunning focal point, a cozy backdrop, and a reflection of your style. You’ve embraced the process, celebrated the craftsmanship, and achieved a look that’s both timeless and trendy. With your new shiplap wall, you’ve made your home more inviting, more beautiful, and more uniquely yours.