
To set up your bench grinder for sharpening, start by inspecting and securing the safety guards, ensuring they cover the wheel completely. Check the wheel for cracks or damage, then mount it securely on the spindle, tightening the flange nuts properly. Adjust the tool rest about 1/8 inch from the wheel and make sure the grinder reaches full speed before use. Keep your workspace clean, wear safety gear, and monitor the grinder during operation. For detailed steps, keep exploring the setup process.
Key Takeaways
- Ensure the safety guard is properly installed and securely fastened before operation.
- Check the grinding wheel for cracks, glazing, or damage, and dress it to restore its shape.
- Mount the wheel correctly on the spindle, tighten flange nuts, and verify it spins true without wobbling.
- Adjust the tool rest to approximately 1/8 inch from the wheel to support sharpening safely.
- Confirm the grinder reaches full speed before sharpening and wear appropriate personal protective equipment.
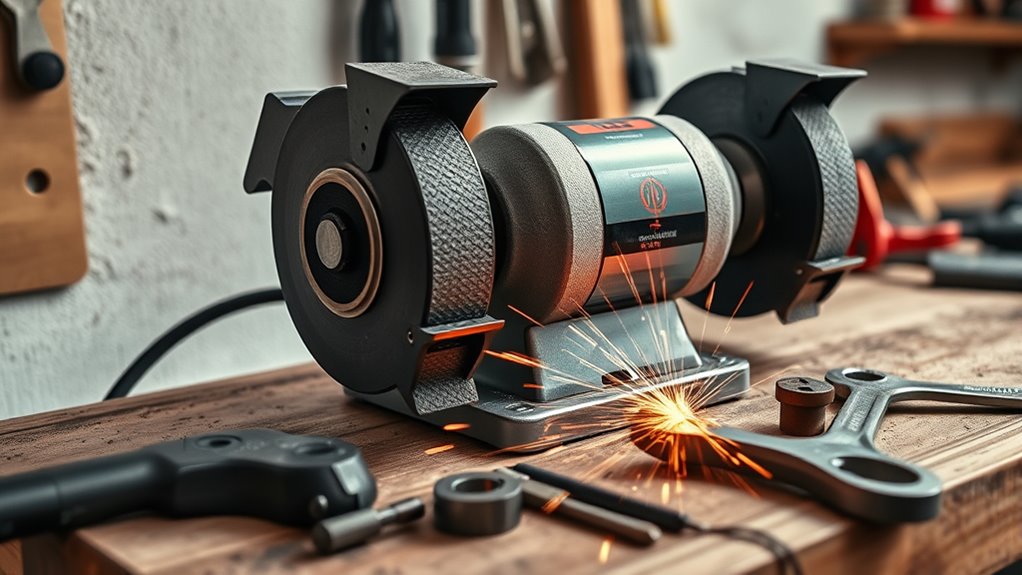
Setting up a bench grinder correctly is essential for safe and efficient operation. Before you start, ensure that the safety guards are properly installed and in good condition. Safety guards are vital because they protect your hands and face from sparks, debris, and accidental contact with the wheel. Make sure the guards cover the wheel completely, with only a small gap near the grinding surface, and that they are securely fastened. Never operate a bench grinder without these safety features, as they are your first line of defense against injury.
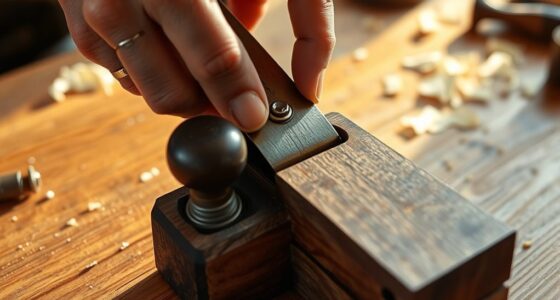
Next, focus on preparing the grinding wheel itself. Over time, grinding wheels can become glazed, cracked, or uneven, which can compromise safety and performance. Wheel dressing is the process of restoring the wheel’s shape, exposing fresh abrasive grains, and removing any debris or buildup. Use a wheel dresser or a dressing stick to carefully reshape and clean the wheel. Always wear safety glasses and gloves during this process, and make sure the grinder is unplugged. Proper wheel dressing ensures that the wheel runs true and reduces the risk of vibrations or wheel imbalance during operation. Additionally, selecting the correct nail styles can help you better understand how different designs may influence your approach to maintenance and safety procedures.
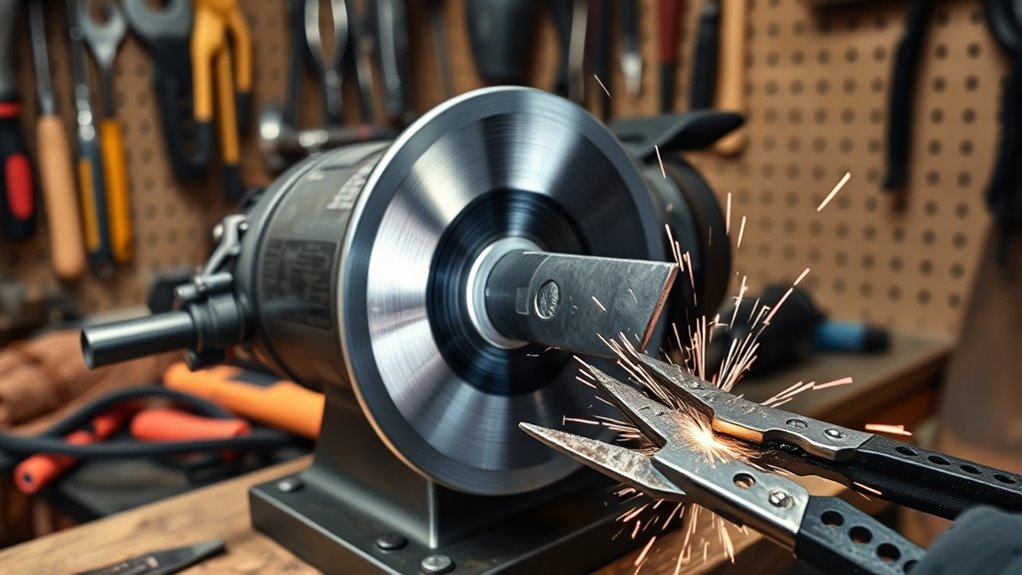
When mounting the wheel, double-check that it’s seated properly on the spindle and that the flange nuts are tightened securely. Use the correct size and type of wheel for your grinder, and verify that it’s rated for the speed of your machine. Once the wheel is mounted, visually inspect the entire setup to confirm there are no cracks or defects. Spin the wheel by hand to ensure it rotates freely and smoothly without wobbling. Running the grinder briefly without load can help you identify any issues before you start sharpening tools.
Adjust the tool rest to be close to the wheel, typically about 1/8 inch away, to provide support during grinding. Keep the work area clean and free of clutter, and make sure your personal protective equipment, like safety glasses and hearing protection, are in place. When you turn on the grinder, let it reach full speed before beginning to sharpen or shape your tools. Avoid applying excessive pressure; let the abrasive surface do the work. Regularly check the wheel and safety guards during use, and stop immediately if you notice any unusual vibrations, sounds, or damage.
Frequently Asked Questions
How Do I Choose the Right Grinding Wheel for My Tools?
You choose the right grinding wheel by considering your tools’ abrasive materials and wheel dimensions. For example, use a silicon carbide wheel for softer materials like aluminum or plastics, and a diamond or cubic boron nitride wheel for harder metals. Make sure the wheel diameter and thickness match your grinder’s specifications. This guarantees efficient sharpening and prevents damage, giving you precise results every time.
What Safety Equipment Should I Wear During Setup?
Think of safety gear as your armor before battle. You should wear safety glasses to protect your eyes from sparks and debris, and ear protection to block out the loud noise. Gloves are optional but can prevent minor cuts; however, avoid loose clothing that could get caught. Always double-check your safety equipment is in good condition, so you’re prepared to face the sparks and noise with confidence and safety.
How Do I Align the Tool Rest Properly?
To align the tool rest properly, loosen its locking knob and slide it so it’s flush with the wheel’s side, then raise it so it’s about 1/8 inch above the wheel. Tighten the knob securely. Proper tool rest alignment guarantees sharpening accuracy, giving you better control and precision. Double-check the alignment before each use, especially after any adjustments, to maintain consistent, safe, and effective sharpening.
What Is the Optimal Speed for Sharpening Different Tools?
You should set your bench grinder to a moderate speed, usually around 3,000 RPM, for sharpening tools. Use the right grinding wheel selection based on the material you’re working with, and maintain the correct sharpening angle to guarantee a clean edge. Faster speeds can overheat the tool, so keep the tool cool and steady, adjusting your speed as needed for different tools to achieve ideal results.
How Often Should I Replace or Dress the Grinding Wheel?
Imagine your grinding wheel as a shining blade needing care. You should replace or dress the wheel when you notice cracks, chips, or a significant loss of material. Regular wheel inspection keeps your grinder safe and effective, preventing accidents. Dress the wheel when it becomes smooth or glazed to restore its cutting ability. Consistently maintaining the wheel guarantees grinding wheel safety and prolongs its lifespan, keeping your tools sharp and your workspace secure.
Conclusion
Now that your bench grinder is set up and ready, you’re just one step away from sharpening with precision. But don’t rush—this is where the real skill begins. Will you choose the perfect grinding wheel? Will you master the right angle? The success of your projects depends on your next move. Get ready to elevate your craftsmanship. The tools are in your hands—are you prepared to unleash their full potential?