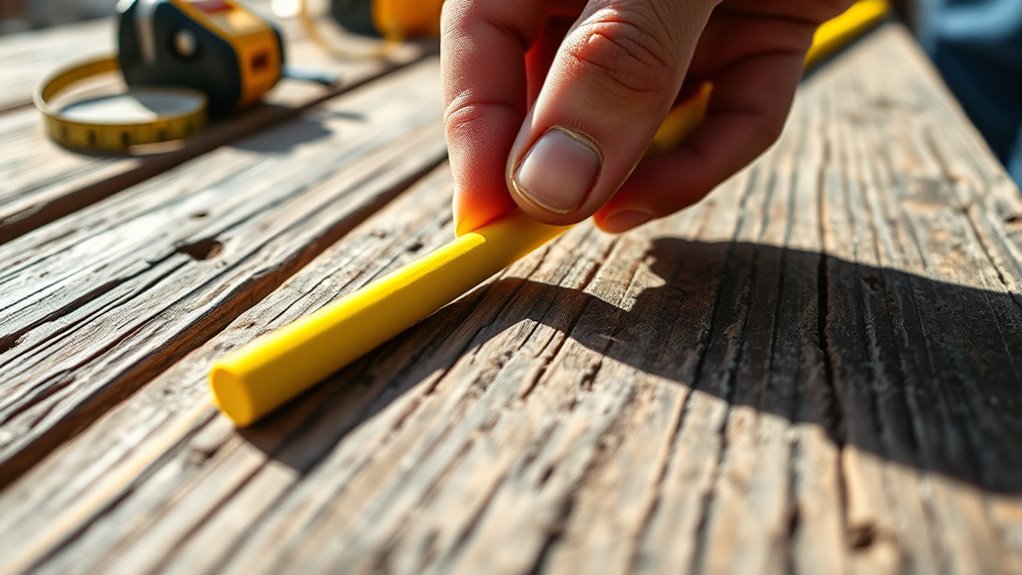
To use a chalk line for layouts, start by selecting a reliable measuring tape and making accurate start and end points. Extend the line taut between these points, keeping it straight and properly tensioned. Hold the reel firmly and snap the line against the surface with a quick, sharp pull to create a clean, straight line. Regularly check your tools and chalk levels to guarantee precision. If you keep practicing, you’ll master the technique with clear, accurate lines.
Key Takeaways
- Measure and mark the start and end points accurately, double-checking for precision.
- Extend the chalk line taut between the points, ensuring no slack for a straight line.
- Keep the line straight and properly tensioned before snapping to ensure a clean mark.
- Snap the line quickly and firmly against the surface for a sharp, straight chalk line.
- Regularly maintain the chalk line reel and cord for optimal performance and accuracy.

A chalk line is an indispensable tool for any DIYer or professional when you need to make straight, long-lasting lines on surfaces. Using a chalk line correctly hinges on your ability to maintain measuring accuracy and keep the tool in good condition. When you set out to mark a straight line, start by selecting a reliable measuring tape or ruler to determine the exact points where your line should begin and end. Accurate measurements are essential because even a slight miscalculation can throw off your entire layout. Take your time to double-check your measurements before snapping the chalk line, ensuring your markings will be precise.
A chalk line ensures precise, long-lasting markings when measurements are accurate and the tool is well-maintained.
Next, carefully extend the chalk line from one measurement point to the other, keeping the line taut as you do. The tension is critical; a slack line can cause inaccuracies, resulting in a wavy or uneven mark. Before snapping, double-check that the chalk line is straight and aligned with your measurements. When you’re ready, hold the chalk line firmly at one end, and with a quick, firm pull, snap it against the surface. The force of the snap distributes the chalk evenly across the surface, leaving a sharp, straight line.
Chalk line maintenance plays a significant role in achieving consistent results. Regularly check the chalk level inside the reel, and refill it when the chalk runs low to prevent uneven or faint lines. Also, inspect the cord for any fraying or damage, as a compromised line can lead to inaccuracies. Clean the reel and cord periodically to remove dirt and debris, which can interfere with the chalk’s ability to stick evenly. When storing your chalk line, keep it in a dry, protected place to prevent moisture from affecting the chalk or causing rust on the metal parts. Additionally, understanding the importance of measuring accuracy and proper technique can greatly enhance your results.
To improve measuring accuracy over time, consider calibrating your chalk line periodically. You can do this by marking a known straight distance on a flat surface, then snapping the line to see if the chalk mark matches your measurement. If it doesn’t, adjust your method accordingly. Remember, consistent chalk line maintenance not only prolongs the tool’s life but also ensures your lines stay true and professional-looking. With careful measurement, proper tension, and regular maintenance, using a chalk line becomes a straightforward process that helps you create precise, long-lasting layouts every time.
Frequently Asked Questions
Can I Use a Chalk Line on Rough or Uneven Surfaces?
Using a chalk line on rough or uneven surfaces can be challenging due to rough surface challenges and chalk line adhesion issues. You might find that the chalk doesn’t stick well or the line doesn’t stay straight. To improve results, clean the surface thoroughly, choose a chalk type suited for rough surfaces, and apply firm, consistent tension when snapping the line. This helps guarantee accurate markings despite surface irregularities.
How Do I Prevent the Chalk From Smudging After Marking?
Imagine you’re marking a long hallway, and you want your chalk line to stay crisp. To prevent smudging, you should let the chalk dry for a few minutes before handling it. Using high-quality chalk improves chalk mark durability and maintains chalk line accuracy. For extra protection, avoid touching the line, and consider sealing it with a clear spray if necessary. This keeps your markings clear and precise throughout your project.
Is There a Specific Chalk Type for Outdoor Use?
Yes, for outdoor use, you should choose chalk with high durability and weather resistance. Look for chalk specifically labeled for outdoor projects, as it’s designed to withstand rain, moisture, and varying temperatures. This type of chalk maintains its visibility longer and doesn’t smudge easily, ensuring your lines stay clear during your work. Using the right chalk helps you get accurate measurements without worrying about chalk fading or washing away quickly.
How Do I Maintain and Store a Chalk Line Reel?
To keep your chalk line reel in top shape, regularly clean the reel and check for any damage during chalk line reel maintenance. When storing chalk line reels, make certain the reel is completely dry to prevent rust and corrosion. Store it in a cool, dry place away from direct sunlight and humidity. Proper storing of chalk line reels extends their life and keeps them ready for accurate, clean lines whenever you need them.
Can I Reuse the Chalk in the Line for Multiple Projects?
You can reuse the chalk in your line for multiple projects if it’s still visible and well-calibrated. Check the chalk line calibration first by snapping it and observing the chalk’s visibility. If the chalk looks faint or uneven, consider chalk line replacement for better accuracy. Reusing chalk saves you time, but always verify it offers a clear mark; otherwise, recalibrate or refill to maintain precise layouts.
Conclusion
Now that you know how to use a chalk line, you’ll be ready to make precise, straight marks for your projects. For example, imagine you’re installing new tile and need to guarantee your lines are perfectly aligned. By snapping a chalk line, you save time and avoid mistakes, just like a professional. With this skill, you can confidently tackle various layout tasks, making your DIY projects look polished and professional every time.


