
To make curved cuts with a coping saw, pick a blade suited for fine work and guarantee it’s properly tensioned—tight enough to stay straight but not so tight that it breaks. Mark your line clearly and follow it steadily, letting the blade do the work without forcing it. Keep your movements smooth, control your pressure, and practice patience. For detailed tips on sharpening your skills, there’s plenty more to discover.
Key Takeaways
- Mark the desired curve clearly on the material before cutting.
- Select a fine-toothed blade suitable for detailed, curved cuts.
- Keep the blade tension taut but not overly tight to ensure smooth movement.
- Use steady, controlled strokes following the marked line, applying gentle pressure.
- Regularly inspect and replace dull blades to maintain precision and clean cuts.
A coping saw is an essential tool when you need to make precise curved cuts in wood or other materials. Its thin, fine blade allows you to follow intricate lines and detailed patterns with ease. To get the best results, you must pay attention to blade selection, choosing the right blade for your specific project. Blades come in various tooth counts; a higher tooth count offers smoother cuts, ideal for fine work, while a lower count is better for rougher, faster cuts. Make sure to select a blade compatible with your coping saw, and replace it when it becomes dull or damaged to maintain cutting accuracy. Proper blade tension is also crucial—you should tighten the blade so it’s taut but not overly tight, which prevents bending or snapping during use.
Choosing the right blade and proper tension ensures precise, smooth cuts with your coping saw.
When handling a coping saw, safety precautions are vital. Always wear safety glasses to protect your eyes from small wood chips or debris that can fly off during cutting. Keep your fingers clear of the blade’s path, and use a stable work surface to minimize slipping. Use clamps or a vise to secure your material firmly, so you don’t have to hold it by hand, reducing the risk of injury. When inserting or changing the blade, disconnect the saw from any power source or ensure it’s not under tension, and handle blades carefully to avoid cuts. Maintaining a steady hand and a slow, controlled motion helps ensure precise cuts and keeps you in control. Additionally, understanding blade types and their specific uses can significantly improve your cutting results.
To achieve clean, accurate curves, you should also consider your cutting technique. Start by marking your cut line clearly with a pencil or marking tool, ensuring it’s visible and precise. Keep the saw at a consistent angle—usually close to 45 degrees—and follow the line smoothly, letting the blade do the work. Avoid forcing the saw through the material; instead, apply gentle, steady pressure. Take your time on tight curves, making small, controlled movements to follow the line accurately. If you encounter resistance or the blade binds, stop and check your tension and cutting technique before proceeding. Regularly inspect the blade for any signs of wear or damage, replacing it as needed to keep your cuts clean and precise.
Using a coping saw effectively requires attention to blade selection and safety precautions. When you keep these key points in mind, you’ll find making intricate curved cuts becomes manageable and even enjoyable. With practice, your ability to follow detailed patterns will improve, giving your projects a professional touch. Remember, patience and proper tool maintenance are your best allies in achieving smooth, accurate curves every time.
Frequently Asked Questions
Can a Coping Saw Cut Through Metal Surfaces?
Yes, you can cut through metal surfaces with a coping saw, but you’ll need a fine, specialized blade designed for metal cutting. Make sure to replace the blade with one suitable for metal, as standard wood blades won’t work well. Keep in mind, the saw’s teeth are delicate, so use gentle, steady pressure to avoid damaging the blade or bending the frame, ensuring precise curved cuts on metal surfaces.
How Do I Maintain the Sharpness of the Blade?
Your blade’s sharpness is your secret weapon for perfect cuts—don’t let it dull! Keep your blade maintenance routine simple: regularly check for rust, clean it after use, and replace it when it’s worn down. Use proper cutting techniques, like steady, controlled motions, to preserve its edge longer. With these steps, your coping saw blade stays razor-sharp, making your curved cuts smoother and more precise than ever.
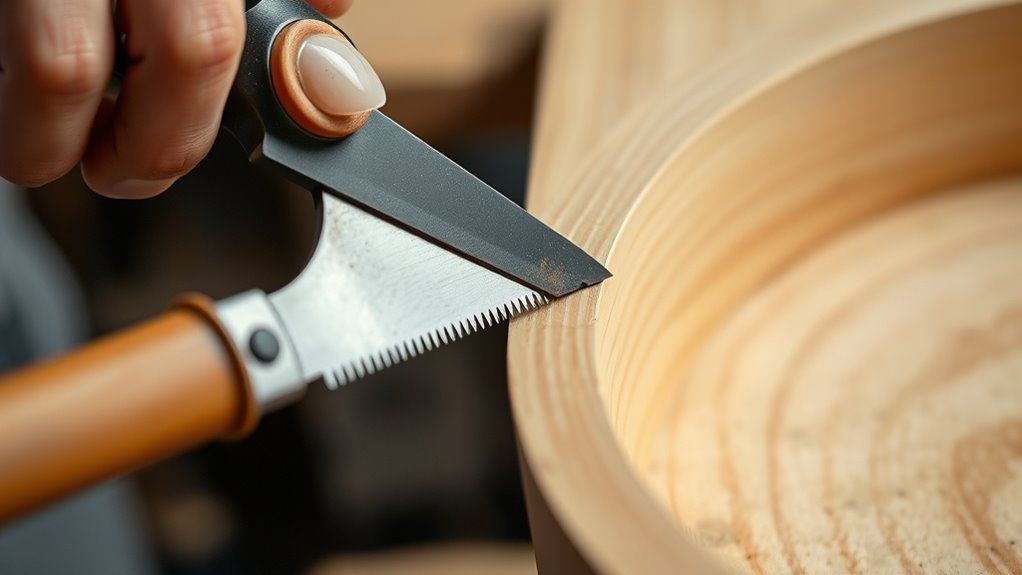
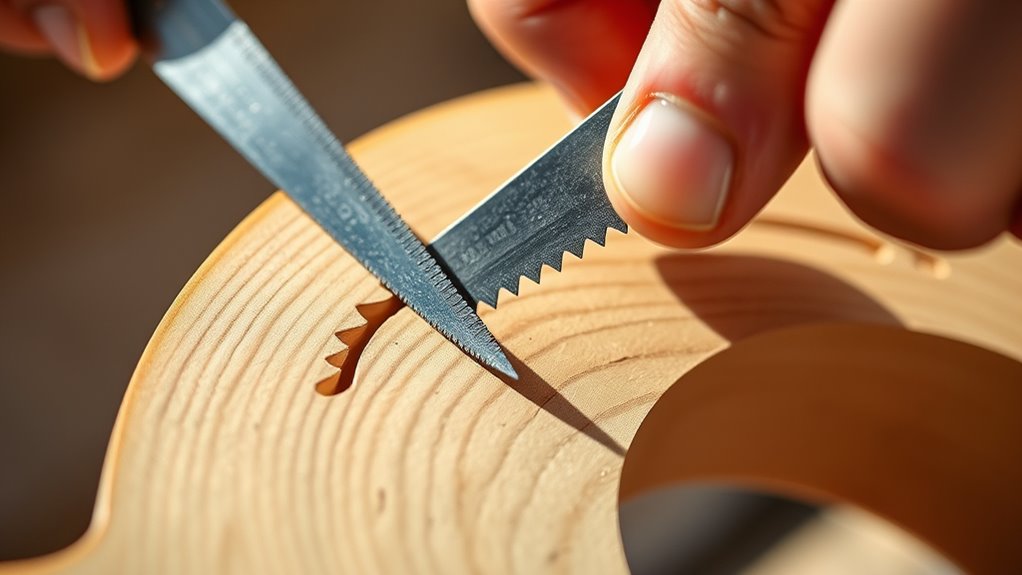
What’s the Best Way to Start a Curved Cut?
To start a curved cut, use your marking guidelines to outline the shape clearly. Begin by making a small, shallow groove along the curve with the saw’s teeth to guide your cut smoothly. Use steady, controlled movements, following the markings precisely. Starting techniques like these help you maintain accuracy and control, ensuring your curved cut stays true to your original design. Keep your blade sharp for the best results.
Are Coping Saws Suitable for Cutting Thick Wood?
A coping saw isn’t your best tool for thick wood, as it’s like trying to carve a mountain with a butter knife. Its blade compatibility is limited, making it tough to handle dense, heavy material. For thick wood, opt for a jigsaw or a band saw—they’re designed to cut through substantial depths efficiently, giving you cleaner, safer results. The coping saw shines best on delicate, intricate curves in thinner materials.
How Do I Safely Store a Coping Saw?
You should store your coping saw safely by first loosening the blade tension to prevent stretching. Keep the blade covered or stored in a tool organizer to avoid damage or injury. Always grip the handle firmly when handling or storing it, ensuring it’s secure and stable. Store it in a dry, cool place away from moisture to prevent rust. Proper storage keeps your coping saw in good condition and ready for your next project.
Conclusion
Mastering a coping saw makes curved cuts easier and more precise, turning tough projects into achievable tasks. Did you know that using the right saw can reduce cutting time by up to 30%? So, next time you face a curved cut, remember to stay steady and follow your line. With practice, you’ll find yourself making perfect, smooth curves effortlessly—saving you time and effort on every project.