
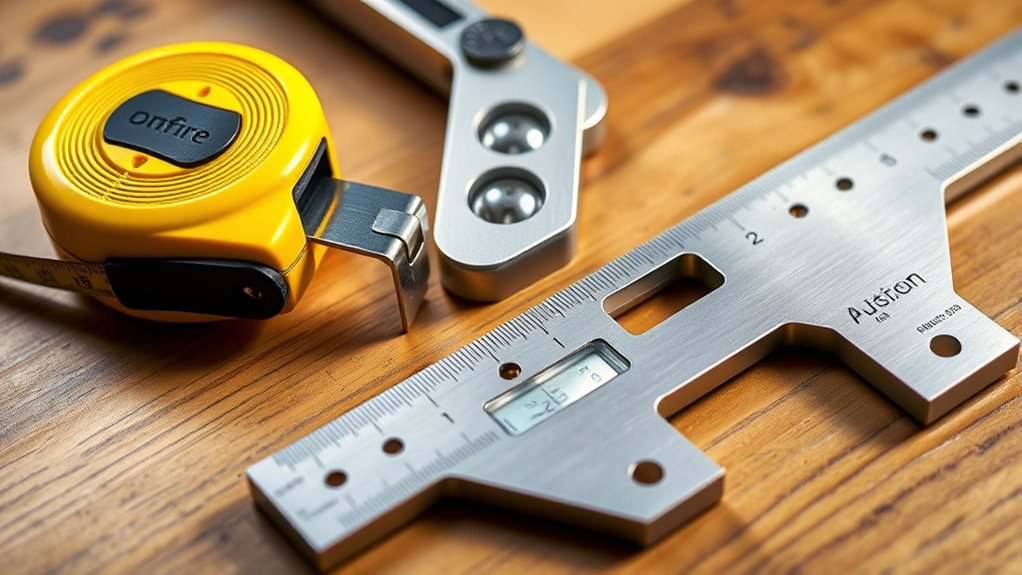
To get accurate results, choose the right tape measure, level, and square for your project, considering features like durability, length, and calibration. Use your tools correctly by locking, extending gently, and aligning bubbles or edges carefully. Regular maintenance keeps them in top shape, and digital or laser options can boost precision. If you keep exploring, you’ll discover tips that help you measure flawlessly every time.
Key Takeaways
- Tape measures come in various lengths and materials, with features like locks and standout lengths for accurate measurements.
- Levels include bubble, laser, and digital types, used to ensure horizontal and vertical alignment in construction.
- Squares, such as try and framing squares, help verify right angles and measure larger dimensions in woodworking and metalworking.
- Proper use involves careful locking, gentle extending/retracting, and regular calibration for measurement accuracy.
- Maintenance includes cleaning, proper storage, and staying updated on technological innovations like digital and laser measuring tools.
Types of Tape Measures and Their Features
Ever wondered which tape measure is best suited for your project? The answer depends on the type and features that match your needs. Different measuring tape calibration standards guarantee accuracy, especially for professional tasks. When choosing a tape measure, pay attention to tape measure materials: steel offers durability, fiberglass provides flexibility, and cloth is lightweight but less precise. Some tapes feature standout lengths for longer measurements, while others have lock mechanisms for stability. Compact, pocket-sized models are convenient for quick jobs, whereas heavy-duty tapes suit construction projects. Consider the case design, measurement units, and whether it’s designed for indoor or outdoor use. Selecting the right type of tape measure with appropriate features ensures your measurements are accurate and reliable every time. Additionally, understanding the measurement accuracy standards can help you choose more precise tools for critical tasks.
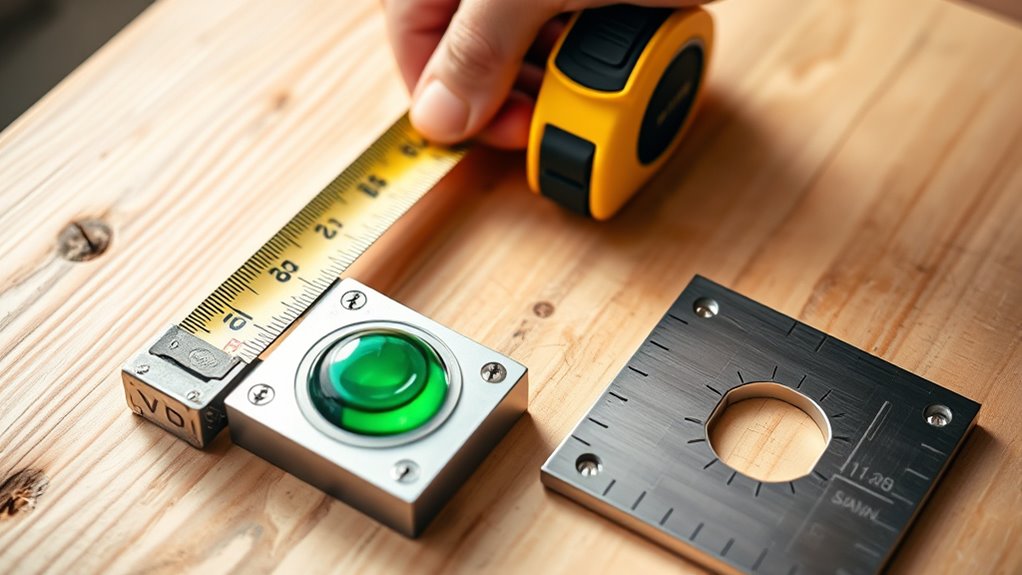
How to Properly Use a Tape Measure
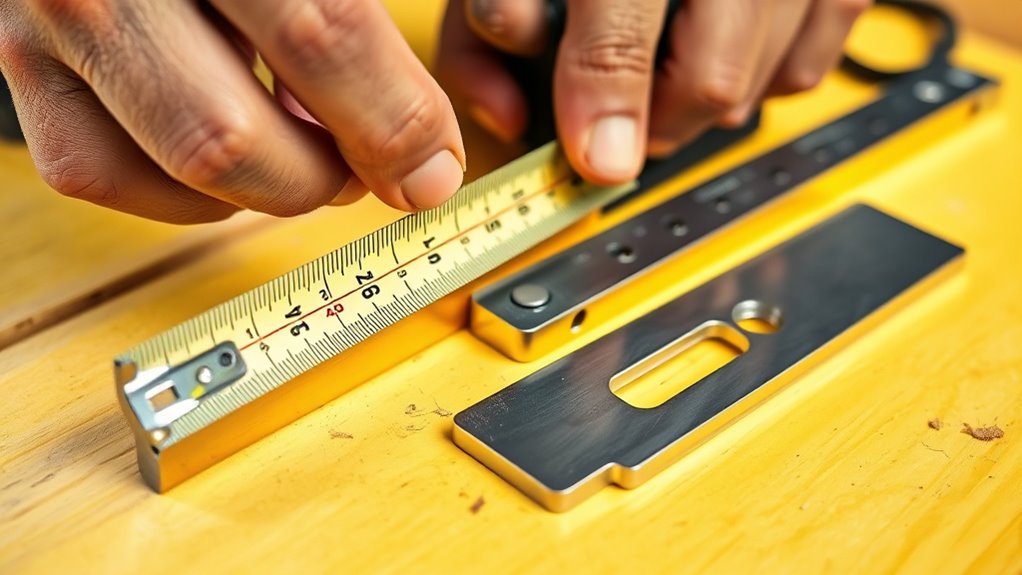
To get accurate measurements, start by locking the tape securely in place before recording your mark. Make sure to verify the measurements carefully, keeping your eye level with the tape for precision. When extending or retracting the tape, do so gently to prevent damage and ensure smooth operation. Additionally, understanding projector specifications can help you select the right tools and measurements for optimal setup.
Lock the Tape Securely
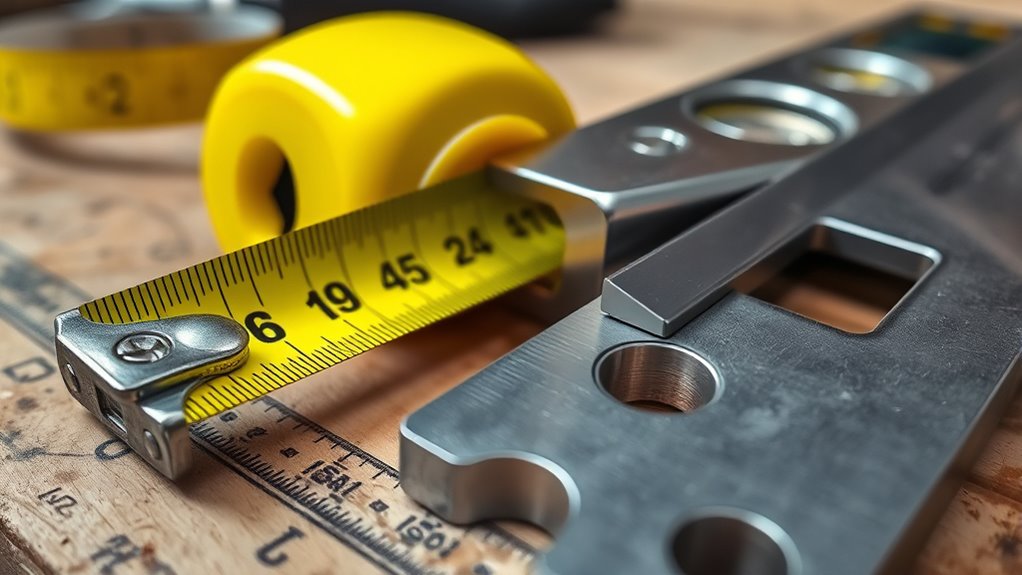
When using a tape measure, locking the tape securely is essential to ensure accurate measurements. Proper tape measure locking keeps the measuring tape from slipping or retracting, maintaining consistent readings. To lock the tape, press the locking mechanism firmly until it clicks into place, preventing movement during measurement. This step is critical, especially when measuring longer distances or when precision matters. Additionally, securely locking the tape helps with measuring tape calibration, ensuring the tape remains accurate over time. If the lock feels loose or doesn’t hold firmly, check for wear or damage and replace the tape if necessary. Always double-check that the lock is engaged before reading your measurement to avoid errors caused by tape retraction. A secure lock guarantees reliable, precise results every time.
Read Measurements Accurately
Reading measurements accurately on a tape measure requires careful attention to the markings and proper positioning of your eye. To guarantee measuring precision, align your eye directly over the measurement mark you’re reading. Avoid looking from an angle, which can cause parallax errors and lead to inaccurate readings. Always verify that the tape is flush against the surface and hasn’t shifted during measurement. Check that the tape’s measurement calibration is correct—some tapes have worn or faded markings that can affect accuracy. When reading, focus on the exact line, whether inches or centimeters, and note fractional divisions if present. Precise reading is essential for accurate measurements, especially when measurements need to be exact for building or crafting projects. Additionally, understanding tuning modifications can help ensure your measurements are suitable for performance upgrades or customizations.
Extend and Retract Gently
Gently extending and retracting a tape measure helps maintain its accuracy and prolongs its lifespan. Proper handling is key to preserving measuring tool ergonomics and ensuring reliable readings. When you extend the tape, do so slowly and smoothly, avoiding sudden pulls that can damage the mechanism. Retracting it gently prevents the spring from wearing out prematurely. Remember, the history of measuring devices shows that careful use prolongs their usability. To keep your tape in top shape, keep these tips in mind:
- Avoid overextending beyond the tape’s limit
- Use steady pressure when pulling out the tape
- Retract slowly to prevent spring fatigue
- Store in a dry, safe place
- Regularly inspect for damage or wear
Practicing gentle extension and retraction helps your tape measure serve you accurately for years.
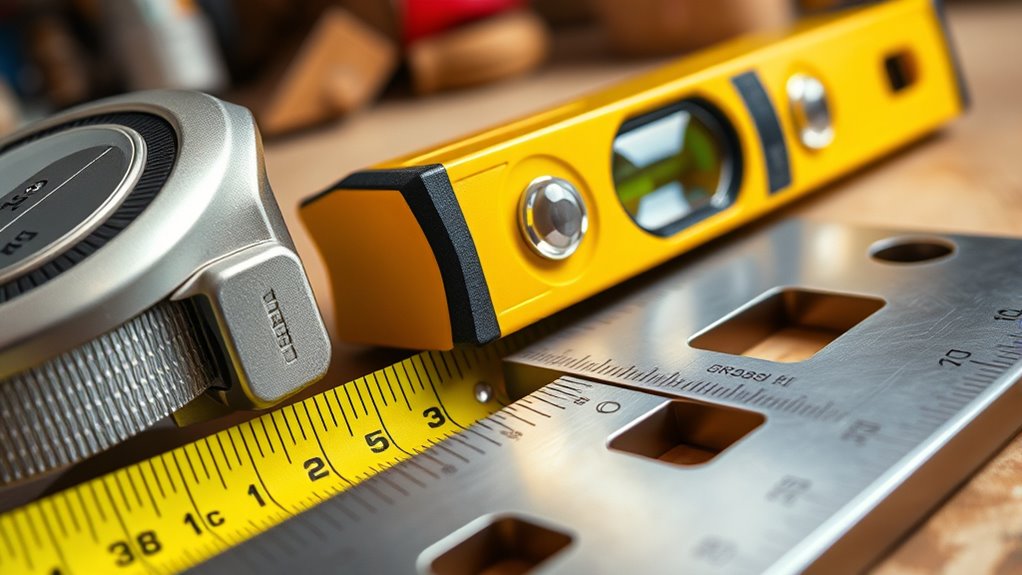
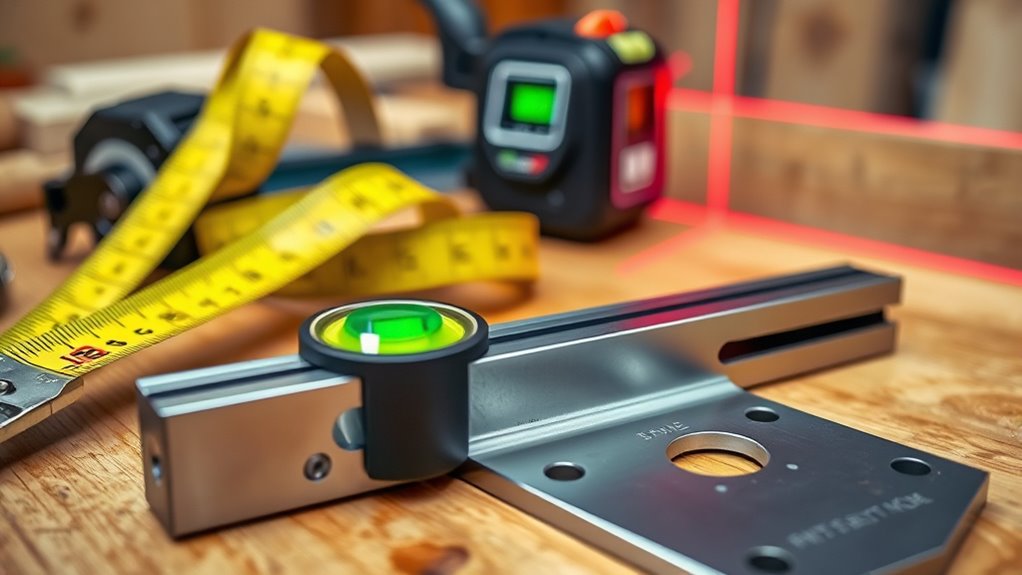
Different Types of Levels and Their Applications

Different types of levels help you guarantee accuracy in your projects, whether you’re working on a small repair or a large construction. Spirit levels come in various forms, like bubble, box, and digital, each suited for specific tasks. Laser levels offer precise alignment over long distances, making them ideal for tasks that require high accuracy. Incorporating the right vertical storage solutions can also improve organization and efficiency during your projects.
Types of Spirit Levels
Have you ever wondered how professionals guarantee surfaces are perfectly level? Different types of spirit levels serve various needs, drawing from measuring tool history to improve accuracy. For example, bubble vials are common, but specialized levels like laser levels or digital levels offer advanced precision. Understanding measurement unit conversions helps you choose the right tool for your project.
- Box levels are sturdy and ideal for carpentry
- Line levels are used for long, straight lines
- Digital levels display exact measurements electronically
- Laser levels project a level line across distances
- Post levels are designed for vertical surfaces
- Modern levels utilize technological advancements to enhance measurement accuracy.
Applications of Laser Levels
Laser levels are versatile tools that enhance accuracy across various construction and renovation tasks. They build on the measuring tool history, offering precise alignment and leveling in different measurement units. Whether you’re hanging shelves, installing tiles, or framing walls, laser levels improve efficiency and reduce errors. Proper calibration and understanding of the expiration of tools can ensure optimal performance and safety during use. Different types include line lasers, point lasers, and rotary lasers, each suited for specific applications. For example:
| Laser Level Type | Typical Application |
|---|---|
| Line Laser | Interior wall alignment |
| Point Laser | Spot measurements |
| Rotary Laser | Large outdoor projects |
Using laser levels simplifies measurement processes, saving you time and minimizing miscalculations. They provide a modern solution that complements traditional tools, making your work more precise and professional.
Tips for Reading Bubble Levels Accurately
To read a bubble level accurately, you need to focus on the position of the bubble within the vial. Ensuring bubble level accuracy depends on proper leveling surface preparation and careful observation. To improve your readings:
- Make sure the surface is clean and free of debris.
- Place the level firmly on the surface without shifting it.
- Wait a moment for the bubble to settle before reading.
- Check the bubble’s position relative to the marked lines.
- Always read the level at eye level to avoid parallax errors.
- Remember that visual accuracy can be affected by lighting conditions and your viewing angle, so adjusting these factors can lead to more precise readings.
These tips help you interpret the bubble’s position precisely, reducing errors. Proper surface preparation and consistent observation are key to achieving accurate measurements. Remember, small adjustments can considerably impact your leveling results.
Various Squares and Their Uses in Construction
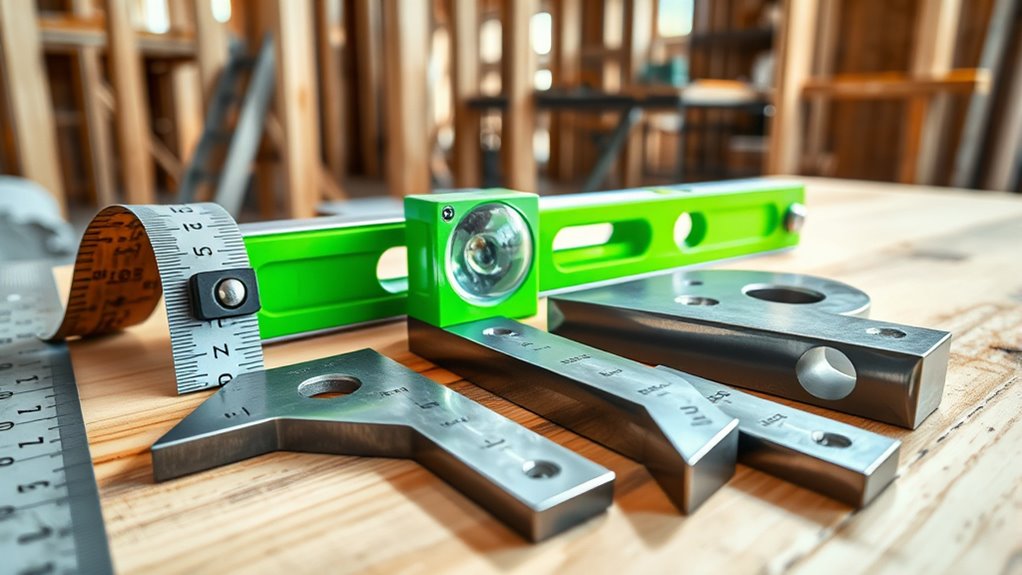
Different types of construction squares help you make precise measurements and right angles. Knowing how to use each square correctly guarantees your projects stay accurate and professional. Let’s explore the common squares and techniques to get the best results in your work. Using the right tools can also help ensure your investment in materials, such as precious metals, is managed accurately and securely.
Types of Construction Squares
Have you ever wondered how construction workers guarantee their angles are precise? The answer lies in various types of construction squares, a key part of measuring tool history and measuring tool innovations. These squares come in different forms, each suited for specific tasks.
- Try Squares: Used for marking and verifying right angles on wood.
- Framing Squares: Ideal for measuring larger dimensions and laying out rafters.
- Combination Squares: Versatile for measuring angles and depths.
- Speed Squares: Handy for quick, accurate marking on framing projects.
- Mitre Squares: Perfect for checking miters and angles in trim work.
Each type of square improves accuracy and efficiency on-site, showcasing how measuring tool innovations have evolved to meet diverse construction needs.
Proper Square Usage Techniques
Understanding how to properly use various construction squares is essential for achieving accurate results on the job site. First, verify your squares are properly calibrated; check for any warping or damage that could affect measurements. Accurate calibration is crucial for precision and consistency. When using a square, align it carefully with your measurement tool—like a tape measure—to verify right angles. Remember, historical measurement techniques relied heavily on squares for layout and framing, highlighting their importance. Always double-check your measurements before marking or cutting. Use the square’s edges to draw straight lines, ensuring your work is square and true. Proper technique minimizes errors, saves time, and produces professional results. Additionally, understanding interior measurement tools can enhance your accuracy and efficiency on the job. Mastering these practices will improve your craftsmanship and help you meet project specifications reliably.
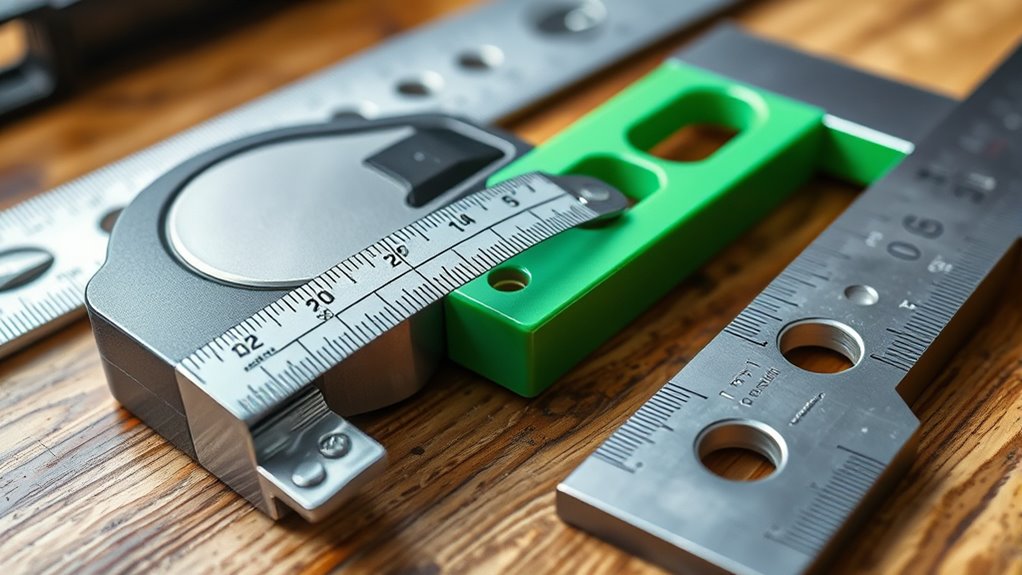
Choosing the Right Measuring Tool for Your Project
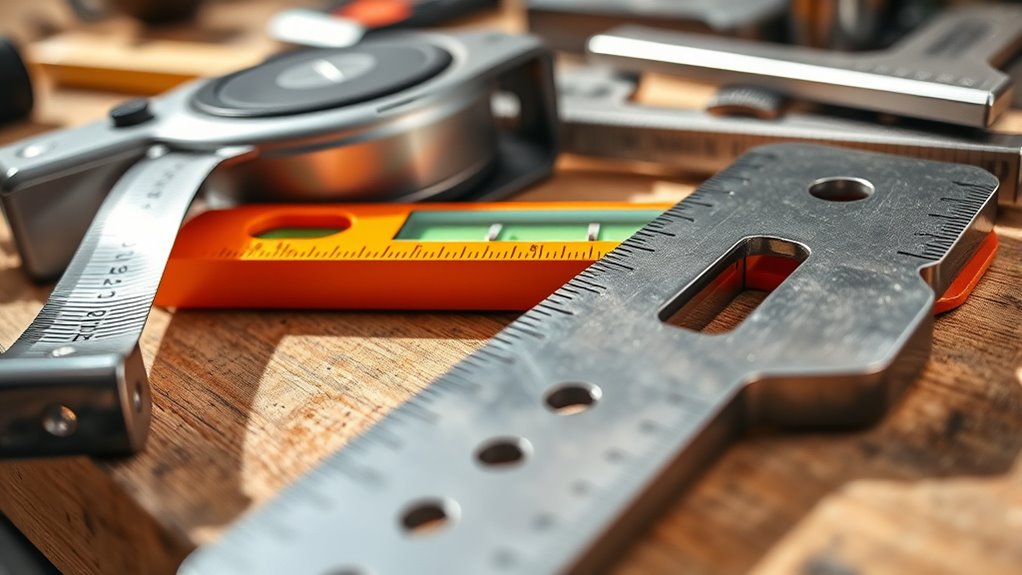
How do you choose the right measuring tool for your project? First, consider the task’s precision needs and the environment. Your choice depends on factors like measurement tool history, which highlights how tools have evolved for accuracy. Also, think about measurement unit conversions—some tools measure in inches, centimeters, or both, simplifying your work. Here are some tips:
- For quick, rough measurements, use a tape measure.
- For ensuring level surfaces, pick a spirit level.
- For right angles, opt for a square.
- For delicate or detailed work, choose a digital measuring device.
- Consider durability if working outdoors or in harsh conditions.
- Understanding sound design principles can help you select tools that allow for precise and effective measurements, ensuring your project’s success.
Matching the tool to your project ensures accuracy and efficiency, saving time and reducing errors.
Common Mistakes to Avoid When Measuring
Even with the right measuring tools selected, mistakes can still happen if you’re not careful. Common measuring mistakes often occur when you neglect proper technique or overlook tool calibration. Always double-check that your tape measure is fully extended and locked before reading. Avoid misaligning your tool or measuring from the wrong edge. Ensuring the correct tip size is used during painting projects can significantly impact the finish quality.
Maintenance and Care for Measuring Instruments
Proper maintenance and care are essential to keep your measuring instruments accurate and reliable over time. Regularly check and perform measuring tool calibration to ensure precision. Keep ergonomic measuring designs comfortable and functional by cleaning and inspecting them frequently. Store your tools in a dry, protected place to prevent rust and damage. Avoid dropping or mishandling them, which can affect accuracy. Keep blades and edges clean for smooth operation. Use soft cloths or brushes for cleaning, and avoid harsh chemicals. Lubricate moving parts if necessary, following manufacturer instructions. Regularly verify the calibration of your tools to catch inaccuracies early. Additionally, understanding the best anime movies can provide a relaxing break from technical tasks, enhancing overall well-being. Proper care preserves the longevity of your measuring instruments and maintains their precision for all your projects.
Creative Uses for Measuring Tools Beyond Construction

Measuring tools are surprisingly versatile and can be creatively applied beyond traditional construction projects. Their history shows they’re not just for builders; artists have long used tape measures, levels, and squares to achieve precise designs. Measuring tools in art help create accurate proportions, layout patterns, and even scale models. For example, artists use rulers and squares to draft detailed sketches or ensure symmetry in their work. Photographers rely on levels to align shots perfectly. Crafters incorporate measuring tapes to cut fabric or materials precisely. These tools facilitate creativity by providing accuracy in various projects. Their simplicity and reliability make measuring tools invaluable beyond their intended purpose, enabling you to experiment with design, craft, and artistic expression while maintaining precision. Additionally, understanding SQA best practices can help ensure your creative projects meet quality standards and are executed efficiently.
Enhancing Accuracy With Digital and Laser Measuring Devices
Digital and laser measuring devices have revolutionized how you achieve precision in various projects by offering faster, more accurate readings than traditional tools. Their digital precision reduces errors and speeds up measurement tasks, making your work more efficient. To maximize accuracy, regularly perform measurement calibration to ensure reliable results. These devices often feature touchscreens and easy-to-read displays, simplifying complex measurements. They also allow you to measure distances that are difficult to reach with tape measures. Additionally, laser tools can store measurements for future reference. Keep in mind that proper calibration and handling are essential for maintaining their accuracy. Using these advanced tools helps you improve project quality, saving time and reducing material waste. Embrace digital and laser devices for better, more consistent measurements every time. AI’s role in enhancing measurement accuracy continues to grow, offering innovative solutions to improve precision further.
Frequently Asked Questions
What Materials Are Best for Durable Measuring Tools?
When choosing materials for durable measuring tools, you want options with high material durability to guarantee long-lasting performance. Metal, especially stainless steel, offers excellent tool longevity because it resists rust, wear, and deformation. Hard plastics can also be effective, but they may not withstand heavy use as well as metal. Prioritize sturdy, corrosion-resistant materials to keep your measuring tools accurate and reliable over time.
How Do Temperature Changes Affect Measuring Accuracy?
Temperature changes can impact your measuring accuracy through thermal expansion, causing materials to expand or contract. As temperatures fluctuate, your tools might give slightly incorrect readings if they lack proper temperature compensation. To guarantee precision, choose tools designed with thermal expansion in mind or incorporate temperature compensation features. This way, you can maintain accurate measurements regardless of environmental temperature variations, avoiding costly mistakes.
Are There Eco-Friendly Options for Measuring Tools?
You’ll find eco-friendly measuring tools made from recyclable plastics, which help reduce waste and environmental impact. These options are often produced through sustainable manufacturing processes, ensuring less energy consumption and pollution. By choosing tools made from recyclable materials, you support environmental conservation while maintaining accuracy in your projects. Eco-conscious choices like these make it easier to stay environmentally responsible without sacrificing quality or functionality in your measuring needs.
How Can I Calibrate My Digital Measuring Devices?
Ever wondered how to guarantee your digital measuring devices stay true? You can calibrate them by comparing your device’s readings to a known standard or reference. Regular digital calibration helps maintain measurement accuracy and prevents errors. Follow the manufacturer’s instructions carefully, and use calibration tools or certified references when possible. This process keeps your measurements reliable, turning precision into a habit rather than an afterthought.
What Safety Precautions Should I Follow When Using Measuring Tools?
When using measuring tools, you should prioritize safety by wearing personal protective equipment like gloves or safety glasses, especially when working in hazardous environments. Always practice safe handling techniques, such as keeping your workspace clear, handling tools carefully, and storing them properly after use. This helps prevent injuries and ensures accurate measurements. Stay alert, follow safety guidelines, and never rush to avoid accidents and maintain the integrity of your tools.
Conclusion
By mastering your measuring tools, you’ll turn precision into second nature. Think of these instruments as your trusted compass, guiding you through every project with confidence. Whether you’re reading a bubble level or calibrating a square, proper use and care make all the difference. Remember, accuracy is the foundation of great craftsmanship—without it, your measurements are like a ship without a rudder. Keep honing your skills, and your results will always stand tall.