
To read a tape measure correctly, start by identifying the whole inch mark and note the longer lines. Then, count the shorter fractional divisions carefully, ensuring your eye is level with the tape for accuracy. Pay attention to the tape’s end hook, which slides to compensate for thickness, and keep the tape taut and straight. Mastering these steps helps improve precision, and if you keep exploring, you’ll discover even more tips for spot-on measurements.
Key Takeaways
- Identify the whole inch mark first, then count fractional divisions for precise measurement.
- Always read the measurement at eye level to avoid distortion.
- Keep the tape flat, taut, and aligned with the surface for accuracy.
- Use the tape’s end hook properly, accounting for its sliding to measure inside or outside dimensions.
- Double-check readings from multiple angles to ensure consistent and accurate results.

Reading a tape measure accurately is vital for precise measurements in any project. When you’re working on carpentry, sewing, or DIY repairs, understanding how to read the markings correctly can save you time and prevent costly mistakes. The key is mastering proper measuring techniques and being aware of common errors that might trip you up. If you misread the tape or overlook small details, your measurements could be off, leading to fitting issues or structural problems down the line. That’s why it’s important to pay attention and develop good habits when using a tape measure.
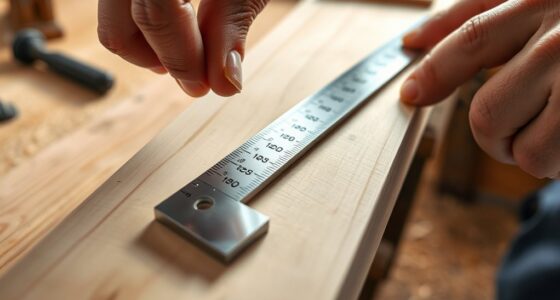
First, familiarize yourself with the tape’s markings. Most tape measures have inches divided into smaller parts—quarters, eighths, and sixteenths. The longer lines indicate inches, and the shorter lines mark fractional parts. When reading, start by noting the whole inch mark, then count the smaller divisions to get the precise measurement. Be consistent in how you read the tape—always look at the same point, such as the edge of the tape to ensure accuracy. For instance, when measuring something 5 inches and 3/8, identify the 5-inch mark first, then locate the 3/8 mark on the tape.
Familiarize yourself with tape markings: inches, fractions, and consistent reading points for accurate measurements.
A common error people make is misreading the fraction markings, especially when the tape isn’t perfectly straight or when measurements are close to a marking. For example, if the tape is slightly bent or twisted, you might read a fraction as slightly larger or smaller than it really is. To avoid this, always keep the tape flat and taut against the surface you’re measuring. Also, double-check the measurement by lining up the tape with the object from different angles to confirm your reading.
Another common mistake is not accounting for the tape’s end hook. The hook is designed to slide slightly to compensate for its thickness when measuring inside versus outside dimensions. When measuring, ensure you hook it onto the edge or hold it firmly in place, and remember that the hook’s movement can affect your reading. Failing to account for this can lead to small but significant measurement errors.
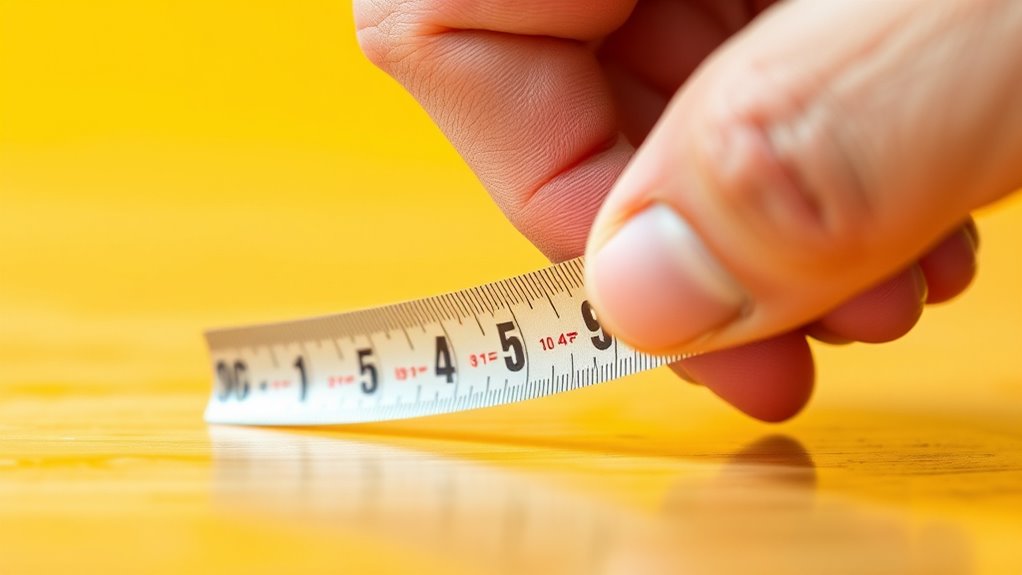
Additionally, recognizing that vetted and accurate information is crucial for reliable measurements can help you develop better measurement habits. Finally, always read the tape at eye level. Looking from above or below can distort your view of the markings, resulting in inaccurate readings. Take your time, especially when precision matters. With consistent measuring techniques and awareness of common errors, you’ll become proficient at reading a tape measure accurately, ensuring your projects are precise and successful.
digital tape measure for woodworking
As an affiliate, we earn on qualifying purchases.
As an affiliate, we earn on qualifying purchases.
Frequently Asked Questions
How Do I Read Measurements in Metric Units?
When you’re reading measurements in metric units, it’s important to understand the conversion tips. You’ll see millimeters and centimeters marked clearly on most tape measures. To make measurement conversions easier, remember that 10 millimeters equal 1 centimeter. Pay close attention to the smaller lines for millimeters and the numbered markings for centimeters. This way, you can accurately read and convert measurements, ensuring precise work every time.
What Is the Difference Between Standard and Fractional Markings?
You notice the difference between standard and fractional markings on your tape measure. The marking system varies; standard markings show inches divided into smaller parts like eighths or sixteenths, while fractional markings combine these into easy-to-read fractions. This distinction affects measurement precision, making it easier to get accurate cuts and fits. Understanding these differences helps you read measurements correctly, ensuring your project stays precise and professional.
How Do I Measure Curved Surfaces Accurately?
To measure curved surfaces accurately, you should use flexible tapes that conform to the shape of the surface. Wrap the tape around the curved edge, guaranteeing it stays snug but not tight. Keep the tape level and steady as you read the measurement. Flexible tapes are ideal because they bend easily, allowing you to follow the contour of the curved edge precisely. This method ensures your measurements are both accurate and reliable.
How Do I Lock the Tape Measure in Place?
To lock a tape measure in place, locate the locking mechanism, often called the tape lock, on the front of the case. Simply press down on it with your thumb to engage the lock, which keeps the tape extended and prevents it from retracting. Release the lock by lifting your thumb, allowing the tape to retract smoothly. Using the tape lock guarantees precise measurements without slipping.
What Are the Common Mistakes to Avoid When Measuring?
When measuring, don’t let common measurement errors trip you up like a loose shoelace. Avoid incorrect tape positioning by keeping the tape straight and snug against the surface. Don’t rush, or you might read the wrong figures. Double-check your measurements for accuracy, and always lock the tape securely. These simple steps help you dodge mistakes and guarantee precise results every time, turning a tricky task into a walk in the park.
stainless steel tape measure with fractional markings
As an affiliate, we earn on qualifying purchases.
As an affiliate, we earn on qualifying purchases.
Conclusion
By mastering how to read a tape measure correctly, you’ll save time and avoid mistakes on your projects. Many believe that reading measurements is straightforward, but subtle markings can trip you up. Remarkably, studies show that even professionals sometimes misread tape measures, highlighting the importance of careful attention. So next time you measure, double-check your reading—practice makes perfect. With a little focus, you’ll become confident in your measuring skills and ensure precise results every time.
professional measuring tape with sliding end hook
As an affiliate, we earn on qualifying purchases.
As an affiliate, we earn on qualifying purchases.
easy-to-read tape measure for DIY projects
As an affiliate, we earn on qualifying purchases.
As an affiliate, we earn on qualifying purchases.