
To create a sharpening jig for planes, start by building a sturdy, secure base and add adjustable arms or slots to hold the blade at the correct bevel angle. Incorporate an angle guide to maintain precision and a platform for mounting diamond stones for fast, reliable sharpening. Keep the design simple yet functional to guarantee consistency and ease of use. Continue here to discover more tips and tricks for crafting an effective jig that delivers professional results.
Key Takeaways
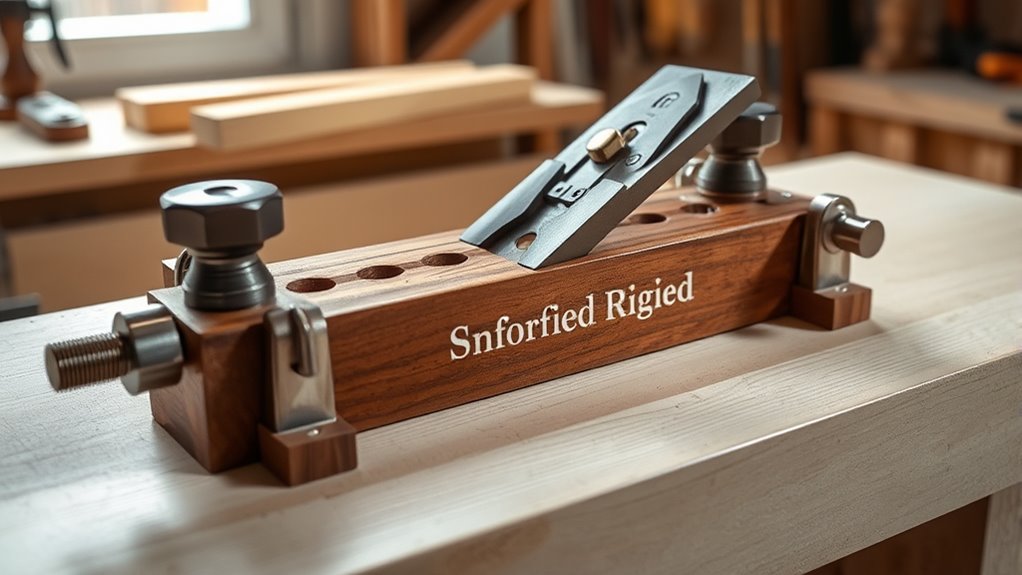
- Design a sturdy base that clamps securely to your workbench for stability during sharpening.
- Incorporate adjustable angle guides to maintain consistent bevel angles on plane blades.
- Attach a platform for mounting diamond stones, allowing quick grit changes and reliable honing.
- Use sliding tracks or pivot arms for smooth, precise blade movement across the sharpening surface.
- Test and refine the jig with scrap blades to ensure accurate angles, smooth operation, and consistent results.
A sharpening jig for planes is an essential tool that helps you achieve precise and consistent blade edges, improving your woodworking results. When creating your own jig, focus on features that guarantee stability and repeatability. One of the most effective ways to maintain a consistent bevel angle is by incorporating angle guides into your design. These guides can be adjustable or fixed, but they serve as a reference to hold your blade at the correct angle during the sharpening process. Using angle guides reduces guesswork, guaranteeing each blade is sharpened uniformly, which translates into cleaner cuts and better finishes on your projects.
To enhance your sharpening setup, consider integrating diamond stones into your jig. Diamond stones are highly durable and cut faster than traditional abrasives, making them ideal for maintaining sharp edges on plane blades. They also stay flat longer, providing a reliable surface for honing. When building your jig, plan for a secure mounting system for the diamond stones, either as a fixed part of the jig or as an interchangeable surface. This flexibility allows you to switch between different grit levels easily, from coarse to fine, depending on the blade’s condition. Using diamond stones in your jig accelerates the sharpening process and guarantees a consistently sharp edge, which is vital for achieving professional-quality results.
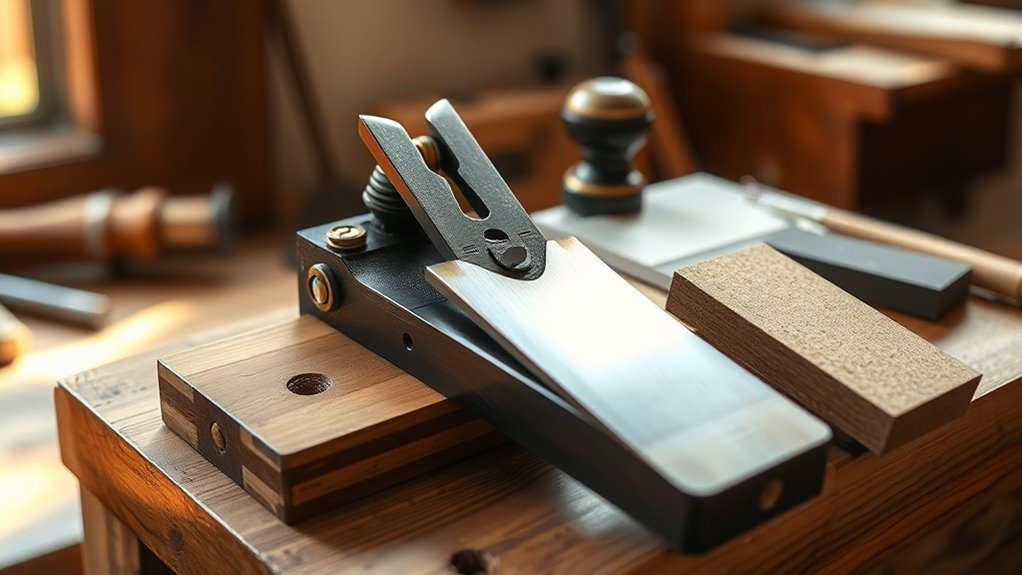
Designing your jig with simplicity in mind will make it easier to use and replicate. Start with a sturdy base that can clamp securely to your workbench. Attach adjustable arms or slots that hold the blade at a fixed angle—guided by your angle guides—and incorporate a platform for your diamond stones. You might add a mechanism to move the blade smoothly across the abrasive surface, such as a sliding track or a pivoting arm, to ensure even wear and consistent sharpening. Making your jig adjustable allows you to set different angles for various blades, giving you versatility for different woodworking tasks. Additionally, incorporating proper maintenance practices ensures your jig remains accurate and reliable over time.
Once assembled, test your jig with a scrap blade to verify the angle and smoothness of the edge. Check for consistency by sharpening multiple blades using the same setup. Over time, refine your design based on your experience, making sure it remains reliable and easy to use. Creating a sharpening jig tailored to your needs, equipped with precise angle guides and high-quality diamond stones, will streamline your sharpening routine. This investment in your tools will pay off in the quality of your cuts, the sharpness of your blades, and the overall finish of your woodworking projects.
Frequently Asked Questions
Can I Use This Jig for Other Woodworking Tools?
Yes, you can use this jig for other woodworking tools if it offers precise alignment and is made from durable material. Confirm the jig’s design accommodates different blade shapes and sizes for effective sharpening. Its precision alignment helps you maintain proper angles, while material durability ensures it withstands frequent use. Customizing the jig slightly can make it versatile for various tools, maximizing its usefulness across your woodworking projects.
What Materials Are Best for Constructing the Jig?
Think of your jig as the sturdy backbone of your sharpening process. Use hardwood like maple or oak for durability and stability, ensuring it withstands abrasive materials’ wear. Incorporate metal or high-quality plastic for clamping mechanisms to keep your tools firmly in place. These materials create a reliable foundation, making your jig resilient and precise, so your woodworking tools stay razor-sharp with every use.
How Do I Adjust the Jig for Different Plane Blades?
To adjust your jig for different plane blades, start by checking blade alignment to guarantee the edge sits correctly in the jig. Use the angle adjustment mechanism to set the precise bevel angle needed for each blade. Secure the blade firmly, then fine-tune the angle adjustment until it’s perfect. This way, you can easily switch between blades, maintaining consistent sharpening angles and ensuring ideal performance.
Is This Jig Suitable for Beginners?
Yes, this jig is suitable for beginners, providing a simple, stable setup that encourages confidence and consistency. To stay safe, follow safety precautions like wearing eye protection and handling blades carefully. Regular maintenance tips, such as keeping the jig clean and checking for wear, make sure it stays reliable. With patience and practice, you’ll progress quickly, making sharpening easier and more effective every time.
How Often Should I Recalibrate the Jig?
You should recalibrate your jig whenever you notice a decline in sharpening accuracy or after making adjustments to its parts. Regular calibration ensures precision alignment, maintaining consistent results. For peak performance, check and recalibrate your jig at least once every few months, or more frequently if you use it often. This practice helps prevent errors and keeps your plane blades sharp and precisely aligned, saving you time and frustration.
Conclusion
With your new sharpening jig, you’ve built a steady ship to navigate the rough waters of blade sharpening. It keeps your plane blades true and sharp, guiding them smoothly through the process. Just like a reliable compass, your jig guarantees consistent results every time. Now, with this tool in hand, you’re equipped to sail through your woodworking projects with confidence, knowing your blades will always cut precisely and effortlessly.