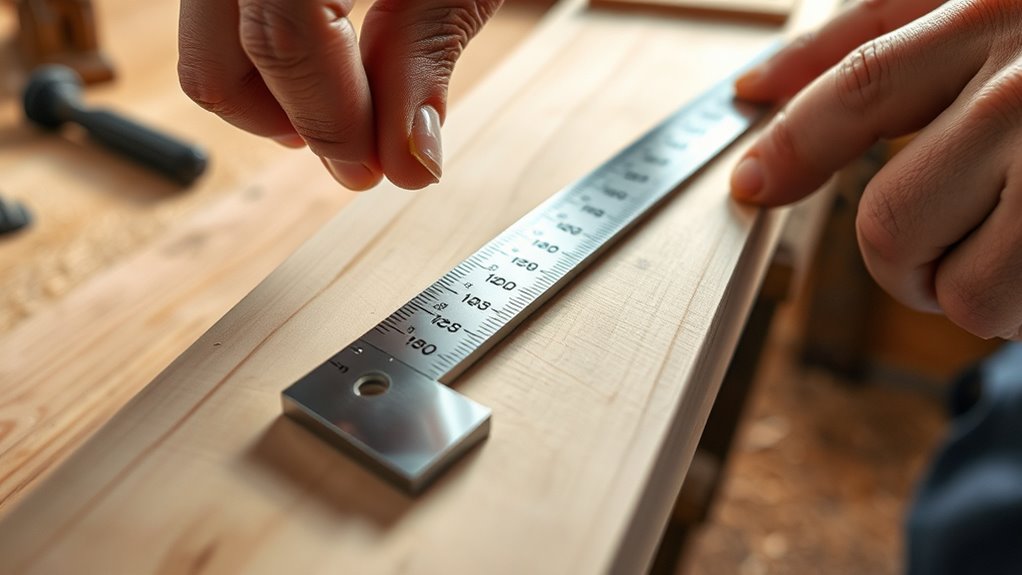

To use measuring squares accurately, start by inspecting the tool for damage and verify it’s clean. Place the square firmly against a known straight edge or a precision surface, checking for gaps or deviations. Use gentle pressure and avoid dropping it to prevent misalignment. Regular calibration and proper handling help maintain accuracy over time. For detailed tips on proper techniques, keep exploring how to ensure your measurements stay precise.
Key Takeaways
- Regularly calibrate your square against a precision surface to ensure measurement accuracy.
- Handle the square gently, avoiding drops or impacts that can misalign the tool.
- Clean the measuring edges frequently to maintain proper contact during measurements.
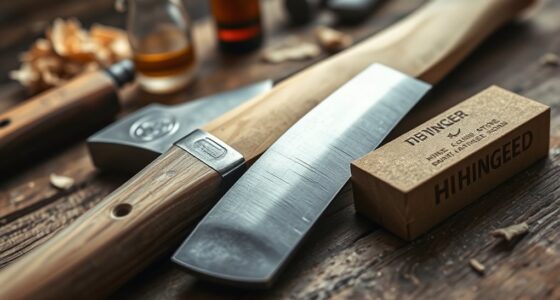
- Choose durable, corrosion-resistant materials suited for your environmental conditions.
- Store the square properly in a dry, protected environment to prevent damage and maintain accuracy.
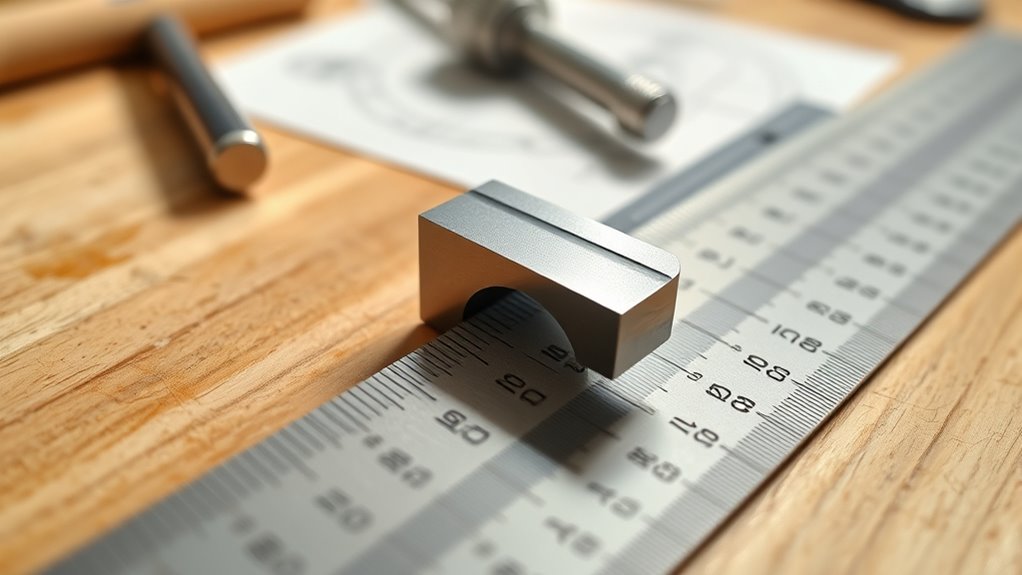
Measuring squares are essential tools used to determine the accuracy of right angles and straight lines in various projects. Whether you’re working on carpentry, metalworking, or DIY tasks, ensuring your measurements are precise is crucial for a professional finish. One of the most important aspects of using measuring squares effectively is understanding how to implement proper calibration techniques. Over time, even high-quality squares can become misaligned due to frequent use or accidental drops. Regular calibration ensures the square’s accuracy remains intact, preventing costly mistakes down the line. To calibrate your square, start by placing it against a known straight edge or a precision-machined surface, then check for any gaps or deviations. If you notice irregularities, you may need to adjust or replace the square to maintain reliable measurements. Additionally, paying attention to material durability is vital because it directly impacts the longevity of your measuring tools. Squares made from durable materials like hardened steel or high-grade aluminum resist warping and rust better than cheaper, softer options. This durability means your square will continue to provide accurate readings over time, even in tough working conditions. When selecting a measuring square, consider the environment you’ll be working in; for instance, if you’re exposed to moisture or corrosive substances, opt for corrosion-resistant materials that can withstand such elements. Proper storage also plays a role in maintaining material integrity, so keep your square in a dry, protected place. Handling your measuring square with care is equally important. Avoid dropping it or applying excessive force during measurements, as impacts can cause subtle misalignments that compromise accuracy. Using clamps or fixtures to stabilize your workpiece while measuring can help minimize errors caused by movement or instability. When taking measurements, always ensure the square’s edge is clean and free from debris, which can interfere with contact points and lead to inaccurate readings. Regularly inspecting your square for signs of wear or damage allows you to catch issues early, saving you time and effort on corrections. Additionally, understanding the impact of material durability on your tools can help you select the most reliable options for long-term use. Ultimately, mastering calibration techniques and understanding the importance of material durability will help you use measuring squares with confidence and precision. Proper maintenance and handling not only extend the life of your tools but also guarantee that your measurements stay true, giving you consistent, reliable results in every project. By investing a little time in these practices, you’ll improve your craftsmanship and achieve the professional quality you aim for in all your measurements.
Frequently Asked Questions
How Do I Calibrate a Measuring Square?
To calibrate your measuring square, start with the calibration process by checking its edges against a known straight edge or a precise reference. Use accuracy verification by measuring a standard, like a certified square or a gauge block, and compare the readings. If discrepancies are found, you may need to adjust or replace the square. Regular calibration guarantees your measurements stay accurate and reliable for your projects.
What Materials Are Best for Different Measuring Squares?
Think of your measuring square as a trusted compass guiding your work. For durability considerations, steel and aluminum are top choices, offering strength and longevity. Wood options are lightweight but less durable, ideal for less demanding tasks. Plastic squares are affordable and suitable for light use but may lack precision over time. Choose your material based on your project’s needs, balancing durability, weight, and cost to guarantee accurate measurements every time.
Can Measuring Squares Be Used for Curved Surfaces?
Measuring squares are mainly designed for straight lines and right angles, so they’re not ideal for curved surface measurement. For curves, you should use flexible measuring tools like flexible rulers or contour gauges. These tools mold to the surface, giving you an accurate measurement of curves. Measuring squares won’t conform well to curved surfaces and can give inaccurate results, so always choose the right tool for precise measurements on curves.
How Often Should I Replace My Measuring Square?
Ah, the timeless dilemma of when to retire your trusty measuring square—surely it’s still good, right? Well, if accuracy concerns start creeping in or your readings seem off, it’s time for a replacement. Store it properly—away from moisture and extreme temps—and inspect regularly. Typically, replace your square every few years or if it’s dropped, bent, or shows signs of wear, ensuring your measurements stay sharp and precise.
Are Digital Measuring Squares More Accurate Than Traditional Ones?
You might wonder if digital measuring squares offer better digital accuracy than traditional ones. While digital models can provide precise readings and are easier to read, traditional measuring squares are known for their classic reliability and durability. It depends on your needs; if quick, high-precision measurements matter, digital squares can be advantageous. However, for long-term dependability and simple use, traditional squares often remain dependable.
Conclusion
Now that you know how to use measuring squares accurately, you’re armed with a trusty tool in your DIY kit. Remember, precision is the compass guiding your projects to success. With practice, you’ll navigate measurements like a seasoned captain steering through calm waters. Keep your squares steady and your eyes sharp, and soon you’ll find that every cut and line falls perfectly into place—making your craftsmanship as smooth as a well-oiled machine.