To build a smarter cut list, start by evaluating your available tools and their strengths—use your table saw for straight, long cuts, and a jigsaw or bandsaw for curves and intricate details. Plan your sequence to prioritize complex cuts first, reducing chances of damage to finished parts. Adjust measurements considering each tool’s capacity and kerf width, and nest pieces to maximize material use. If you keep these tips in mind, you’ll cut more efficiently and waste less—there’s more to refine as you go.

Get business pricing on tools and workshop supplies
- Business-only prices and quantity discounts
- Tax-exempt purchasing
- Multiple users, one account, clear invoices
Key Takeaways
- Assess your available tools and their capabilities to tailor cuts that match their strengths and limitations.
- Sequence cuts from complex or delicate to simple to minimize tool changes and rework.
- Adjust measurements to accommodate tool-specific constraints, like track saw capacity or blade size.
- Plan material nesting to maximize efficiency and reduce waste, considering tool accessibility for each cut.
- Incorporate kerf width and tool behavior into your cut list for precise, accurate assembly.
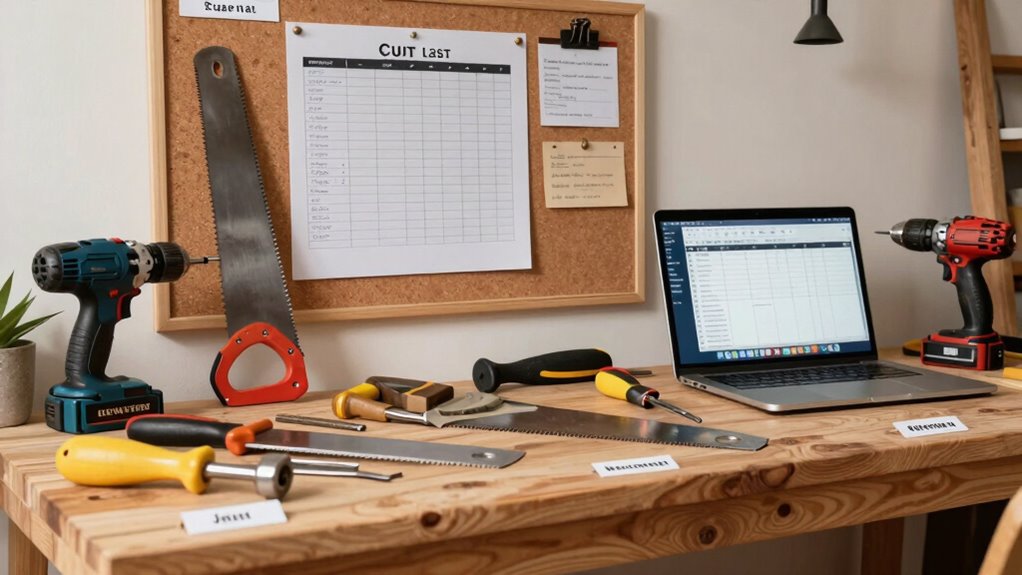
Creating an efficient cut list is essential for minimizing waste and saving time during your project. To do this effectively, you need to consider your available tools, especially your saws and cutting devices, and tailor your list accordingly. Material selection plays a crucial role here because the type of material influences how you plan your cuts. For example, working with plywood requires different techniques than solid wood or MDF. Knowing your material’s properties helps you anticipate how it behaves during cutting, reducing mistakes and waste. When you choose your materials wisely, you set a solid foundation for an efficient process.
Efficient cut lists reduce waste by tailoring your plan to your tools and materials.
Next, focus on cutting techniques that align with your tools. If you own a table saw, you can make long, straight cuts quickly and accurately, which means you should plan your cut list around maximizing the use of that tool. For intricate cuts or curves, your jigsaw or bandsaw might be better suited, so your cut list needs to reflect these capabilities to avoid unnecessary transfers or rework. By understanding your tools’ strengths and limitations, you can sequence your cuts in a way that minimizes repositioning and setup time. This planning makes your project smoother and faster.
When building your cut list, prioritize cuts that can be completed with the tools you own. For example, if you don’t have a track saw, you might need to adjust your measurements or cut pieces in smaller sections to fit your saw’s capacity. This approach prevents you from wasting time trying to force cuts that your tools aren’t designed for, and it reduces the risk of damaging your material. Also, think about how to nest your pieces together on your material sheets to maximize usage. Arranging parts efficiently on your stock material not only saves material but also shortens your cutting sequence, which saves you time and effort.
Another key aspect is to be precise with your measurements and to incorporate kerf width into your calculations. Knowing exactly how much material your saw will remove ensures your cut list accounts for this, preventing errors and mismatched pieces. As you create your list, keep in mind the order of cuts—start with the most complex or delicate cuts first, then move on to simpler ones. This sequencing minimizes the risk of damaging finished parts and streamlines your workflow. Additionally, understanding your cutting techniques can help you choose the best approach for each task, ultimately increasing your efficiency. Familiarity with material properties can also guide your decisions and prevent common mistakes during cutting. Recognizing the limitations of your tools allows you to plan more effectively and avoid unnecessary adjustments during the project.
Ultimately, building a smarter cut list means balancing your material choices, understanding your cutting techniques, and leveraging your tools effectively. When you do this, you reduce waste, cut down on rework, and keep your project moving forward smoothly. It’s all about planning ahead, working smart, and making the most of what you already have.
Products Worth Considering

Levoit Core 600S-P Smart Air Purifier for Large Rooms

Hisense 40-Inch Class QD4SR Series Hi-QLED FHD Smart Roku TV (2026 Model)

Dyson Ball Animal 3 Upright Vacuum – Corded, 290 AW, De‑tangling Motorbar Cleaner Head, 3 Suction Modes
As an affiliate, we earn on qualifying purchases.
Frequently Asked Questions
How Do I Organize Tools for Easy Access During Cutting Projects?
To organize your tools for easy access during cutting projects, use dedicated tool storage solutions like labeled bins or a pegboard. Keep frequently used tools within reach and store safety precautions like goggles and ear protection nearby. Regularly tidy your workspace, ensuring tools are returned to their designated spots after use. This setup minimizes clutter, speeds up your workflow, and helps you stay safe while working efficiently.
What Criteria Should I Consider When Prioritizing Cuts?
When prioritizing cuts, consider material selection—start with the easiest or most critical cuts first to save time. Safety considerations are key; always plan cuts to minimize tool changes and avoid risky maneuvers. Think about the sequence that reduces material waste and tool wear. By focusing on these criteria, you streamline your workflow, enhance safety, and make better use of your tools, ensuring a smoother, more efficient project.
How Can I Optimize My Workspace for Multiple Tool Use?
Imagine your workspace as a well-orchestrated symphony where tools play harmoniously. To optimize for multiple tool use, arrange your workspace by material selection, grouping similar materials for easy access. Keep safety precautions in mind, ensuring clear pathways and designated zones for cutting, sanding, and assembly. Use storage solutions to keep tools within reach, reducing movement and streamlining your workflow—making your tasks smoother, safer, and more enjoyable.
Are There Digital Tools to Help Plan My Cut List?
Yes, digital planning tools can help you create an efficient cut list. By inputting your tool inventory into apps like CutList Plus or Easy Woodworking, you can optimize material use based on the tools you own. These tools analyze your inventory and project dimensions, ensuring you plan cuts that match your available equipment, saving time, reducing waste, and making your workflow more efficient.
How Often Should I Review and Update My Cut List?
You should review your cut list regularly, as if tending to a garden that needs nurturing. Material selection can shift with project needs, and safety precautions demand attention to detail. Updating your list weekly or after each project guarantees accuracy, helps prevent mistakes, and keeps your workflow smooth. This habit allows you to adapt to new materials and tools, making your work safer and more efficient in the long run.
Conclusion
By tailoring your cut list to the tools you already own, you save time, money, and frustration. It might seem limiting at first, but it actually sharpens your planning skills and helps you work more efficiently. Think of it like customizing your workspace to fit your needs—you’re making smarter choices that boost productivity. So, don’t worry about missing out; instead, focus on optimizing what you have to get better results every time.