Building a bicycle rack from reclaimed wood is a great way to create an eco-friendly and sturdy storage solution. First, select and prepare your reclaimed wood by removing nails, sanding surfaces, and ensuring stability. Design a simple framework with joints that fit your needs, then assemble using wood glue, screws, or nails. Finish with a weatherproof seal or stain for durability. Keep exploring to discover tips that will help you craft a unique and sustainable bike rack.
Key Takeaways
- Select and inspect weathered reclaimed wood for stability, removing any rotted or cracked pieces.
- Design a simple, sturdy framework using basic joints, secure with wood glue and screws or nails.
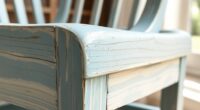
- Sand all surfaces thoroughly to eliminate splinters and prepare for sealing or staining.
- Apply protective finishes like sealant or stain to enhance durability and weather resistance.
- Assemble the parts carefully, ensuring a wobble-free, functional bike rack with rustic aesthetic appeal.
Creating a bicycle rack from reclaimed wood is a rewarding project that combines sustainability with practical design. When you choose reclaimed wood, you’re making a conscious decision to repurpose materials that might otherwise go to waste, reducing your environmental footprint. This approach not only supports eco-friendly practices but also gives your bike rack a unique, rustic charm that you simply can’t find with store-bought options. Using sustainable materials like reclaimed wood also encourages mindful consumption and adds a layer of meaning to your DIY project. As you gather your supplies, keep in mind that the quality and character of your reclaimed wood will influence the final look and durability of your rack.
Creating a bike rack from reclaimed wood blends sustainability with rustic charm and craftsmanship.
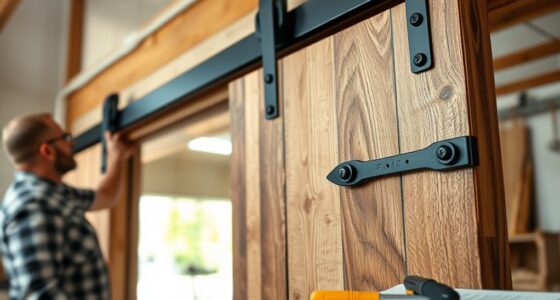
When it comes to woodworking techniques, working with reclaimed wood requires a bit more patience and attention to detail. These materials often have nails, screws, or rough patches that need to be carefully removed or smoothed out before you start cutting and assembling. Start by inspecting each piece for stability—discard any wood that’s too rotted or cracked. Use proper tools like a saw, sander, and clamps to ensure precise cuts and secure joints. If you’re new to woodworking, consider practicing on scrap pieces first to get comfortable with the techniques involved. Sanding is especially important because reclaimed wood can have rough surfaces or splinters, so take your time to smooth everything out for a safe, professional finish. Additionally, understanding the properties of reclaimed wood can help you select the best pieces for your project and ensure longevity.
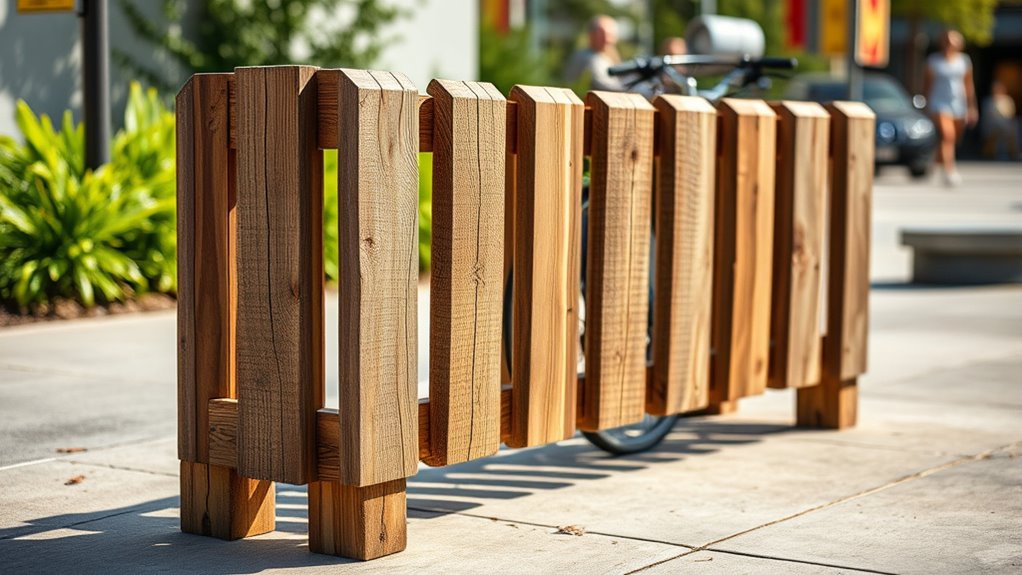
Once you’ve prepared your wood, you’ll want to design a simple yet sturdy framework. Using basic woodworking joints like butt joints or dowel joints can keep the process straightforward while ensuring strength. Applying wood glue along with screws or nails will give your rack extra stability. Be sure to measure carefully—accuracy is key to making sure your bike rack holds bikes securely without wobbling. You can also add finishing touches such as sealing or staining your reclaimed wood to enhance its appearance and protect it from weather elements if your rack is outdoors. This final step not only prolongs the life of your project but also enhances the natural beauty of the wood.
Building this bicycle rack from reclaimed wood isn’t just about creating a functional piece; it’s about embracing sustainability and craftsmanship. By selecting sustainable materials and applying solid woodworking techniques, you craft something that’s both environmentally responsible and aesthetically pleasing. Your effort results in a unique, durable bike rack that reflects your commitment to eco-friendly practices, while also showcasing your skills. This project proves that with a bit of effort and creativity, you can transform discarded materials into a practical, beautiful addition to your home or garage.
reclaimed wood bicycle rack kit
As an affiliate, we earn on qualifying purchases.
As an affiliate, we earn on qualifying purchases.
Frequently Asked Questions
What Are the Best Types of Reclaimed Wood for This Project?
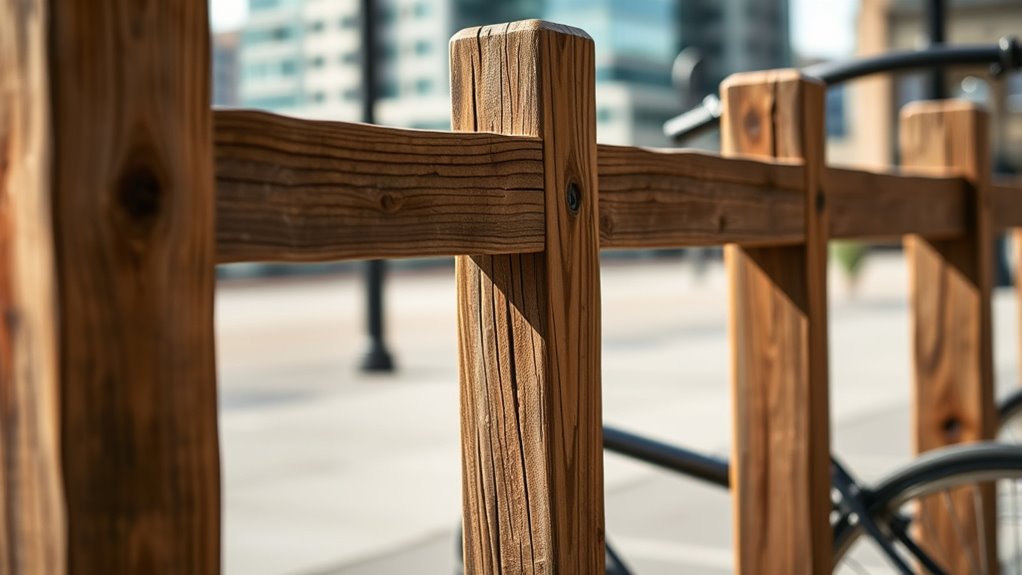
You should choose hardwoods like oak, maple, or cedar for your bicycle rack, as they’re durable and resistant to weather. Make sure to treat the wood properly to prevent decay and enhance longevity. Consider applying aesthetic finishes like stain or sealant to improve appearance and protection. These choices will give your rack both strength and visual appeal, ensuring it withstands outdoor conditions and looks great for years to come.
How Do I Ensure the Rack Is Weather-Resistant?
Think of your bicycle rack as a shield against the elements, standing strong through storms and sun. To guarantee this, you should apply a waterproof sealant and coat it with a weatherproof finish. These layers act like armor, repelling water and UV rays. Make sure to thoroughly cover all surfaces, especially the joints, and reapply periodically. This will keep your reclaimed wood bike rack sturdy and looking good for years to come.
Can I Customize the Size for Multiple Bikes?
Yes, you can customize the size for multiple bikes by designing an adjustable rack. An adjustable rack design lets you easily modify the space to accommodate different bike sizes and increase multi-bike capacity. You might add multiple slots or extend the frame to fit more bikes comfortably. This flexibility guarantees your bicycle rack suits your needs now and as your bike collection grows, making it a practical, personalized solution.
What Tools Are Essential for Building the Rack?
Imagine holding a sturdy drill, its power tool grip firm in your hand, ready to shape your vision. You’ll need essential tools like a saw, drill, and screwdriver to cut and assemble the reclaimed wood. Don’t forget safety equipment—goggles, gloves, and ear protection—to keep you safe. These tools make your project smoother, helping you craft a custom bike rack that fits perfectly and stands strong.
How Do I Maintain the Reclaimed Wood Over Time?
To maintain your reclaimed wood bike rack, focus on wood preservation by applying a protective finish like sealant or oil, which safeguards against moisture and pests. Regularly inspect and clean the wood, reapplying finishing techniques as needed to keep it durable. This proactive approach extends its lifespan, preserves its rustic charm, and ensures your rack stays sturdy and attractive over time.
outdoor reclaimed wood bike rack
As an affiliate, we earn on qualifying purchases.
As an affiliate, we earn on qualifying purchases.
Conclusion
So, now you’ve crafted a stunning bicycle rack from reclaimed wood—proof that even scrap wood can become a masterpiece. Soon, your neighbors will envy your eco-chic style, and your bike will be proud to hang out in such eco-friendly luxury. Just imagine the smug satisfaction as you save the planet one recycled plank at a time. Who knew that building a rack could make you feel like a hero—without breaking a sweat, or the bank?
rustic wood bike storage rack
As an affiliate, we earn on qualifying purchases.
As an affiliate, we earn on qualifying purchases.
DIY reclaimed wood bike rack plans
As an affiliate, we earn on qualifying purchases.
As an affiliate, we earn on qualifying purchases.