
To set up your router table for advanced woodworking, start by ensuring safety gear and a clutter-free workspace. Choose the right high-quality carbide bits and tighten them securely. Align the fence precisely using a square for perfect parallelism. Install control accessories like featherboards for stability, and set the cut depth gradually with test runs on scrap wood. Properly maintaining your bits and verifying all adjustments will help you achieve professional results—stick around to learn detailed setup and safety tips.
Key Takeaways
- Ensure the router table is stable, level, and securely mounted before making adjustments.
- Install the appropriate router bits, tighten the collet securely, and verify proper seating.
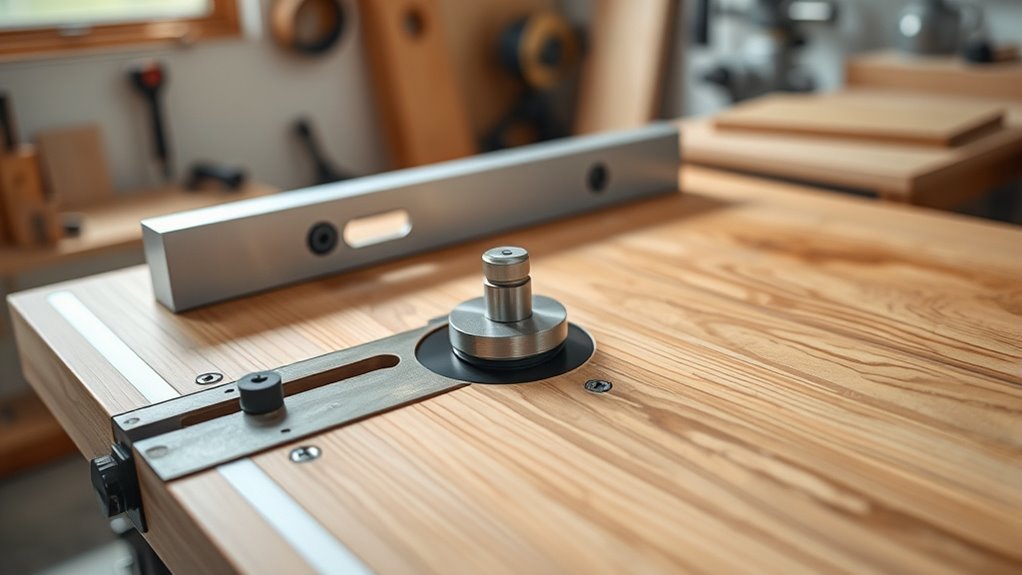
- Adjust the fence accurately using a square for precise alignment with the bit.
- Use featherboards and push blocks to maintain control and safety during advanced cuts.
- Set cut depths incrementally, testing on scrap wood to achieve desired results safely.
A router table is an essential tool for woodworking enthusiasts looking to achieve precise and consistent cuts. When you set up your router table, safety should be your top priority. Always wear eye and ear protection, and confirm your workspace is clear of clutter. Before turning on the router, double-check that all safety guards are in place and that the router is securely mounted. Keep your hands away from the cutting area and use push sticks or featherboards when working on small or delicate pieces. Never bypass safety features, and always unplug the router when changing bits or making adjustments. These precautions help prevent accidents and confirm you can work confidently.
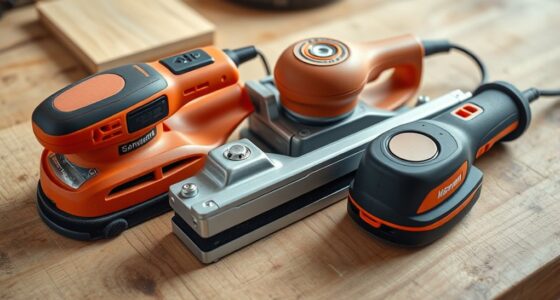
Choosing the right router bit is critical for achieving professional results. When selecting bits, consider the type of cut you’re aiming for—whether it’s edge profiling, dadoes, rabbets, or decorative details. High-quality bits made from carbide tend to last longer and provide cleaner cuts, especially with hardwoods. Match the bit shank size to your router’s collet capacity—most tables accommodate 1/4-inch or 1/2-inch shanks—and confirm the bit is properly seated and tightened before turning on the power. Check the bit’s condition for any signs of wear or damage; a dull or chipped bit can cause tear-out, burn marks, or even accidents. When in doubt, consult the manufacturer’s guidelines or seek advice at your local woodworking store.
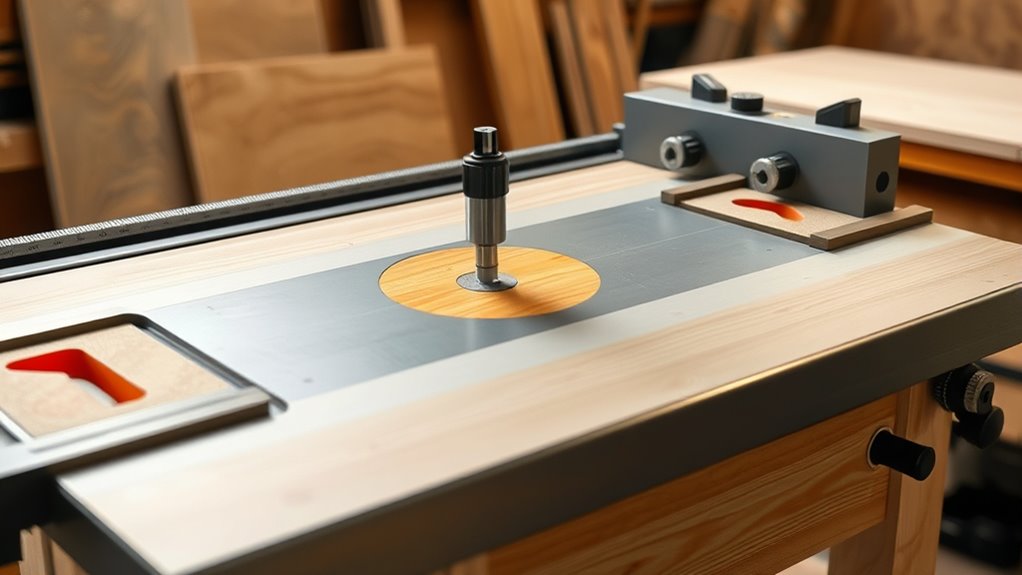
Setting up your router table for advanced cuts involves more than just installing the right bit. Take the time to adjust the fence accurately, ensuring it’s parallel to the bit for square cuts. Use a combination square or a carpenter’s square to verify alignment. Proper featherboards or push blocks can help you maintain control, especially on longer or more complex cuts. If your project requires multiple passes, set the cut depth incrementally to avoid excessive strain on the bit and reduce the risk of kickback. Always test your setup on scrap wood before working on your actual piece; this step helps you fine-tune the setup for maximum results.
Amazon Product B07X1RKLSW
As an affiliate, we earn on qualifying purchases.
Frequently Asked Questions
How Do I Choose the Right Router Bit for Complex Cuts?
To choose the right router bit for complex cut techniques, start by considering the material you’re working with and the specific cut you want to achieve. Look for bits designed for detailed work, such as spiral or ogee bits, that provide precision and clean edges. Pay attention to the bit’s size and shape, ensuring it matches your project requirements. Proper router bit selection helps you execute complex cuts accurately and efficiently.
What Safety Gear Is Essential When Operating a Router Table?
When operating a router table, you need essential safety gear like safety glasses to protect your eyes from flying debris and ear protection to guard against loud noise. Always wear these items before starting your project. Keep your hands clear of the bit and use push sticks when necessary. Ensuring you follow these safety measures helps prevent accidents and keeps you safe while working on complex cuts.
How Can I Adjust the Router Table for Different Thicknesses?
To modify your router table for different thicknesses, start with thickness adjustment by raising or lowering the router bit using the height adjustment knob or crank. Then, verify your fence calibration to ensure it’s aligned correctly for each thickness. Move the fence securely to match your desired cut, and double-check measurements before making passes. This way, you maintain precise cuts and safety with consistent fence calibration and proper thickness adjustment.
What Maintenance Is Needed to Keep the Router Table in Top Condition?
To keep your router table in top shape, regularly lubricate moving parts and check for smooth operation. Clean dust collection ports to prevent buildup, which can impact performance. Inspect the table surface for any damage or warping, and tighten all bolts and fasteners. Proper maintenance guarantees safety and consistency in your woodworking projects, helping your router table last longer and perform efficiently every time you use it.
How Do I Troubleshoot Common Issues With My Router Table?
If you encounter issues with your router table, first check the router table alignment to guarantee everything’s straight and secure. If cuts seem rough or imprecise, consider sharpening your router bit, as dull bits cause poor results. Also, verify that the fence is properly aligned and tightened. Regularly inspecting these components helps troubleshoot common issues, ensuring smooth, accurate cuts and maintaining the tool’s peak performance.
Amazon Product B0DJVNSQKD
As an affiliate, we earn on qualifying purchases.
Conclusion
Now that you’ve set up your router table for advanced woodworking, the possibilities are endless. But remember, the true test lies ahead—can you master the precision and control needed for those intricate projects? As you step back and look at your work, you’ll realize this setup is just the beginning. Are you ready to push your skills even further? The next challenge awaits—your journey into craftsmanship has only just begun.
Amazon Product B0CPYCPYD3
As an affiliate, we earn on qualifying purchases.
Amazon Product B000H14DLY
As an affiliate, we earn on qualifying purchases.