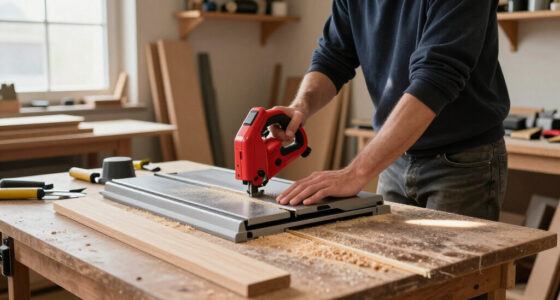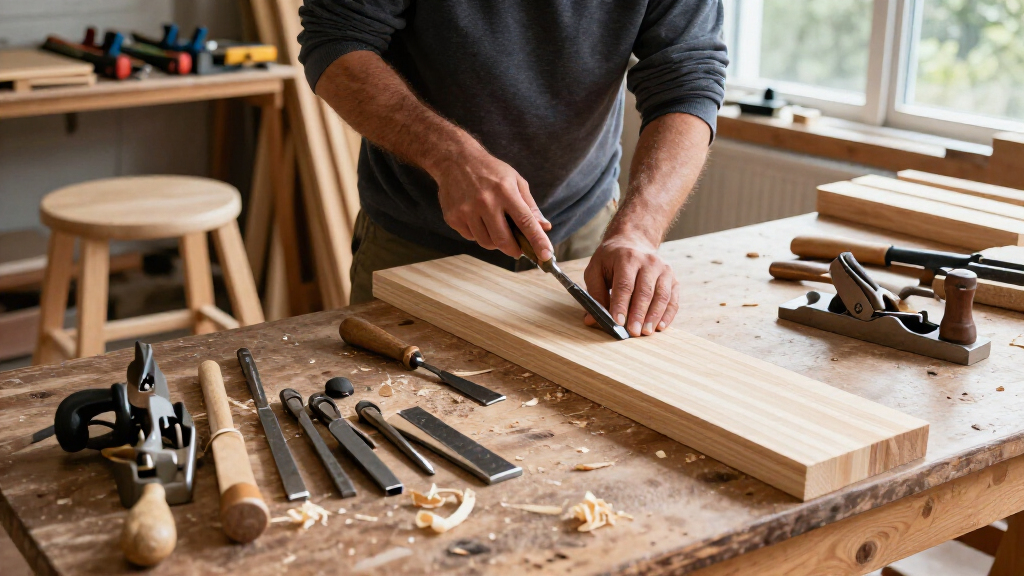

Use this guide to select and set up a practical woodworking tool set for common home projects such as shelves, small tables, planters, and basic repairs. It is written for beginners who want to buy only the tools they can use safely and often. Allow 1-2 hours to compare options and 30-60 minutes to organize and check the tools before starting a project.

Get business pricing on tools and workshop supplies
- Business-only prices and quantity discounts
- Tax-exempt purchasing
- Multiple users, one account, clear invoices

Wood Carving Kit Whittling Kit: Wood Carving Knife Tools with Leather Case
- ✔ Tool count: Four carving knives and four chisels
- ✔ Blade material: Alloy steel
- ✔ Handle material: Walnut

26 in 1 Wood Carving Tools Kit for Beginners
- ✔ Listed cutting tools: Four carving knives and six chisels
- ✔ Knife types: Chisel, spoon, detail, and whittling
- ✔ Chisel profiles: V-gouge, round gouge, bullnose, flat, and skew

Aluminium Woodwork Measuring and Scribing Tool Set – 9 Piece Precision Kit for Carpentry and DIY Projects
- ✔ Stated set size: Described as a 9-piece set; title also says 10 pieces
- ✔ Named tools: Angle ruler, dovetail gauge, scriber, and additional marking tools
- ✔ Material: Aluminium alloy
Difficulty: Beginner | Time: 1-2 hours for planning and shopping; setup takes 30-60 minutes
What You’ll Need
Tools & Materials:
- A list of planned projects and their materials
- A tape measure and pencil
- A safe, dry place to store tools
- Eye protection and hearing protection for powered tools
- A budget and a way to compare tool specifications
Knowledge:
- Basic familiarity with measuring and marking a straight line
- Willingness to read tool manuals and follow safety instructions
- Awareness that powered saws and drills require project-specific safety training
Plan the tool set around your first few projects, not every woodworking task you might attempt in the future. For large sheet goods or long boards, factor in how you will transport and support the material. Buy from a seller with a clear return policy, and check whether batteries, chargers, blades, and bits are included.
Wood Carving Kit Whittling Kit: Wood Carving Knife Tools with Leather Case
For DIYers who want to make a spoon, small figure, or decorative object by hand, this is the most complete starting point in the lineup. Its four knives and four chisels cover several kinds of shaping, hollowing, and detail work, while seven basswood blocks and a spoon blank give us material to practice on before sourcing our own stock. The illustrated fold-out guide adds something the 26 in 1 kit does not specifically list: a sequence of basic cuts and an eight-step spoon project. That makes this set easier to approach when we are learning both the tools and the workflow.The bundle also includes a sharpening stone, leather strop, polishing compound, sandpaper, blade sleeves, cut-resistant gloves, and a bandage. These accessories help address maintenance and handling, though they do not remove the need to learn safe carving technique. Walnut handles and alloy-steel blades are specified, but the listing does not describe blade dimensions or individual edge profiles in detail. Compared with the Cr-V 26 in 1 kit, this set has more clearly described teaching and practice materials, while the other kit claims a broader six-chisel selection and Cr-V steel. Skip this pick if our main goal is marking cabinet parts or building larger projects: its focus is hand carving, not general carpentry.
Pros:
- Includes seven basswood blocks and a spoon blank for immediate practice
- Illustrated guide covers basic cuts, care, and a spoon project
- Four knives and four chisels support varied hand-carving tasks
- Includes a sharpening stone, strop, compound, and stated protective items
Cons:
- Specialized for carving rather than broad woodworking or carpentry
- Blade dimensions and detailed steel specifications are not supplied
- The listing does not establish how the tools perform over extended use
Best for: First-time carvers who want practice wood, a guided spoon project, and basic sharpening and safety accessories in one bundle.
Not ideal for: DIYers who need measuring, marking, sawing, or assembly tools for furniture and home repairs.
Bottom line: We rank it first for beginner carving because it pairs a useful tool selection with the clearest practice and instruction package.
“We rank it first for beginner carving because it pairs a useful tool selection with the clearest practice and instruction package.”
26 in 1 Wood Carving Tools Kit for Beginners
This kit is a better match for DIYers who already know they want to carve and would rather prioritize tool variety over a structured lesson. The listed set contains four knives and six chisels, including V-gouge, round gouge, bullnose, flat, and skew forms. That assortment can make it easier to move between broad shaping and smaller details in projects such as spoons, stamps, or decorative pieces. Its chromium-vanadium steel specification also gives buyers a more specific blade-material description than the alloy-steel listing for our top pick, although the supplied details do not quantify edge life.Like the first-place kit, it includes basswood practice blocks, a leather strop, polishing wax, sandpaper, and cut-resistant gloves. Its canvas zip bag with blade sleeves is a compact way to keep tools together, but the description does not mention a project guide, templates, a spoon blank, or a sharpening stone. That is the key tradeoff against the Wood Carving Kit Whittling Kit: this option foregrounds a larger chisel assortment, while the top pick gives a novice clearer project support. The stated title says “26 in 1,” but the detailed contents identify ten cutting tools plus accessories, so we would confirm what the count represents if it matters to our purchase. This is not a layout or general-purpose workshop kit.
Pros:
- Lists four knives and six chisels with several named profiles
- Specifies chromium-vanadium steel blades
- Includes basswood blocks, strop, polishing wax, and sandpaper
- Canvas zip bag and blade sleeves support organized storage
Cons:
- No project guide or templates are specified in the supplied description
- A sharpening stone is not listed
- The relationship between the “26 in 1” title and the detailed contents is unclear
Best for: DIY carvers who want a broader stated range of gouge and chisel shapes and already have project guidance or can learn independently.
Not ideal for: Beginners who need a clearly described step-by-step project, templates, or a dedicated sharpening stone included.
Bottom line: We recommend it over the first-place kit when a carver values the stated chisel variety and steel specification more than guided first projects.
“We recommend it over the first-place kit when a carver values the stated chisel variety and steel specification more than guided first projects.”
Aluminium Woodwork Measuring and Scribing Tool Set – 9 Piece Precision Kit for Carpentry and DIY Projects
This set serves a different stage of a DIY project from the two carving kits. Its stated contents include an angle ruler, dovetail gauge, scriber, and other measuring and marking tools, so it is aimed at transferring dimensions and laying out lines before cutting or fitting pieces. For furniture work or small carpentry tasks, accurate layout can matter more than adding another carving knife; this is the only product here designed around that need. The machined aluminium alloy construction and clear gradations are intended to provide durable, readable references, while sharp scribing edges can help make a visible line on wood.Compared with the carving bundles, this kit does not include blades for shaping, practice stock, or carving instruction. It complements a workshop that already has cutting tools rather than replacing them. Storage is a strength: the red case is listed at 290 × 220 × 90 mm, which should keep small layout pieces together and portable. However, the product title says “9 Piece” and also “10 Pieces,” and the description uses broad phrases such as essential marking tools without a complete item-by-item inventory. We would verify exactly which tools are included before choosing it for a specific joint or measurement method. Its listing also mentions grinding and sanders in one section without clearly establishing their form or count, so buyers should not assume those are defined accessories.
Pros:
- Includes an angle ruler, dovetail gauge, and scriber according to the description
- Machined aluminium alloy tools with stated clear gradations
- Portable storage case keeps small layout tools organized
- Targets carpentry and furniture layout tasks not covered by the carving kits
Cons:
- Product title gives conflicting nine-piece and ten-piece counts
- The full contents are not itemized clearly
- Does not include carving tools or practice materials
Best for: DIY woodworkers who already own cutting tools and want a portable collection of measuring, angle, and scribing tools for layout.
Not ideal for: New makers looking for a hands-on carving bundle, practice wood, blades, or a fully itemized set of tools.
Bottom line: We place it third overall because it is useful for layout-focused DIY work but has a less clearly documented inventory and serves a narrower stage of woodworking.
“We place it third overall because it is useful for layout-focused DIY work but has a less clearly documented inventory and serves a narrower stage of woodworking.”
As an Amazon Associate we earn from qualifying purchases.
Before You Start
Write down the first two or three projects you expect to build. Note the materials, approximate dimensions, and cuts or holes each project requires. Tool needs vary: a shelf may need accurate measuring, drilling, and straight cuts, while a small carved item calls for different tools.
Set a firm budget that includes safety gear and consumables such as drill bits, sandpaper, and replacement blades. Do not use a tool with a damaged cord, loose handle, missing guard, or unclear controls. Read the manual before first use, and keep hands clear of cutting edges even when a tool is unplugged.
Step-by-Step Instructions
Step 1: List the work your first projects require
Write down whether each planned project requires measuring, marking, cutting, drilling, fastening, smoothing, or clamping. Record the material thickness and note whether any cuts need to be especially straight or precise. Use this list to identify the tools you need and avoid buying a large kit with items you will not use.
Tip: If you are unsure how a project will be cut, check its plans or ask the lumber supplier whether boards can be cut to size.
Check: You have a short project list with the operations and materials recorded for each one.
Step 2: Choose a basic hand tool group
Select a tape measure, combination square, pencil, hand saw suited to your typical cuts, hammer, screwdrivers, utility knife, and a set of clamps. Add a block plane or chisel only if your plans call for trimming, fitting, or joinery. Check that handles feel secure and comfortable, measuring marks are readable, and the square sits flat without wobbling.
Tip: A few dependable tools are easier to store and maintain than a large, inexpensive assortment with uneven quality.
Check: The hand tools cover the measuring, marking, holding, and basic assembly tasks on your project list.
Step 3: Decide which powered tools you need
Match each powered tool to a specific task on your list. Choose a drill/driver for pilot holes and screws, a circular saw for board cuts when you can use a suitable guide and stable support, and a random orbital sander for broad surfaces. Choose a jigsaw for curved cuts, not for long cuts that must be perfectly straight. If you are new to power tools, select the simplest operation your project needs and learn it from the manual or qualified instruction.
Tip: Check voltage, battery platform, blade or bit compatibility, guard features, and whether the kit includes a charger. Do not assume accessories fit every brand or model.
Check: Each powered tool has a specific job on your project list and compatible accessories are identified.
Step 4: Compare quality, fit, and total cost
Compare tools by the work they can safely perform, not by the number of pieces in a bundle. Inspect handles, adjustment controls, guards, switches, and battery fit where possible. Add the cost of batteries, charger, blades, bits, clamps, and protective equipment to the advertised price. Check warranty terms and return conditions before buying.
Tip: Avoid sets that include many duplicate screwdriver bits or small accessories while omitting the blade, charger, or safety gear you actually need.
Check: You can explain why each selected item belongs in the set and know the full cost of getting it ready to use.
Step 5: Buy safety gear and project consumables
Buy safety glasses that fit securely, hearing protection for noisy equipment, and a dust mask or respirator rated for the dust and finish products involved. Add suitable blades and bits, sandpaper, pencils, and fasteners for your first project. Follow the finish and dust product labels, and use dust extraction or ventilation as directed.
Tip: Tie back long hair, remove loose clothing and jewelry, and keep the work area clear before using rotating or cutting tools.
Check: You have the protective equipment and consumables needed for the selected tools and first project.
Step 6: Inspect and organize the tools
Check each tool for cracks, loose parts, damaged cords, missing guards, and smooth operation of switches and adjustments before use. Confirm that blades and bits are the correct type and are secured according to the manual. Store sharp tools with edges covered and keep batteries, cords, and manuals together in a dry location.
Tip: Disconnect a corded tool or remove its battery before changing a blade, bit, or accessory.
Check: The tools are intact, accessories are fitted correctly, and you can find the manual and safety gear.
Step 7: Practice on scrap before building
Secure a piece of scrap wood to a stable work surface, then practice the measuring, marking, drilling, fastening, or cutting operations your project requires. Set the tool down before adjusting the workpiece. Keep both hands outside the cutting path, and wait for moving parts to stop before setting a powered tool aside. Do not proceed if you are unsure how to control the tool safely.
Tip: Use scrap of a similar thickness and type to your project material; tool behavior can change with harder wood or a different cut.
Check: Your test piece shows controlled operation and the result is accurate enough for the project. You know how to stop the tool and secure the work safely.
Common Mistakes to Avoid
- Buying a large kit because it contains many pieces. — Match each tool to a listed project task and favor sound construction, useful accessories, and a clear warranty.
- Forgetting the cost of batteries, blades, bits, clamps, and protective gear. — Compare the complete ready-to-use cost, including the consumables required for your first project.
- Using a saw without supporting the workpiece or checking the cut path. — Secure the wood, confirm the blade path is clear, and follow the saw manual’s setup and operating instructions.
- Starting on the project material before learning the tool. — Practice on similar scrap and confirm the controls, adjustment, and stopping procedure first.
Troubleshooting
Problem: The drill bit wanders when you start a hole.
Solution: Mark the hole accurately, use a center punch or small pilot hole when suitable, hold the drill square to the surface, and secure the workpiece. Choose a bit intended for wood.
Problem: A cut wanders away from the marked line.
Solution: Stop and disconnect or remove the battery before inspecting the setup. Check blade sharpness and fit, support the wood, and use a straightedge guide when the saw and cut allow it. Practice on scrap before trying again.
Problem: Screws split the wood or sit proud of the surface.
Solution: Use the correct screw length and driver bit. Drill a pilot hole when appropriate, keep the driver aligned, and stop when the screw head reaches the intended depth.
Problem: A tool feels loose, vibrates unusually, or overheats.
Solution: Stop using it and disconnect power or remove the battery. Check the manual for basic inspection steps. Do not operate it again if a part is damaged, a guard is missing, or the cause is unclear; contact the maker or a repair service.
What Success Looks Like
Your set contains tools tied to specific project tasks, the full purchase includes compatible accessories and safety gear, and every tool passes a basic visual inspection. You can store the tools safely, locate their manuals, and complete a practice operation on scrap with the workpiece secured. Before building, confirm that your chosen tools can perform every cut, hole, and fastening operation in the project plan.
Next Steps
Use the set on one small project and note which tools you used, which accessories ran out, and where setup caused difficulty. Clean tools after use, replace worn blades or bits, and store batteries and sharp edges according to their manuals. Add tools only when a planned project requires a capability your current set does not provide. If a cut or operation exceeds your experience, get instruction or have the material prepared by a qualified service.
Frequently Asked Questions
What should a beginner woodworking tool set include?
Start with measuring and marking tools, a suitable hand saw, hammer, screwdrivers, clamps, and a drill/driver if your projects need holes or screws. Add powered cutting or sanding tools to match specific plans. Include eye protection and any other protective gear called for by the tool and material.
Do I need a table saw for DIY woodworking?
No. Many home projects can use pre-cut lumber, a hand saw, or a circular saw with a guide and stable support. A table saw can be useful for repeated cuts, but it needs careful setup, training, and safe workspace. Select it only when your projects and skills call for it.
Are cordless tools suitable for woodworking projects?
Yes, cordless drills and other battery tools can suit many DIY tasks. Check that the battery platform supports the tool, that the battery and charger are included or budgeted for, and that the tool has enough capacity for the materials and work planned.
How many clamps do I need to start?
Buy enough clamps to hold the parts of your first project securely during assembly or cutting. The number and size depend on the board dimensions and joint layout. Check the project plans, and avoid placing clamps where they obstruct the tool or cut path.
When should I replace a blade or drill bit?
Replace or sharpen an accessory when it is damaged, dull, or produces rough results despite correct setup. Follow the tool manual for compatible sizes and installation. Disconnect the tool or remove its battery before changing an accessory.