
To install a pegboard wall, start by choosing a visible, accessible spot that can hold the weight of tools, ideally above your workbench. Measure and mark the wall, locating studs with a stud finder for secure anchoring. Pre-drill holes in the pegboard, then use screws that go directly into the studs or wall anchors if studs aren’t available. Secure the pegboard firmly, ensuring it’s level, and then customize by adding hooks and accessories for your tools. Keep going to discover even smarter organization tips.
Key Takeaways
- Select a visible, sturdy wall area and locate wall studs using a stud finder for secure mounting.
- Measure and mark the pegboard dimensions and drill holes at designated points on the wall.
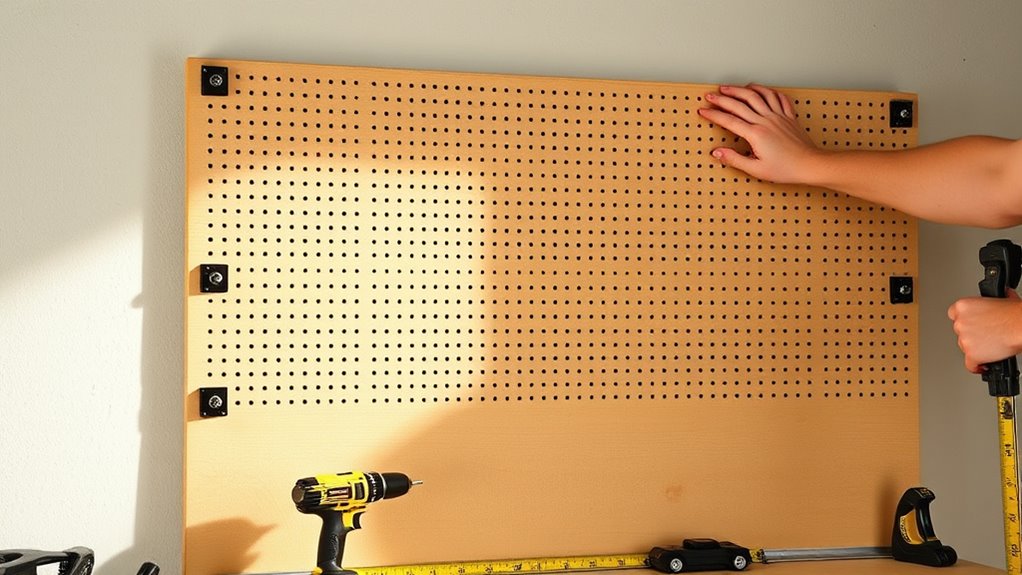
- Align the pegboard with marked spots, then secure it with appropriately long screws into wall studs or anchors.
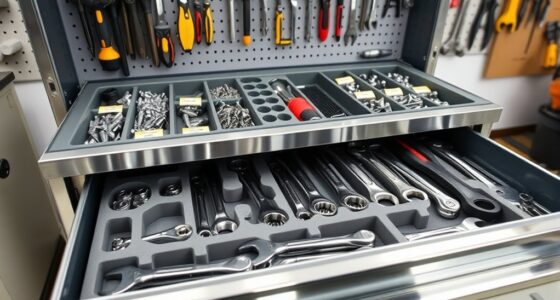
- Insert hooks and organize tools for easy access, adjusting placement for optimum visibility and efficiency.
- Verify levelness, make final adjustments, and evaluate organization to ensure a functional, tidy workspace.
Installing a pegboard wall is an excellent way to organize your tools and maximize your workspace. When you set up a pegboard, you instantly create a central hub for tool organization, making it easier to find what you need and keep everything tidy. By utilizing vertical space, you optimize your area’s layout, freeing up valuable surface space for other projects. This approach not only makes your workshop more efficient but also helps prevent clutter from piling up on workbenches or in drawers.
Maximize your workspace and stay organized with a pegboard wall for easy, vertical tool storage.
Begin by choosing the right location for your pegboard. Find a spot that’s easily accessible and visible, ideally above your workbench or on a wall that you frequently use. Make sure the wall can support the weight of your tools and the pegboard itself. Once you’ve identified the spot, measure the dimensions of your pegboard to ensure it fits well within your designated space. Keep in mind that a larger board offers more organization options, but it should still leave room for movement and other storage needs.
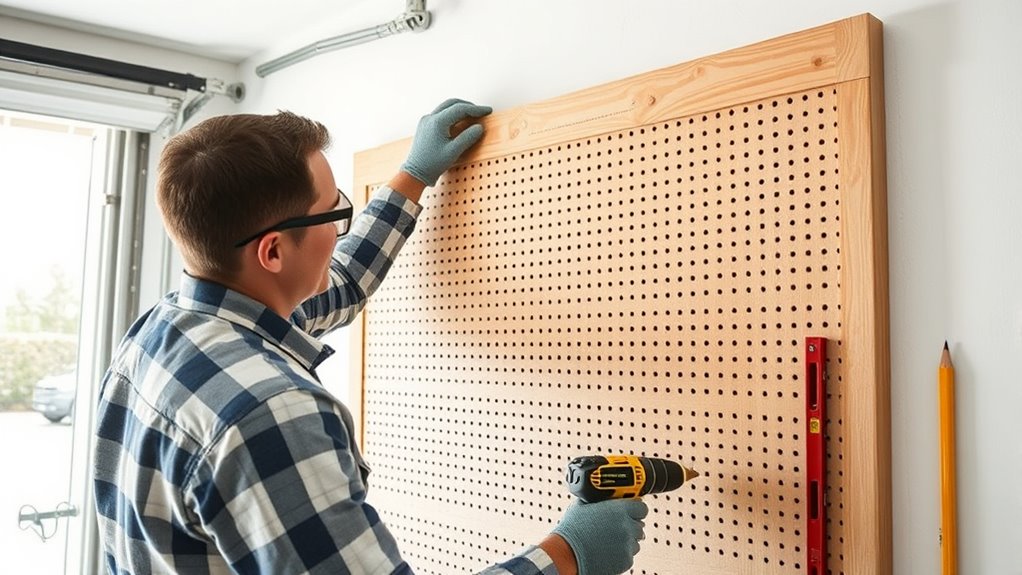
Next, mark the mounting points on the wall. Use a level and a pencil to draw straight lines where you’ll install the brackets or hooks. To ensure your pegboard is secure, locate wall studs using a stud finder. Attaching the pegboard to studs provides maximum stability, especially if you plan to hang heavy tools. If studs aren’t available in the desired location, use appropriate wall anchors designed for your wall type. Pre-drill holes into your pegboard at the marked spots to prevent cracking and make installation smoother.
When hanging the pegboard, align it with your markings and secure it to the wall using screws. If you’re anchoring into studs, use long screws that penetrate at least 1.5 inches into the wall. For wall anchors, follow the manufacturer’s instructions to guarantee a solid hold. Once mounted, you can start customizing your tool organization system by inserting hooks, pegs, or baskets. Arrange tools by frequency of use or category, such as hand tools, power tools, or accessories, to make retrieving them quick and intuitive.
Finally, step back and evaluate your setup. Adjust hooks and accessories to improve access or visibility. With your pegboard in place, you’ll notice how much easier it becomes to keep your tools organized, saving you time and effort during your projects. The space optimization achieved by vertical storage means you can add more tools without cluttering your workspace. Overall, installing a pegboard wall transforms your workshop into a more functional, efficient area, making tool management a breeze while keeping everything within reach.
Additionally, incorporating visual organization techniques can further improve your workspace’s efficiency by making tools easier to locate at a glance.
Frequently Asked Questions
What Is the Best Material for a Pegboard Wall?
When choosing a pegboard material, you want something durable and sturdy. Masonite or hardboard often works well because they are affordable and easy to cut. For better durability considerations, metal pegboards or plastic ones are more resistant to damage and moisture, making them ideal for garages or workshops. Think about where you’ll install it and how much weight you’ll hang to pick the best material for your needs.
Can I Install a Pegboard on Uneven Surfaces?
Ever wondered if you can mount a pegboard on uneven surfaces? Absolutely, but surface preparation techniques matter. You’ll need to level the surface first and use shims or spacers to fill gaps. Secure the pegboard with appropriate anchors or screws, ensuring it’s flush and stable. By addressing uneven surfaces beforehand, you create a sturdy, functional wall that holds your tools securely, making your workspace both practical and organized.
How Much Weight Can a Pegboard Hold?
You wonder about the weight capacity of a pegboard. It typically holds between 50 to 100 pounds, but this depends on the material and installation. To maximize load distribution, evenly spread the weight across the entire board and use appropriate hooks and anchors. Make certain your wall can support the load, and avoid concentrated weight in one spot to prevent damage or failure of the pegboard.
Are There Different Types of Hooks for Pegboards?
You’ll find that there are different types of hooks for pegboards, each designed to suit various pegboard accessories and ensuring hook compatibility. Some hooks are ideal for holding tools, while others are better for lightweight items or specific shapes. When choosing hooks, consider your pegboard’s hole size and the weight of what you plan to hang, so you select the right accessories that fit securely and work well together.
How Do I Maintain and Clean My Pegboard Wall?
To maintain and clean your pegboard wall, follow simple cleaning methods and maintenance routines. Regularly dust it with a soft cloth or a vacuum with a brush attachment. For stubborn dirt, use a damp cloth with mild soap, then dry thoroughly. Check hooks and accessories for damage, replacing or adjusting as needed. Keeping your pegboard clean and well-maintained guarantees it stays functional, organized, and looking great over time.
Conclusion
Now that you’ve installed your pegboard wall, it’s like giving your space a fresh canvas—ready to be painted with your tools and creativity. With each hook and shelf, you’re weaving a tapestry of organization that’s both functional and inspiring. Remember, this isn’t just a wall; it’s a stage where your ideas and projects will come to life. So step back, admire your handiwork, and let your new setup be the backbone of your productivity journey.