Before starting your wet tile saw station, set up water containment with waterproof mats or barriers to catch splashes and prevent spills. Confirm electrical safety by installing GFCI outlets, grounding your tools, and keeping cords away from water. Organize your workspace with accessible, waterproof features and stable surfaces for safety and efficiency. Proper planning helps prevent water damage, electrical hazards, and clutter. Keep exploring to discover essential tips for a safe, durable, and well-organized wet saw station.
Key Takeaways
- Install waterproof mats, barriers, and enclosures to contain water and prevent splashes from spreading.
- Ensure electrical outlets are GFCI-rated, properly grounded, and positioned away from water sources.
- Arrange water containment and electrical components at accessible heights for safety and maintenance.
- Use durable, waterproof materials for all containment systems and electrical protections to enhance longevity.
- Plan for adequate ventilation to reduce moisture buildup and improve workspace air quality.
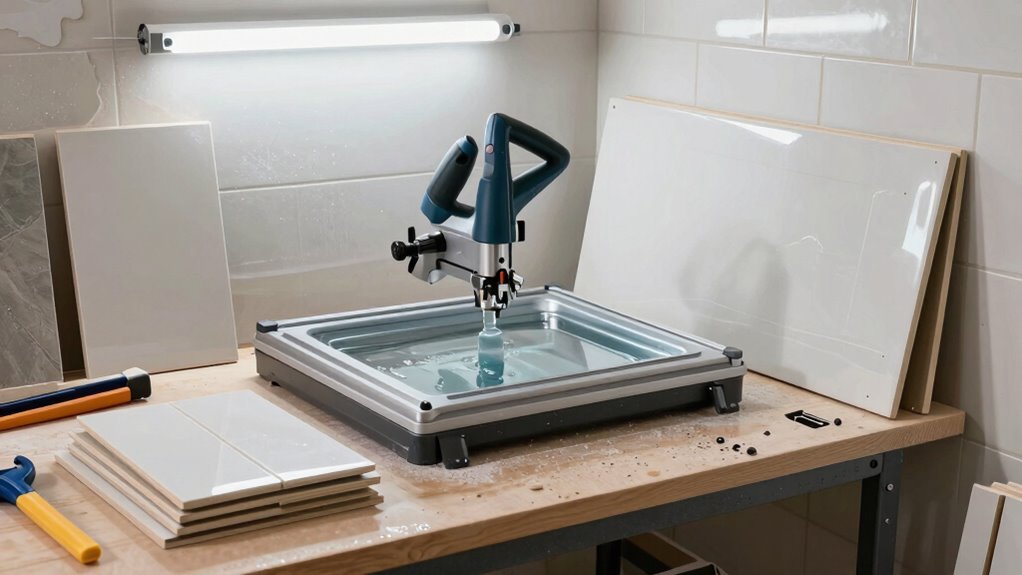
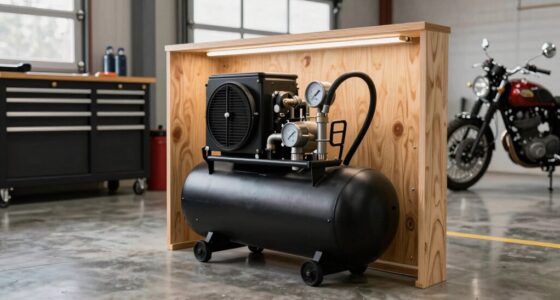
Setting up a wet tile saw station requires careful planning to guarantee safety, efficiency, and convenience. One of your top priorities should be water containment. Without proper measures, water can splash onto the floor, creating slip hazards and damaging surrounding surfaces. To prevent this, you need a designated area that can contain water runoff. Consider installing a waterproof mat or tray beneath the saw to catch drips and splashes. Using a barrier or a waterproof enclosure around the saw can further limit water spray, keeping the workspace dry and safe. Proper water containment not only protects your flooring but also makes cleanup easier, saving you time and effort in the long run. Additionally, incorporating waterproofing measures ensures your setup remains durable and leak-free over time. It’s also important to regularly inspect your containment system for any signs of wear or leaks to maintain safety and efficiency. Ensuring your setup includes appropriate waterproofing techniques will help prevent leaks and prolong the lifespan of your station. Incorporating water management strategies can further enhance the effectiveness of your containment system, reducing water-related hazards.
Prioritize water containment with waterproof mats or barriers to keep your workspace safe and dry.
Electrical safety is equally critical. Water and electricity are a dangerous combination, so you must plan your setup with safety in mind. Before you start, ensure your power supply is grounded correctly and that all electrical components are rated for wet environments. Use GFCI (Ground Fault Circuit Interrupter) outlets to cut off power instantly if a leak or spill causes a short circuit. Keep extension cords and power strips away from water, and avoid running cords across wet surfaces. Position your electrical outlets at a safe distance from the water containment zone, and consider installing a dedicated circuit for your saw to prevent overloads. Proper electrical safety measures minimize risk and promote a safer workspace. Additionally, check that the saw has proper insulation and that all cords and plugs are in good condition before use. Proper electrical planning minimizes risk and promotes a safer workspace.
When planning your station, think about accessibility and ergonomics. Place your water containment system and electrical outlets at convenient heights to reduce strain and make it easier to operate the saw and perform maintenance. Use waterproof conduit or conduit covers to protect wiring from water exposure. You’ll also want to ensure your work surface is stable and level, facilitating precise cuts and minimizing the chance of accidents. Properly organizing your tools and accessories nearby will help keep your workspace tidy and safe. Incorporating ergonomic workspace design can significantly improve comfort and productivity during long projects.
Finally, don’t forget about ventilation. Wet saws produce a lot of mist and dust, so good airflow will improve visibility, reduce moisture buildup, and create a healthier workspace. By taking these steps—focusing on water containment and electrical safety—you set the stage for a safe, efficient, and clean tile cutting process. Planning ahead ensures your project proceeds smoothly without water surprises or electrical hazards derailing your progress.
waterproof mats for tile saw station
As an affiliate, we earn on qualifying purchases.
As an affiliate, we earn on qualifying purchases.
Frequently Asked Questions
How Much Space Do I Need for a Wet Tile Saw Station?
You’ll need at least 3 to 4 feet of space for your wet tile saw station to allow proper tile saw placement and comfortable workspace organization. Make sure there’s enough room for the saw, water collection, and movement around it. Keep the area clear of clutter and provide a sturdy surface. This setup helps prevent water spills and makes cutting tiles safer and more efficient.
Can I Install a Wet Tile Saw Outdoors?
Yes, you can install a wet tile saw outdoors, but you need to take into account weather conditions and proper outdoor setup. Make sure your saw is protected from rain, snow, and extreme temperatures by housing it in a sturdy, weatherproof enclosure. You should also have a reliable drainage system and protect electrical connections from moisture. Planning for these weather considerations helps prevent damage and ensures safe, efficient operation of your outdoor wet tile saw station.
What Safety Gear Is Recommended When Using a Wet Tile Saw?
When using a wet tile saw, you should wear protective eyewear to shield your eyes from splashes and debris. Hearing protection is also essential to prevent damage from the loud noise. Make certain to choose safety gear that fits well and is rated for construction sites. Always follow the manufacturer’s safety instructions, and double-check your gear before starting your project to ensure maximum protection.
How Do I Prevent Water Damage in My Workshop?
You can prevent water damage in your workshop by installing waterproof flooring to protect surfaces from spills and leaks. Additionally, guarantee proper ventilation solutions are in place to dry out moisture quickly, reducing mold and damage risks. Regularly check for leaks or drips and address them promptly. Using waterproof materials and adequate airflow keeps your workspace safe, dry, and protected from water-related issues during wet tile work.
What Is the Average Cost to Set up a Wet Tile Saw Station?
The average cost to set up a wet tile saw station ranges from $200 to $1,000, depending on the equipment and water management system you choose. For effective tile cutting, invest in a quality saw and proper water containment methods like a drain or water diverter. Remember, prioritizing water management prevents costly water damage and keeps your workspace safe and clean.
GFCI outlets for wet areas
As an affiliate, we earn on qualifying purchases.
As an affiliate, we earn on qualifying purchases.
Conclusion
Now that you’ve got a solid plan in place, you’re well on your way to building a practical and efficient wet tile saw station. Remember, a little preparation goes a long way—don’t wait until water’s everywhere to realize you missed a step. Stay ahead of the game, and you’ll save yourself headaches down the road. With everything in its right place, you’ll be cutting tiles with confidence and ease, proving that patience and planning truly pay off.
water containment barriers for tile cutting
As an affiliate, we earn on qualifying purchases.
As an affiliate, we earn on qualifying purchases.
electric safety outlets for workshop
As an affiliate, we earn on qualifying purchases.
As an affiliate, we earn on qualifying purchases.