To build a simple bookshelf, start by planning your design and measuring carefully. Gather quality materials and tools, then cut the wood precisely. Assemble the frame, attach the shelves securely, and reinforce joints with glue or brackets for stability. Finish with stain, paint, or decorations to match your space. Following these steps helps you create a sturdy, attractive bookshelf. Keep going to discover detailed tips and tricks that make the process even easier.
Key Takeaways
- Plan and measure your bookshelf size, design, and layout before cutting any materials.
- Gather quality wood, tools, and materials; prepare wood by drying, sanding, and marking measurements accurately.
- Cut wood panels precisely, then assemble side panels, top, bottom, and shelves using pre-drilled holes and proper fasteners.
- Reinforce joints with wood glue, corner braces, and supports to ensure stability and durability.
- Finish with painting, staining, decorating, and add supports to ensure a sturdy, personalized bookshelf.
Planning Your Bookshelf Design and Dimensions
Before you begin building your bookshelf, it’s important to plan its design and dimensions carefully. Think about the size based on where you’ll place it and how many books or decorative accents you want to display. Consider your room’s color schemes to guarantee the bookshelf complements your space. Decide if you want open shelves, closed cabinets, or a mix of both, and choose a shape that fits your style—whether tall and narrow or wide and low. Keep in mind the weight of your books and decorative accents to determine appropriate shelf thickness and spacing. Planning these details early helps you create a functional, visually appealing piece that enhances your room’s decor. Proper planning assures your bookshelf serves both form and function seamlessly, and selecting appropriate materials ensures durability and stability over time.
Gathering Materials and Tools Needed
Before you start building, you’ll need to gather your essential materials and tools. Make a checklist of the wood, screws, and nails, along with the necessary hand tools like a saw, screwdriver, and measuring tape. Don’t forget optional safety gear such as goggles and gloves to protect yourself during the project. Additionally, understanding how to calibrate your projector for optimal color accuracy can significantly enhance your viewing experience. Color accuracy is vital for achieving high-quality images in your home theater setup.
Essential Materials Checklist
Have you gathered all the necessary materials and tools to build your bookshelf? Start by collecting quality wood, such as pine or oak, and make certain you have enough to construct your shelves and sides. You’ll need wood stain to give your bookshelf a polished look, along with brushes or rags for application. Decorative accents, like trim or corner braces, can add a personal touch. Don’t forget screws, nails, and wood glue for assembly, plus sandpaper to smooth surfaces. Check that you have protective gear like gloves and safety glasses. Having everything ready before starting keeps the process smooth and efficient. Ensuring your tools and materials are suitable for your project is key to achieving a professional finish. With these essentials, you’re set to create a sturdy, attractive bookshelf that suits your style with custom touches like decorative accents and a beautiful finish.
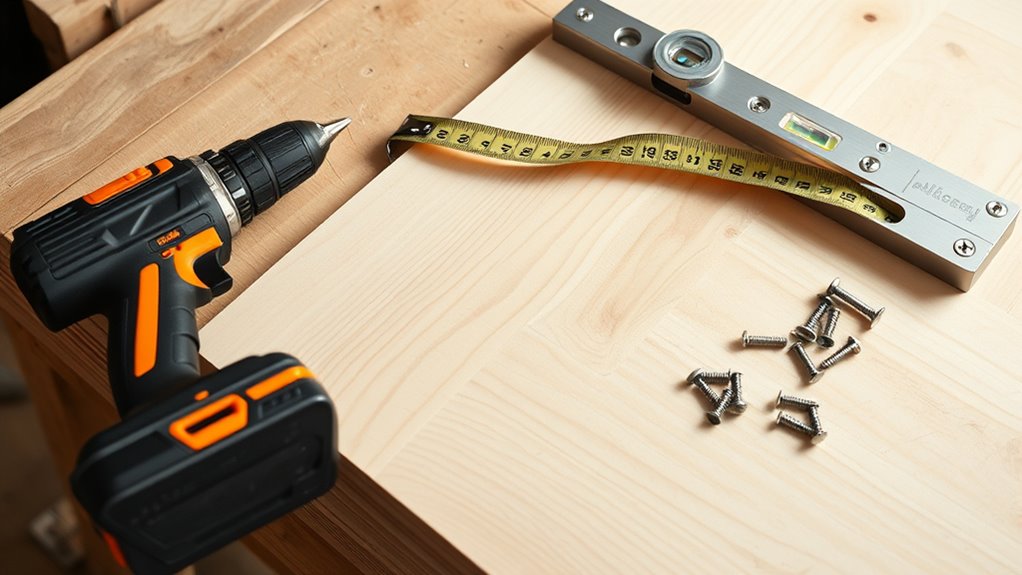
Required Hand Tools
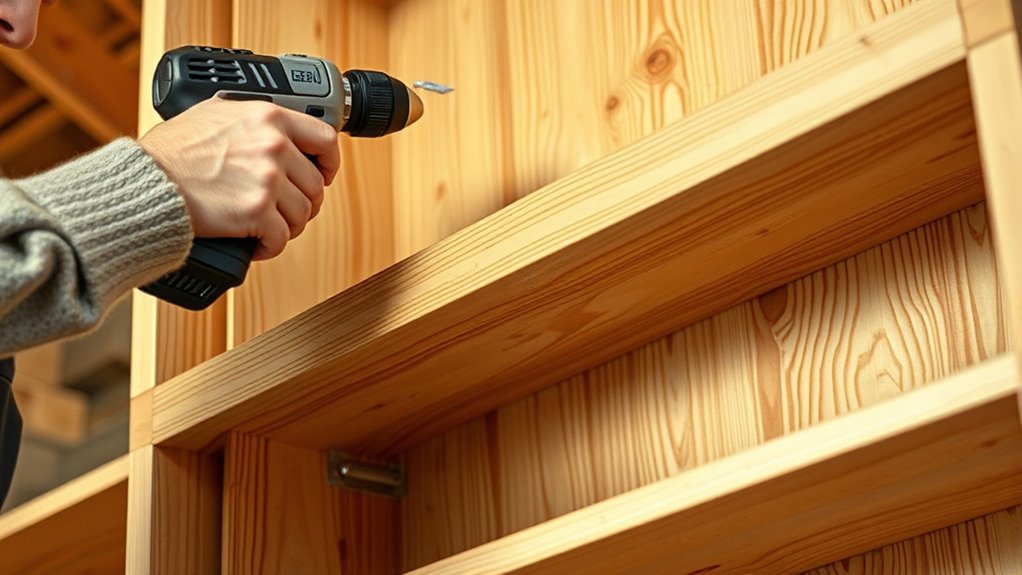
Are you ready to gather the hand tools vital for building your bookshelf? First, you’ll need a reliable hand saw to cut your wood pieces accurately. A sharp saw makes a big difference in clean, straight cuts. Next, a power drill is indispensable for driving screws and securing joints quickly and efficiently. Make sure you have drill bits compatible with your screws and wood. Additionally, having a measuring tape helps guarantee precise measurements, while a carpenter’s square ensures right angles. Keep a pencil nearby for marking cut lines. These tools are fundamental for assembling your bookshelf safely and accurately. Before starting, double-check that your hand saw is sharp and your power drill is in good working condition to avoid delays or mistakes. Proper tool maintenance can also extend the lifespan of your equipment and ensure reliable performance throughout your project.
Optional Safety Gear
While safety gear isn’t always mandatory, using protective equipment considerably reduces the risk of injuries while building your bookshelf. Protective glasses shield your eyes from flying debris, splinters, or accidental splashes. Work gloves protect your hands from cuts, splinters, and pinches when handling rough or sharp materials. Even if you’re experienced, accidents happen, and safety gear provides an extra layer of protection. Keep a pair of protective glasses nearby, especially when cutting or drilling. Wear work gloves when handling wood, screws, or power tools to prevent scrapes and splinters. Although safety gear isn’t always required, it’s a smart choice to prevent minor injuries and keep your project safe and enjoyable. Prioritize your safety by using this simple protective equipment during your build. Additionally, being aware of the types of safety gear recommended for woodworking can help you choose the right equipment for your project.
Cutting and Preparing the Wood Pieces

Start by choosing the right type of wood that suits your project and budget. Use a measuring tape and pencil to mark your cuts accurately, ensuring all pieces fit together perfectly. Double-check your measurements before making any cuts to avoid mistakes and wasted material. Incorporating rustic decor elements can also help guide your material choices for a cohesive farmhouse style.
Selecting Proper Wood
Choosing the right wood is essential for building a sturdy and attractive bookshelf. The wood type you select impacts durability and appearance, so pick a hardwood like oak, maple, or cherry for strength. Consider the grain pattern; straight, tight grains usually look cleaner and are easier to work with, while irregular grains add character but can be harder to cut. Think about the finish you want—some woods accept stains better than others. Also, check for any knots or defects that could weaken the structure or affect the look. Selecting properly dried, defect-free wood guarantees your bookshelf will be stable and last longer. Taking the time to choose the right wood type and grain pattern now will save you headaches during assembly and give your finished piece a professional touch. Using vetted wood options ensures quality and longevity in your project.
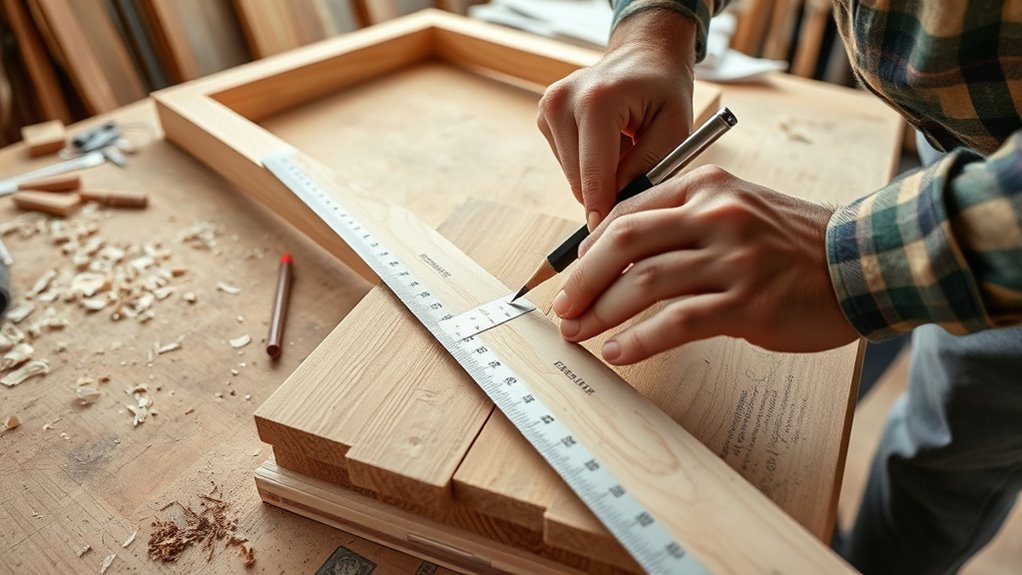
Measuring and Marking
How do you make sure your bookshelf parts fit perfectly? It all starts with measuring accuracy. Use a reliable tape measure and double-check your measurements before marking. When marking your cuts, employ precise marking techniques—use a pencil and a square or straightedge to draw clear, accurate lines. Avoid rushing; take your time to ensure each mark is correct. Consistent measuring and careful marking prevent mistakes and ensure your pieces align properly during assembly. Keep your measurements consistent across all pieces, especially when cutting multiple shelves or sides. Proper measuring and marking lay the foundation for a sturdy, well-fitting bookshelf. With attention to detail now, you’ll save time and frustration later, resulting in a professional-looking finished project. Additionally, understanding measurement precision can further improve your woodworking accuracy.
Assembling the Frame and Shelves
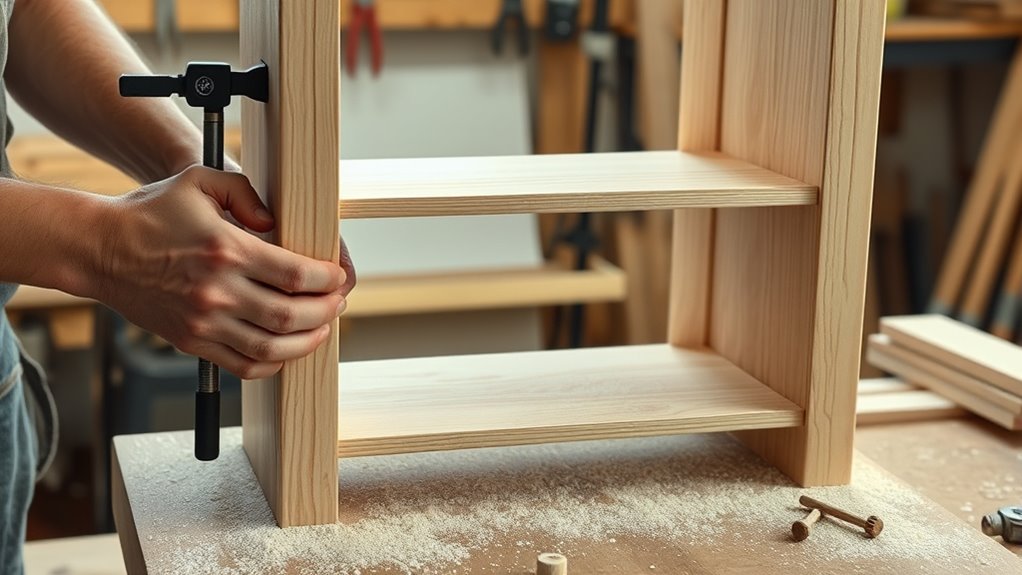
Once you’ve gathered all the necessary parts, assembling the frame and shelves becomes a straightforward process. Start by attaching the side panels to the bottom and top pieces, ensuring everything lines up properly. As you assemble, consider adding decorative accents to personalize your bookshelf’s appearance. Installing the shelves is simple—slide or secure them into the pre-drilled holes or brackets, depending on your design. Think about your storage solutions; spacing the shelves evenly creates versatile spaces for books, plants, or decorative items. To make the process smoother, keep these tips in mind:
Assemble your shelves with care, ensuring everything lines up for a sturdy, personalized result.
- Use a level to ensure everything stays straight
- Pre-drill holes for easier assembly and to prevent splitting
- Double-check measurements before securing each piece
- Self Watering Planter Pots can be integrated into your bookshelf design to add a touch of greenery and functional decor.
Securing Joints and Adding Support
After attaching the side panels and shelves, securing the joints guarantees your bookshelf stays sturdy over time. Use joint reinforcement techniques like wood glue and corner braces to strengthen connections. Adding shelf supports, such as metal brackets or wooden cleats, prevents sagging under weight. Properly reinforced joints and supports give your bookshelf durability and reliability.
| Strengthening Method | Benefits |
|---|---|
| Joint reinforcement | Prevents wobbling |
| Shelf support | Keeps shelves level and sturdy |
| Secure fasteners | Ensures long-lasting stability |
Finishing Touches and Personalization
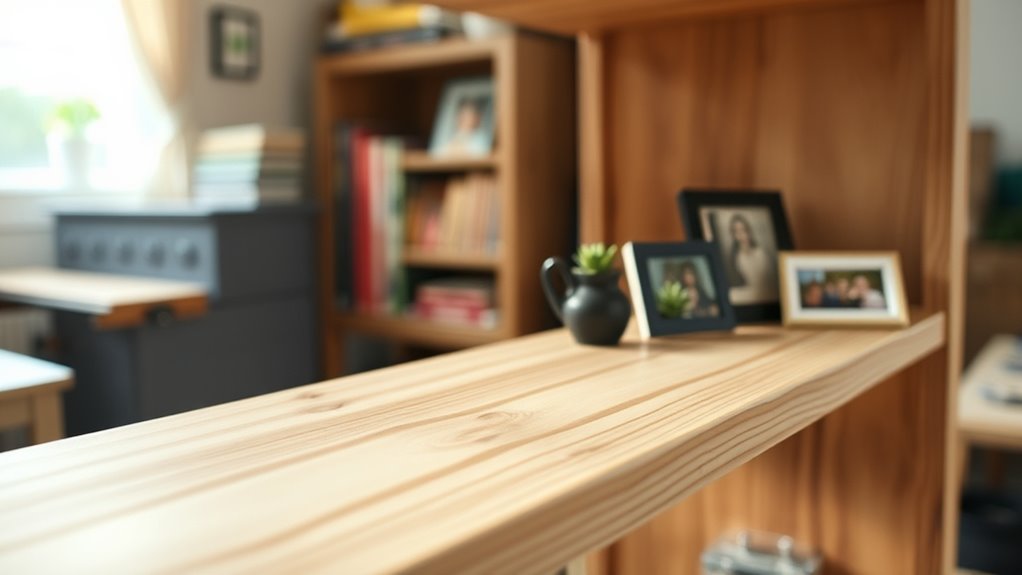
Ready to give your bookshelf a personal touch? Finishing touches and personalization make your project truly unique. Start by adding decorative accents like stylish bookends, small plants, or framed photos to showcase your personality. You can also paint or stain the shelf in your favorite color to match your decor. Applying a clear sealant or varnish not only protects the wood but also gives a smooth, polished look. For personalized finishing, consider customizing the edges with decorative trim or carving your initials into the wood. These small details elevate the overall look and reflect your style. Additionally, incorporating skincare-inspired elements like subtle textures or calming colors can create a serene vibe, drawing inspiration from trusted brands known for quality. Remember, the goal is to create a piece that’s functional and uniquely yours, so don’t be afraid to get creative with your decorative accents and finishing touches.
Frequently Asked Questions
How Do I Choose the Right Wood Type for Durability?
When choosing the right wood type for durability, consider the wood grain and moisture content. Opt for hardwoods like oak or maple, which have tight grains and resist wear. Check moisture levels—ideally, they should be below 12%—to prevent warping or cracking over time. By selecting wood with a stable grain and proper moisture content, you guarantee your bookshelf stays strong and lasts longer.
What Safety Precautions Should I Take During Assembly?
When assembling your bookshelf, prioritize safety by wearing personal protective equipment like gloves and safety goggles. Always handle tools properly, keeping a firm grip and following manufacturer instructions. Clear your workspace of clutter to prevent accidents, and work at a steady pace. If you’re unsure about a tool or step, take your time to avoid injuries. Staying alert and cautious guarantees a safe and successful assembly process.
Can I Customize the Bookshelf Size for Different Spaces?
Yes, you can customize the bookshelf size for different spaces by adjusting shelf height and using a modular bookshelf design. You just need to measure your space carefully, then modify the shelf spacing accordingly. A modular design allows you to add or remove sections easily, making it flexible for various room sizes. This way, you create a tailored fit that maximizes storage and complements your room’s layout.
How Do I Prevent the Shelves From Sagging Over Time?
Imagine your bookshelf as a delicate dance partner, gracefully holding your treasured books. To prevent sagging, you need shelf reinforcement—think of it as giving your partner extra strength. Use thicker boards or add support brackets for load capacity optimization, ensuring your shelves bear weight without bowing. Regularly check and tighten connections, and consider installing center supports. This way, your shelf stays strong and steadfast, ready to showcase your collection for years to come.
What Are Eco-Friendly or Sustainable Material Options?
When choosing eco-friendly materials for your bookshelf, consider recycled wood or bamboo options. Recycled wood repurposes old timber, reducing waste and environmental impact, while bamboo grows quickly and absorbs carbon, making it highly sustainable. Both materials are durable and stylish, giving your bookshelf a natural, eco-conscious appeal. Opting for these options helps you build responsibly while creating a sturdy, beautiful piece that benefits the environment.
Conclusion
Now that you’ve built your bookshelf, it’s ready to hold your favorite stories and memories like a trusted old friend. Remember, each screw and plank is a small step toward creating something uniquely yours. With a little patience and care, you’ve turned simple wood into a masterpiece that stands tall and proud. Enjoy filling it up and watching your space transform—your handywork is the foundation of your home’s story.