
To paint a room like a pro, start by prepping your space—move furniture, cover floors, and clean walls. Use quality brushes and paint suited for your desired finish. Master smooth, even strokes, maintaining a wet edge to prevent lap marks. Address common issues like drips and uneven streaks with patience and proper techniques. Finish with clean-up and touch-ups for a flawless look. Keep exploring for expert tips that will take your skills even further.
Key Takeaways
- Prepare the space thoroughly by cleaning walls, removing hardware, and protecting floors and furniture.
- Choose quality paints and brushes suited for different surfaces and desired finishes.
- Apply paint with consistent techniques, using long, smooth strokes and maintaining a wet edge.
- Address common challenges like lap marks and drips by proper tool loading and working quickly.
- Finish with careful touch-ups, removing painter’s tape, and cleaning tools for a professional look.
interior wall paint brushes
As an affiliate, we earn on qualifying purchases.
As an affiliate, we earn on qualifying purchases.
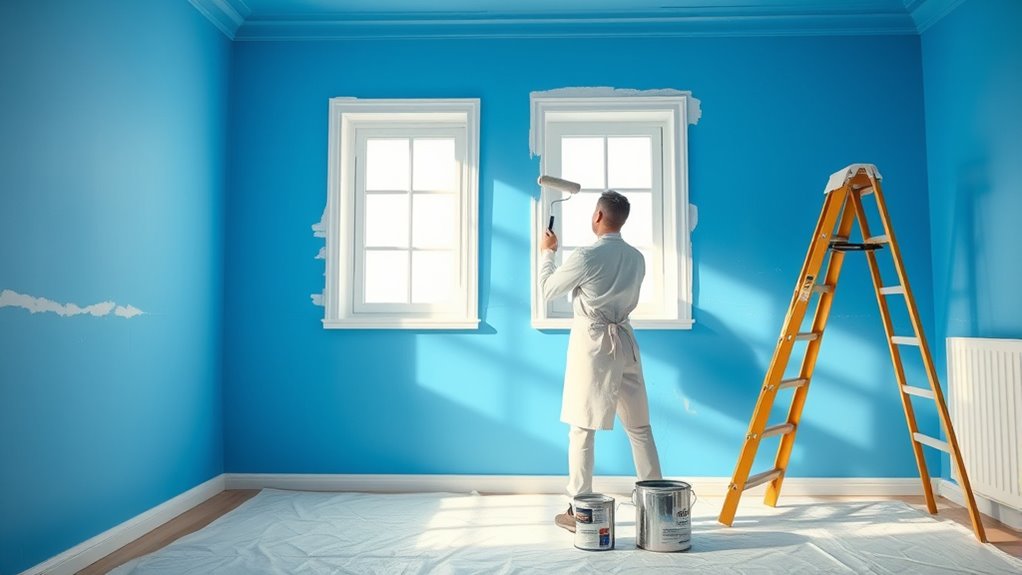
Preparing Your Space for a Flawless Finish

Before you start painting, it’s essential to prepare your space thoroughly. Begin by choosing a cohesive color scheme that complements your room’s purpose and mood. Clear the area of unnecessary furniture, or move it to the center and cover it with drop cloths to prevent splatters. Rearranging furniture makes painting easier and helps you access every wall without obstruction. Protect the floor with drop cloths or old sheets to catch drips. Remove switch plates, outlet covers, and any hardware. Clean the walls to remove dust and dirt, ensuring the paint adheres smoothly. By organizing your space thoughtfully, you create a clean, safe environment that promotes a flawless finish and makes the whole painting process more efficient.
drop cloths for painting
As an affiliate, we earn on qualifying purchases.
As an affiliate, we earn on qualifying purchases.
Choosing the Right Supplies and Paint
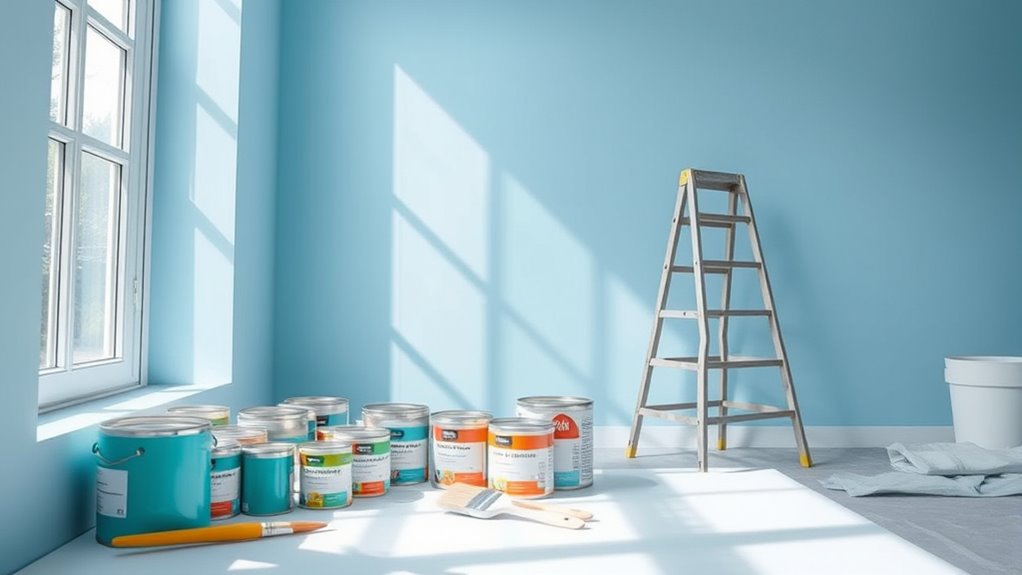
Selecting the right supplies and paint is essential for achieving a professional-looking finish. Your choice of brush selection impacts how smoothly the paint applies and how clean your edges look. For detailed areas or trim, opt for smaller, angled brushes, while larger rollers work best for broad walls. When choosing paint, consider the finish options—matte, eggshell, satin, semi-gloss, or gloss—depending on the room’s function and your desired look. Matte hides imperfections but is less washable, whereas semi-gloss is durable and easy to clean, ideal for kitchens and bathrooms. Picking quality supplies guarantees better coverage and a more even application, saving you time and frustration. Spend a little extra on good brushes and paint to get professional results that last. Additionally, understanding paint finishes can help you select the appropriate sheen for durability and aesthetic appeal.
professional quality paint rollers
As an affiliate, we earn on qualifying purchases.
As an affiliate, we earn on qualifying purchases.
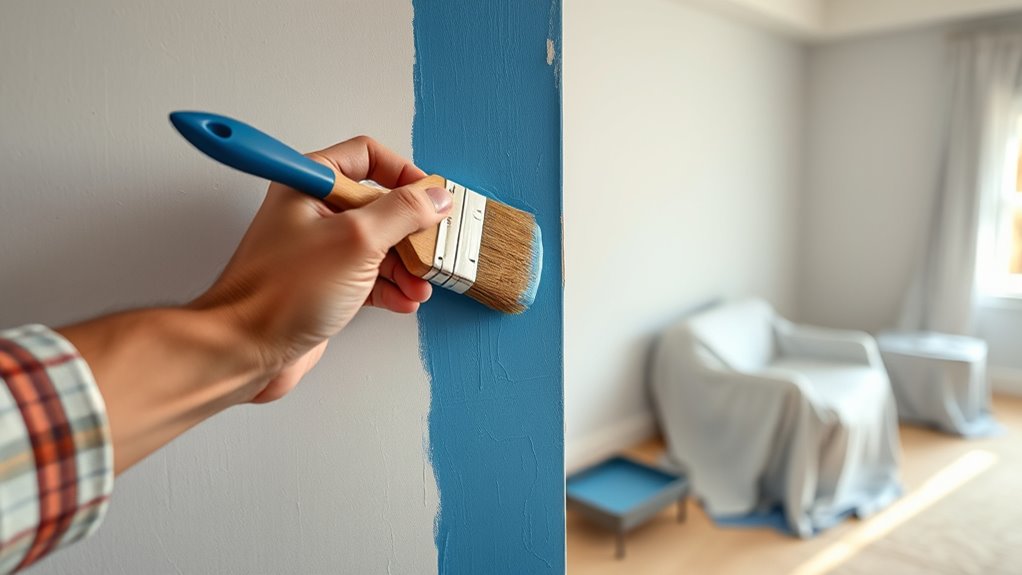
Mastering Proper Painting Techniques

Once you’ve gathered your supplies and chosen the right paint, applying it with proper technique makes all the difference in achieving a smooth, professional finish. Start by maintaining consistent paint consistency—neither too thick nor too thin—to prevent drips and uneven coverage. When using a brush, employ long, even brush strokes, working from one side of the wall to the other. Overlap each stroke slightly to avoid lap marks. Keep a wet edge by reloading your brush frequently, ensuring seamless progressions. Use controlled, steady movements to prevent streaks and uneven textures. Remember, patience and precision are key; rushing can lead to visible brush strokes and an imperfect finish. Proper technique not only enhances the appearance but also reduces the need for touch-ups later. Mastering these techniques will give your walls a flawless, professional look.
paint touch-up kit
As an affiliate, we earn on qualifying purchases.
As an affiliate, we earn on qualifying purchases.
Dealing With Common Challenges During Painting
Even experienced painters encounter common challenges that can disrupt the flow and quality of their work. One frequent issue is uneven brush strokes, which can be minimized by practicing proper brush stroke techniques—using consistent pressure and smooth, overlapping motions. Another challenge is paint color coordination; choosing colors that complement each other and the room’s lighting can prevent mismatched or dull finishes. Sometimes, paint drips or lap marks occur, but they can be avoided by maintaining a wet edge and not overloading your brush or roller. Additionally, understanding color accuracy in related projects can help you select and mix paints more effectively to achieve the desired hues. If you run into these problems, don’t panic. Taking your time, staying mindful of your technique, and planning your color scheme carefully will help you overcome these challenges and achieve a professional-looking finish.
Finishing Touches and Clean-up Tips

After tackling the main painting work, finishing touches and clean-up are key to achieving a polished look and maintaining your tools. Use smooth brush stroke techniques to ensure even coverage, especially along edges and corners. When selecting paint sheen options, remember that higher sheens like semi-gloss reflect more light and highlight surface details, while matte finishes hide imperfections. To finalize, remove painter’s tape carefully, and inspect for missed spots, touching them up promptly. Clean your brushes and rollers thoroughly to extend their lifespan. Proper paint application techniques are essential for a professional finish. Visualize your efforts with this scene:
| Surface | Brush stroke technique | Paint sheen options |
|---|---|---|
| Walls | Long, even strokes | Matte, eggshell |
| Trim | Smooth, controlled | Semi-gloss |
| Ceilings | Light, feathered strokes | Satin |
| Corners | Precise, steady moves | High-gloss |
| Edges | Careful, deliberate | Low-sheen |
Frequently Asked Questions
How Do I Prevent Paint From Bleeding Through Multiple Coats?
To prevent paint from bleeding through multiple coats, start with proper primer application to create a uniform base. Make sure to condition your paint by stirring it well and letting it sit for a few minutes before applying. Applying thin, even coats and allowing each coat to dry thoroughly helps. This approach guarantees better adhesion and coverage, reducing the chance of bleed-through and giving your walls a smooth, professional finish.
What Are the Best Methods for Painting Ceilings Without Drips?
To avoid drips when painting ceilings, you should focus on proper brush techniques and maintaining the right paint consistency. Use a high-quality brush and apply paint in thin, even coats, avoiding excess paint on your brush. Keep a steady hand and work in small sections, feathering the edges to prevent drips. Regularly check your brush and adjust the paint’s thickness if it becomes too runny, ensuring a smooth, drip-free finish.
How Can I Fix Uneven Paint Coverage After It Dries?
Uneven paint coverage can be frustrating, but you can fix it easily. Start with simple touch-up techniques, blending the new paint into the existing areas. Use a small brush for precise application and feather the edges smoothly. To guarantee a seamless look, match the paint color perfectly. Carefully match the paint color with your original, and apply thin coats, blending well to hide uneven spots and create a flawless finish.
What Techniques Ensure Sharp, Clean Edges Without Tape?
To get sharp, clean edges without tape, focus on proper brush techniques and edge tools. Use a high-quality angled brush to carefully paint along the edges, keeping a steady hand. Dip just the tip of the brush for precision, and work slowly to prevent bleeding. For straighter lines, consider using edge tools like a paint shield or a small foam roller for tight corners, ensuring a crisp finish without tape.
How Do I Choose Eco-Friendly or Low-Voc Paints?
Think of choosing paint as selecting a gentle guardian for your space. You want eco-friendly options that protect your home and the planet. Low VOC benefits include better indoor air quality and reduced odors, making your environment safer. When selecting paints, look for labels indicating low or zero VOC content. This way, you guarantee your project is healthier, sustainable, and just as vibrant without compromising on quality or your well-being.
Conclusion
With the right preparation and techniques, you can achieve a professional-looking paint job on your own. Don’t worry if mistakes happen—you’ll learn as you go, and each project gets easier. Remember, patience and attention to detail make all the difference. Even if you’re short on time, a little effort now saves you from costly rework later. So go ahead, grab your supplies, and transform your space with confidence—you’ve got this!