To create an outdoor power tool staging area for messy jobs, start by choosing a durable surface like a wooden pallet or concrete pad for stability. Organize your tools with wall-mounted racks, pegboards, and weather-resistant bins, labeling everything for quick access. Protect your equipment from weather with shelter or tarps, and keep hazardous chemicals secure. Prioritize safety by installing fire extinguishers and keeping pathways clear. For more tips on organizing and maintaining your space, keep exploring.
Key Takeaways
- Choose a sturdy, flat surface like a wooden pallet or concrete pad for stable tool placement.
- Install wall-mounted racks or pegboards for organizing cords, hand tools, and accessories.
- Use weather-resistant storage bins and cover the area with a tarp or shelter to protect against rain and debris.
- Keep hazardous chemicals in secure, ventilated containers away from ignition sources for safety.
- Maintain the area by regularly inspecting tools, cleaning the space, and keeping pathways clear for safety.
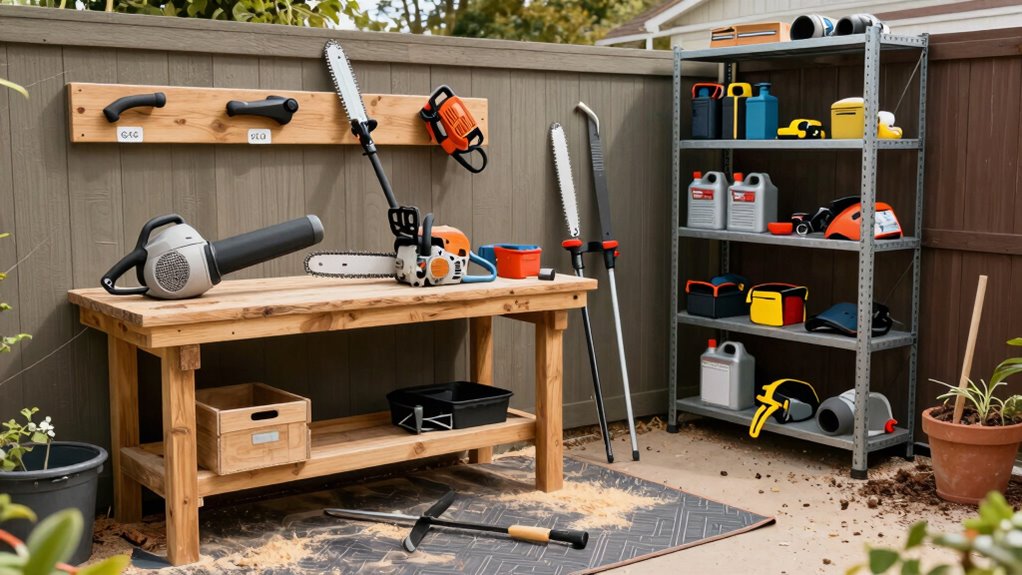
When tackling messy outdoor projects, having a dedicated staging area for your power tools can save you time and keep your workspace organized. Setting up this space involves more than just finding a corner to toss your tools; it requires thoughtful planning around storage solutions and safety precautions. You want a spot that’s accessible, well-organized, and safe, especially when dealing with messy jobs that can quickly create clutter and hazards.
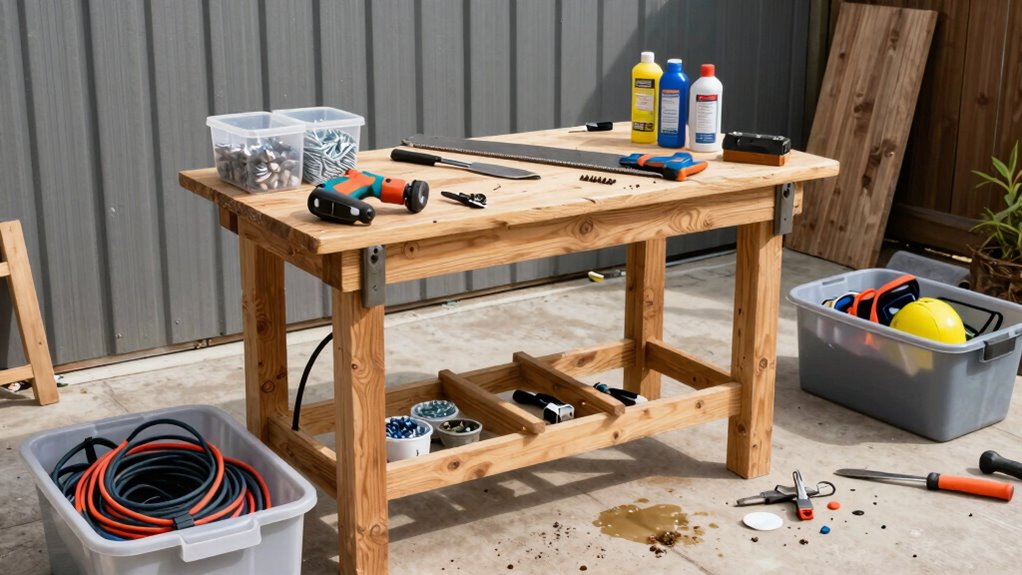
Start by choosing a durable surface, like a sturdy wooden pallet, concrete pad, or heavy-duty workbench. This will serve as the foundation for your staging area, providing a stable spot to place and organize your tools. Incorporate storage solutions that suit your needs—wall-mounted racks for cords and smaller tools, pegboards for hanging drills and saws, and weather-resistant bins or cabinets for larger items. Make sure these storage options are easy to access and clearly labeled, so you can find what you need quickly and avoid rummaging through clutter when time is tight. Additionally, considering weather-resistant materials can help protect your equipment from the elements and extend the lifespan of your setup.
Choose a sturdy surface and organize tools with labeled storage for quick, safe access.
Safety precautions should be a top priority when creating your outdoor staging area. Keep hazardous tools and chemicals, like gasoline or lubricants, in secure, well-ventilated containers away from ignition sources. Install a fire extinguisher nearby, and ensure your power tools are unplugged or turned off when not in use. If your workspace is exposed to the elements, consider covering your staging area with a weatherproof shelter or tarp to protect your equipment from rain, dirt, and debris. Additionally, keep pathways clear of obstructions to prevent trips and falls, and use non-slip mats or textured surfaces to improve footing in wet conditions. Incorporating safety measures further enhances the safety and functionality of your outdoor workspace.
Organize your tools in a way that minimizes clutter and maximizes efficiency. Place frequently used items within arm’s reach, and store less-used equipment in the back or higher shelves. Regularly inspect your tools for damage or wear, and perform maintenance as needed to ensure safety during operation. Keep a dedicated trash bin nearby for debris and used materials to prevent messes from accumulating.
Ultimately, your outdoor power tool staging area should streamline your messy jobs, making cleanup easier and work safer. By integrating smart storage solutions and adhering to safety precautions, you create an organized, efficient space that enhances your productivity and keeps accidents at bay. With a well-planned setup, you’ll spend less time searching for tools and more time getting your outdoor projects done right.
outdoor power tool storage rack
As an affiliate, we earn on qualifying purchases.
As an affiliate, we earn on qualifying purchases.
Frequently Asked Questions
How Much Space Is Ideal for a Staging Area?
You should allocate at least 10 to 15 square feet for your staging area, providing enough room for storage containers and workspace. Keep it organized with a clear labeling system, so you can easily find tools and supplies. Make sure the space is accessible and flat, allowing you to move around comfortably. This setup helps prevent clutter and makes messy jobs more manageable, keeping everything you need within quick reach.
What Safety Precautions Should I Take?
You should prioritize safety by wearing appropriate safety gear like gloves, goggles, and ear protection whenever handling power tools. Keep your tools well-maintained to prevent accidents, checking for loose parts or damage before use. Store tools securely after each job, and guarantee your staging area is stable and free from trip hazards. Regularly review safety procedures to stay vigilant, and always follow manufacturer instructions for tool maintenance and safe operation.
How Do I Organize Tools for Quick Access?
Your outdoor tool organization needs to be faster than lightning! Start by using labeled storage containers for each tool type, making them easy to find instantly. Keep frequently used tools at the front or on a dedicated rack for quick access. Regularly perform tool maintenance to keep everything in top shape. This way, you’ll save time and avoid the frustration of digging through clutter when you need a tool in a hurry.
What Weatherproofing Options Are Best?
To weatherproof your outdoor power tool staging area, focus on durable storage containers that are specifically designed for outdoor use. These containers protect your tools during tool maintenance and prevent damage from rain or snow. Opt for containers with tight-fitting lids and weather-resistant seals. Regularly check and maintain the seals to guarantee your tools stay dry and protected, keeping your staging area organized and ready for any messy job.
How Can I Prevent Tool Theft or Vandalism?
Think of securing your tools like locking a treasure chest—your tools are valuable, so you want to keep them safe. Use sturdy locks on storage sheds and consider installing security cameras to deter theft and vandalism. Anchor heavy equipment to the ground, and keep an inventory of your tools. Good tool security and theft prevention techniques make it less tempting for thieves or vandals to target your outdoor power tools.
weather-resistant tool storage bins
As an affiliate, we earn on qualifying purchases.
As an affiliate, we earn on qualifying purchases.
Conclusion
By setting up your outdoor power tool staging area, you’re channeling a bit of the ingenuity of Da Vinci—ready to tackle messy jobs with creativity and efficiency. Just like a master craftsman, organize your space and tools, and you’ll turn chaos into clarity. With your new setup, you’ll be prepared for whatever messes come your way, transforming intimidating tasks into manageable projects. Embrace this practical approach, and watch your outdoor work become a breeze.
outdoor workbench with storage
As an affiliate, we earn on qualifying purchases.
As an affiliate, we earn on qualifying purchases.
pegboard wall organizer for tools
As an affiliate, we earn on qualifying purchases.
As an affiliate, we earn on qualifying purchases.