To replace baseboards and trim, start by carefully measuring and cutting new pieces to fit your walls and corners, making precise miter cuts at 45 degrees for seamless joints. Hold the trim in place and make adjustments as needed before nailing it into position. Fill any nail holes with wood filler, then caulk gaps for a clean finish. Finally, paint or stain your trim to match your décor. Keep going to discover detailed steps that will help you achieve a professional look.
Key Takeaways
- Measure and cut new trim pieces accurately, using miter cuts for seamless corners.
- Remove old baseboards carefully, avoiding damage to walls or flooring.
- Fit and adjust new trim for a snug, even appearance, addressing gaps with caulking.
- Nail or nail gun the trim into place, countersinking nails and filling holes with wood filler.
- Finish with painting or staining for a polished, professional look.
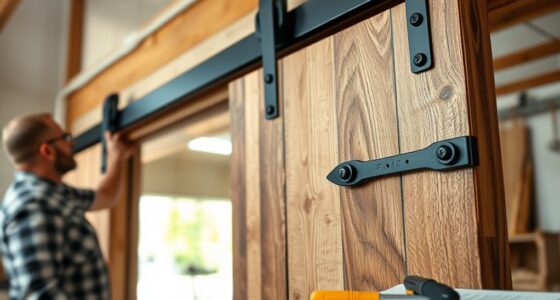
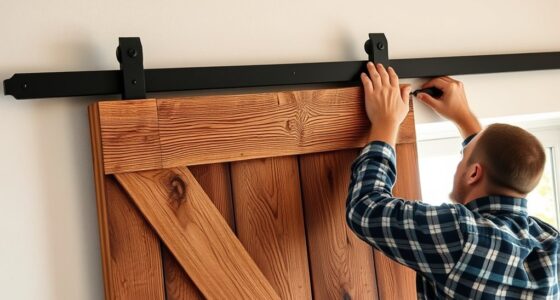
Replacing baseboards and trim is a straightforward way to refresh the look of your space and repair damaged or outdated moldings. When you start, you’ll want to measure carefully and cut your new pieces to fit precisely. A key skill here is making miter cuts, which involve angling the ends of your trim at 45 degrees to create seamless corners. Proper miter cuts ensure your corners look professional and smooth. Using a miter saw makes this process easier and more accurate, but if you don’t have one, a miter box can work as well. Take your time to mark your cuts properly, and double-check your measurements before cutting to avoid costly mistakes.
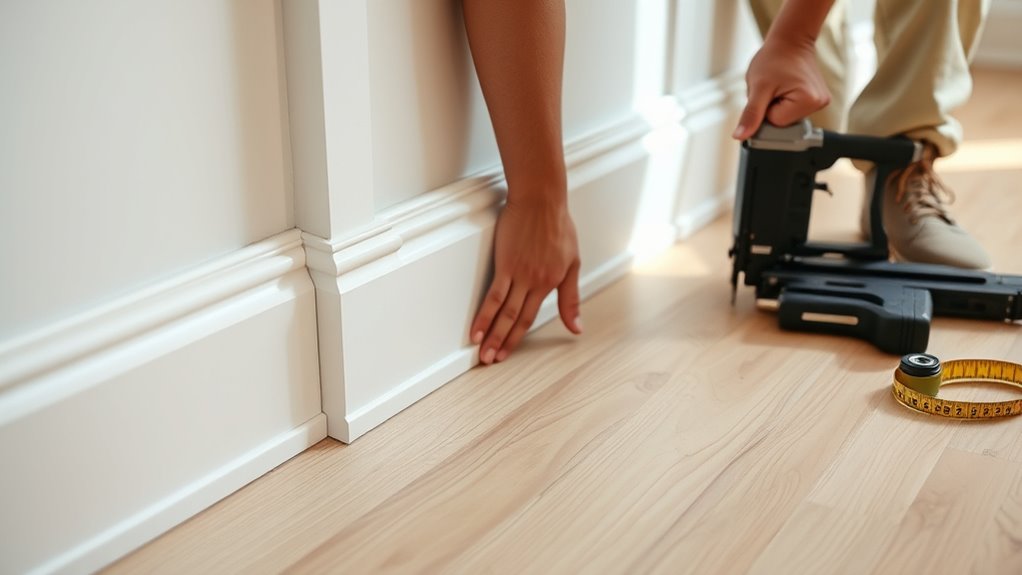
Once your pieces are cut, the next step is fitting them into place. Hold the trim against the wall and floor to check for fit, adjusting as needed. If you notice gaps or uneven joints, don’t worry—caulking techniques will help you achieve a clean, finished look. When applying caulk, use a high-quality painter’s caulk designed for trim and moldings. Run a bead along the joint, then smooth it out with a damp finger or a caulking tool to push the seam tight and hide any imperfections. This step not only improves the appearance but also helps seal gaps, preventing drafts and pests. Be sure to wipe away excess caulk before it dries to keep your finish tidy.
After caulking, you can proceed with nailing the trim into place, usually using finishing nails and a hammer or nail gun. Be careful to countersink the nails slightly below the surface with a nail set so you can fill the holes with wood filler or spackle. Once the filler dries, sand the areas smoothly, being gentle around the caulked joints to prevent damage. Finally, paint or stain your new baseboards and trim to match your decor, which also helps hide minor imperfections. Applying a fresh coat of paint can dramatically transform the look of your space, making everything feel new and polished. Incorporating proper project management techniques can help ensure your installation stays on schedule and within budget.
Frequently Asked Questions
What Tools Are Essential for Replacing Baseboards and Trim?
To replace baseboards and trim, you need essential tools like a tape measure for accurate measuring techniques, a miter saw or a handsaw for precise cuts, and a pry bar to remove old trim carefully. You’ll also want a nail gun or hammer for attaching pieces securely, along with sanders for smooth edges. Finish with paint finishing tools like brushes and rollers to give your work a polished look.
How Do I Choose the Right Style and Material?
Choosing the right style and material is like selecting a wardrobe for your home’s personality. You want decorative profiles that match your aesthetic, whether classic or modern, and guarantee material durability for long-lasting beauty. Think about your room’s existing decor and daily wear. Opt for materials like hardwood for strength or MDF for budget-friendly options. Pick a style that complements your space, making it feel cohesive and inviting.
Can I Replace Baseboards Without Removing Furniture?
Yes, you can replace baseboards without removing furniture by safeguarding it with plastic sheets or drop cloths. Move furniture away from the walls to guarantee accurate measurements and easier installation. This way, you avoid damage and maintain measurement accuracy. Just take your time to carefully cover and shift furniture, and you’ll be able to replace your baseboards smoothly without the hassle of full furniture removal.
How Long Does the Installation Process Usually Take?
When estimating how long the installation process takes, consider timing considerations like the size of the space and the complexity of the trim design. Typically, you can expect the project duration to range from a few hours for small rooms to a full day for larger or more intricate jobs. Planning ahead helps make certain you allocate enough time, and it minimizes disruptions during the replacement process.
What Are Common Mistakes to Avoid During Replacement?
When replacing baseboards and trim, you want to avoid common mistakes like neglecting paint preparation, which can cause uneven finishes. Always double-check measurement accuracy before cutting to prevent gaps or misaligned pieces. Rushing the process can lead to mistakes, so take your time to ensure proper fitting. Use a level and proper tools, and don’t skip sanding or priming, as these steps improve overall quality and durability.
Conclusion
Replacing your baseboards and trim instantly refreshes your space, giving it a clean, polished look. Did you know that updating trim can boost your home’s value by up to 10%? It’s a simple upgrade that makes a big difference. Whether you’re doing it yourself or hiring a pro, enjoy the process and take pride in transforming your room. Your efforts will not only enhance your décor but also increase your home’s appeal and longevity.