
To install a smart home security system yourself, start by ensuring your Wi-Fi network is stable and strong, positioning your router centrally and away from interference. Follow the manufacturer’s instructions carefully during setup, paying attention to connection steps. Keep devices within range of the Wi-Fi to prevent disconnections, and regularly update firmware and apps for better stability. If issues arise, simple troubleshooting tips can help—continue exploring to learn detailed steps for a smooth installation.
Key Takeaways
- Follow manufacturer instructions and app guides carefully during installation.
- Ensure your Wi-Fi network is stable, strong, and the router is centrally located.
- Troubleshoot connectivity issues by restarting devices and rechecking network settings.
- Minimize interference by placing devices apart and avoiding electronic clutter near the router.
- Regularly update firmware and software to enhance system reliability and security.
Installing a smart home security system is a straightforward way to enhance your home’s safety and give you peace of mind. When you decide to do it yourself, you gain control over the process, saving money and customizing the setup to fit your specific needs. The key to a successful installation lies in understanding the basics of wireless connectivity and preparing for DIY troubleshooting. Wireless security systems are designed to be user-friendly, but they do require some initial setup and troubleshooting to ensure everything works flawlessly.
DIY smart security: easy setup, control, and troubleshooting for a safer home.
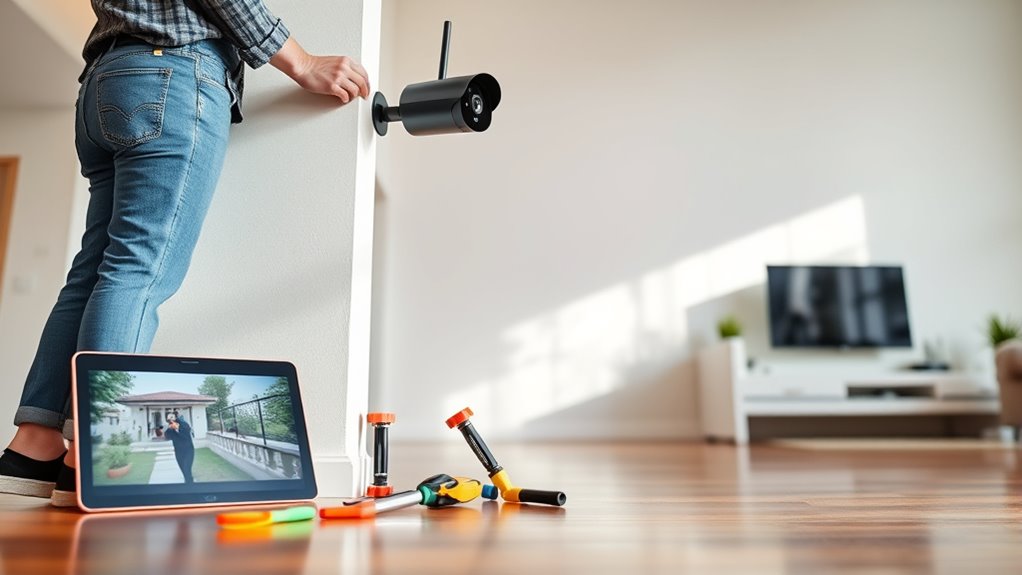
First, make sure your home Wi-Fi network is stable and strong. Most smart security devices rely on wireless connectivity to communicate seamlessly with your smartphone or control hub. If your Wi-Fi signal is weak or inconsistent, you’ll face issues like delayed notifications or unresponsive cameras. To prevent this, position your router in a central location, away from thick walls or electronic interference. You might also consider upgrading your router or adding a Wi-Fi extender to bolster the signal in areas where you plan to install sensors and cameras.
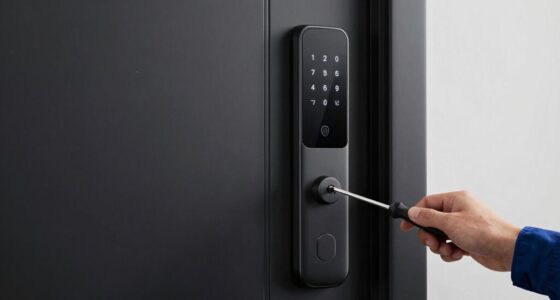
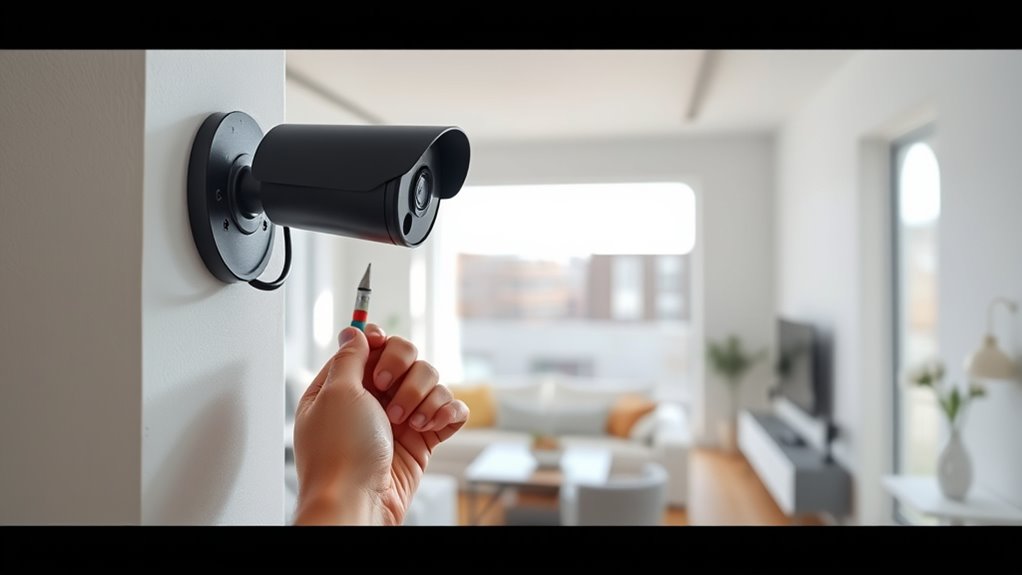
When installing the devices, follow the manufacturer’s instructions carefully. Many systems come with step-by-step guides or apps that walk you through the process. During setup, pay close attention to the connection process, especially if the system uses Wi-Fi. If you encounter problems with wireless connectivity, don’t panic. Most issues can be resolved with simple DIY troubleshooting steps. Restart your router and devices, ensure your firmware is up to date, and double-check that your password or network settings haven’t changed. If a device isn’t connecting, remove and re-add it through the app, making sure that Bluetooth or Wi-Fi pairing modes are enabled correctly.
Another common challenge is ensuring your devices stay connected over time. Sometimes, interference from other wireless devices or network congestion can cause disconnections. To minimize this, keep your security devices within a reasonable range of your router, and avoid placing multiple wireless gadgets in close proximity that may cause interference. Regularly update your system’s firmware and app to fix bugs and improve connectivity stability. Additionally, understanding your wireless connectivity can help you optimize your setup and prevent recurring issues.
DIY troubleshooting isn’t just about fixing problems as they arise; it’s also about understanding your system’s limits. If you find your connection dropping frequently or certain devices not responding, review your network setup, and consider consulting online forums or customer support for specific advice. Many issues are easy to resolve with a little patience and basic troubleshooting knowledge. By taking these steps, you ensure your smart home security system remains reliable and effective, giving you the confidence that your home is protected without the need for professional installation.
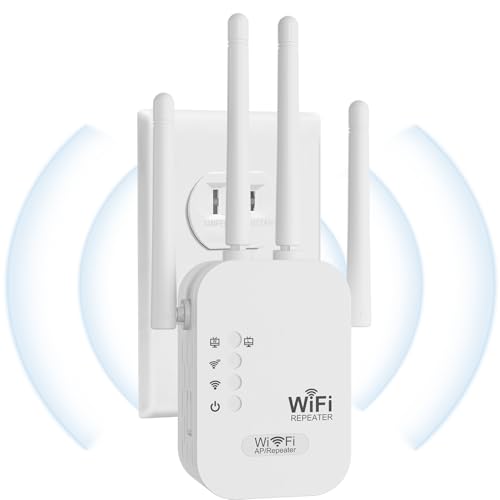
2026 WiFi Extenders Signal Booster for Home Long Range Up to 9800 sq. ft & 40 Devices, WiFi Extender Signal Booster, Internet Booster, Long Range WiFi Extender,Quick Setup-Medium
EXTEND WIFI COVERAGE : The wifi extenders to bring you wide coverage of signals,Coverage up to 9789Sq. ft,Eliminating…
As an affiliate, we earn on qualifying purchases.
As an affiliate, we earn on qualifying purchases.
Frequently Asked Questions
Can I Integrate Existing Security Devices With a New System?
Yes, you can often integrate existing security devices with a new system, but device compatibility is vital. Check if your current devices are compatible with the new system’s platform. Be prepared for potential integration challenges, such as firmware updates or limited support. Research the system’s compatibility list and consult manufacturers to guarantee smooth integration, saving you time and frustration during setup.
What Is the Average Cost of a DIY Smart Security Setup?
Imagine building a fortress around your home with your own hands. The average cost of a DIY smart security setup ranges from $200 to $500, depending on your needs. The cost breakdown includes equipment expenses like cameras, sensors, and hubs, plus potential subscription fees. By shopping smart and choosing versatile devices, you can create a reliable security system without breaking the bank, all while gaining peace of mind.
How Long Does It Take to Complete Installation Myself?
The installation timeline for a DIY setup usually takes about 1 to 4 hours, depending on your system’s complexity. Your DIY setup duration can vary based on your familiarity with tech and the number of devices you’re installing. If you prepare beforehand and follow the instructions carefully, you can streamline the process. Keep in mind, some systems might take longer if you’re troubleshooting or customizing settings.
Are There Any Legal Restrictions on Installing Security Cameras?
Think of installing security cameras like planting a garden—carefully, with attention to boundaries. You need to follow privacy laws and obtain homeowner permissions, as legal restrictions can vary by location. Some areas restrict camera placement to respect neighbors’ privacy, so you should research local regulations. Ignoring these rules can lead to fines or legal trouble. Always verify your area’s laws before installing to make sure your security setup stays within legal bounds.
What Should I Do if the System Malfunctions After Installation?
If your smart security system malfunctions after installation, start with troubleshooting tips like checking connections, updating firmware, and ensuring power supply. If issues persist, perform a system reset as per the manufacturer’s instructions. This often resolves glitches and restores functionality. Remember to consult the user manual or support resources for specific reset procedures. Regular maintenance and firmware updates help prevent future problems, keeping your system running smoothly.

SOLIOM- 5MP Security Cameras Wireless Outdoor, No Subscription & Solar Powered,4-Cam Pack Cameras for Home Security with 360° Auto Motion Tracking, 3K Color Night Vision,5G & 2.4G Router Compatible
5MP Ultra HD Video with Unique Magnifier Zoom – The Soliom 5MP outdoor security camera delivers clear, vibrant…
As an affiliate, we earn on qualifying purchases.
As an affiliate, we earn on qualifying purchases.
Conclusion
Now that you’ve installed your smart home security system yourself, you’re the captain of your own safety ship. Remember, while technology is a powerful tool, it’s your vigilance that truly keeps your home secure. Treat your system like a trusty lighthouse—guiding and protecting, but still relying on your watchful eye. With your effort and awareness, you’ve built a fortress that’s both smart and strong, ready to stand guard no matter what storms come your way.

WiFi Door Alarm System, Wireless DIY Smart Home Security System, with Phone APP Alert, 8 Pieces-Kit (Alarm Siren, Door Window Sensor, Remote), Work with Alexa, for House, Apartment, by tolviviov
WIFI Network: WIFI connection, Only works on 2.4GHz WiFi network, does NOT support 5GHz WiFi networks.
As an affiliate, we earn on qualifying purchases.
As an affiliate, we earn on qualifying purchases.

INFIYA 2K Security Camera Indoor-360 Cameras for Home Security and One-Tap Call, Elderly/Cat/Baby/Nanny, Motion Alert, Intelligent Tracking, 2.4GHz WiFi Only, Work with Alexa/Google Home, K7 2Pack
High 2K Resolution with 360° Pan/Tilt & IR Night Vision: INFIYA wired home security cameras(only support 2.4GHz WiFi…
As an affiliate, we earn on qualifying purchases.
As an affiliate, we earn on qualifying purchases.