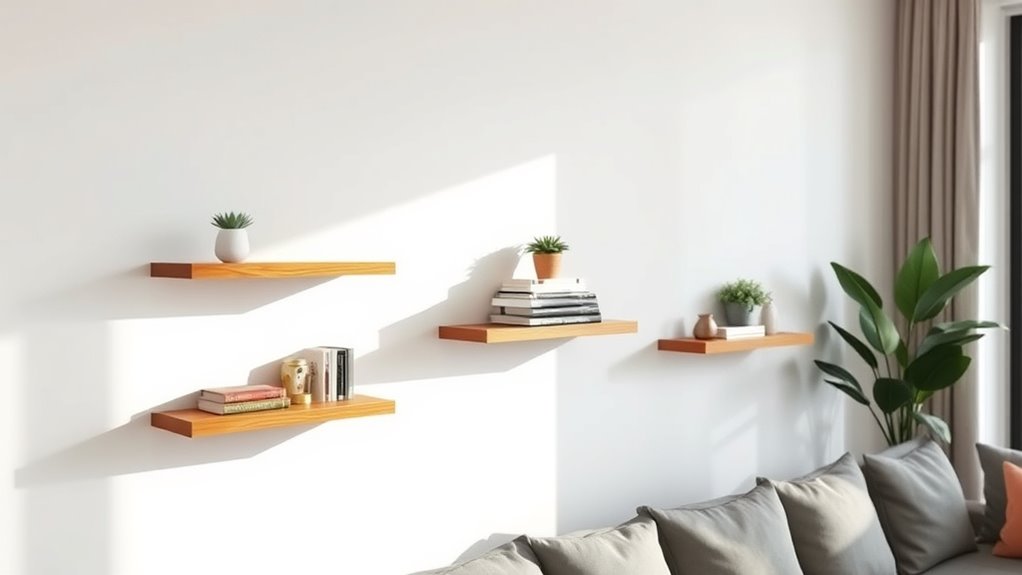

To create DIY floating shelves for any room, start by measuring your space carefully and planning your layout. Mark precise spots for brackets or supports, aligning them with wall studs for stability. Use appropriate materials like wood or metal, and make certain your shelves are finished well with paint or sealant. Take your time during installation to drill accurate holes and double-check measurements. If you keep exploring, you’ll find tips to make your shelves look professional and last longer.

Get business pricing on tools and workshop supplies
- Business-only prices and quantity discounts
- Tax-exempt purchasing
- Multiple users, one account, clear invoices
Key Takeaways
- Measure your space accurately to determine shelf length, depth, and placement before installation.
- Use sturdy materials like plywood or reclaimed wood and ensure brackets are anchored into wall studs for stability.
- Mark precise locations for brackets, double-check measurements, and use a level to ensure shelves sit straight.
- Apply appropriate finishes such as paint or sealant to protect shelves and enhance durability.
- Test fit shelves prior to final fixing and take your time during installation for a professional, sturdy result.
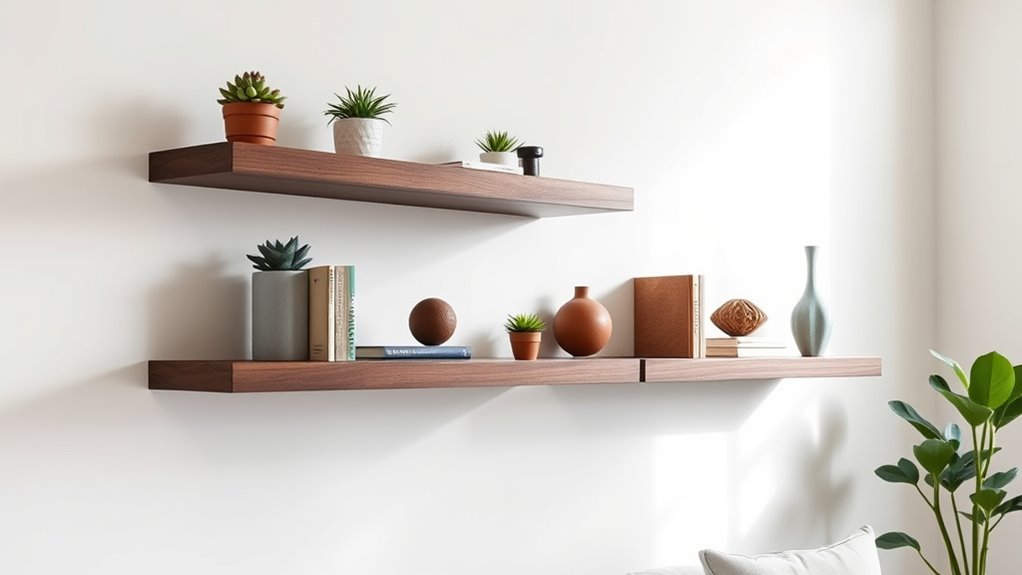
Ever wondered how to add stylish storage to your space without bulky furniture? DIY floating shelves are the perfect solution. They provide a sleek, modern look while giving you extra storage or display space. To make certain your shelves turn out both beautiful and sturdy, paying attention to installation tips and material choices is vital. First, you’ll want to plan your layout carefully. Measure the space accurately and decide how long and deep your shelves should be. Mark the spots where you’ll install the brackets or hidden supports, making sure they align perfectly. Using a level during installation is essential to guarantee your shelves sit straight and look professional. Consider anchoring your brackets into wall studs rather than just drywall to maximize stability, especially if you’ll be holding heavier items. If you’re unsure about locating studs, a stud finder can make the process easier. When it comes to installation tips, take your time to drill precise holes, and use appropriate anchors if you’re attaching to drywall. This prevents any wobbling or sagging over time. Also, double-check measurements before fixing the brackets, and test the fit with your shelf before finalizing the screws.
Additionally, understanding the material choices and their properties can greatly influence the success and longevity of your project. As for material choices, your options are vast, but select materials that match your style and needs. Wood is a popular choice—consider options like plywood, oak, or reclaimed wood for a warm, natural look. For a more modern, minimalist vibe, metal brackets paired with a sleek wooden shelf work beautifully. Keep in mind the weight capacity and durability of your material. If you plan to display heavy books or decorative items, opt for thicker, sturdier wood or metal shelves. If you’re going for a lightweight, decorative accent, thinner materials might suffice. Finishes are also important; paint, stain, or seal your shelves to protect them from moisture and wear. Remember, the quality of your material choices impacts the longevity of your shelves, so don’t skimp on durability.
With the right installation tips and thoughtful material choices, your DIY floating shelves will add both function and style to any room. Whether you want to showcase your favorite books, plants, or decorative pieces, these shelves are a versatile and elegant addition. Take your time with the planning and installation process, and you’ll be rewarded with a custom storage solution that looks professional and lasts for years. No matter your skill level, with patience and attention to detail, you can create stunning floating shelves that transform your space effortlessly.
As an affiliate, we earn on qualifying purchases.
Frequently Asked Questions
What Tools Are Necessary for Installing Floating Shelves?
To install floating shelves, you’ll need a drill, level, measuring tape, and a pencil for marking. Use measuring techniques to guarantee correct placement and mounting hardware to secure the shelves firmly. A stud finder can help locate wall studs for extra support. These tools make installation straightforward, ensuring your floating shelves stay sturdy and look professional. Don’t forget to double-check measurements before drilling!
How Do I Choose the Right Weight Capacity?
When choosing the right weight capacity, you need to get a handle on your material types and perform weight testing if possible. Don’t just go by looks—think of your shelves as the backbone of your decor. Heavy-duty materials like hardwood or metal can support more weight, while lighter materials need careful testing. Always aim for a little extra capacity to keep your shelves from giving out when you least expect it.
Can Floating Shelves Be Installed on Textured Walls?
Yes, you can install floating shelves on textured walls. To do so, you should use proper mounting techniques like using longer anchors or toggle bolts to guarantee stability. Wall preparation is essential; clean the surface thoroughly and consider applying a primer or smoothing compound if needed. This helps create a more even surface for secure attachment, ensuring your shelves stay level and sturdy despite the textured wall surface.
What Safety Precautions Should I Take?
Your safety is essential when installing floating shelves, so don’t underestimate the importance of proper precautions. Always use wall anchors suited for your wall type, ensuring secure load distribution. Double-check that the shelf brackets are firmly attached and don’t overload them—your shelves shouldn’t turn into flying objects! Wear safety glasses and a dust mask if drilling or sanding, and work slowly to prevent accidents. Safety first keeps your project steady and your home safe.
How Do I Prevent Shelves From Wobbling or Falling?
To prevent your shelves from wobbling or falling, make sure you use sturdy wall anchors and strong shelf brackets. Secure the brackets tightly into wall studs whenever possible, rather than drywall alone. Double-check that the anchors are rated for the weight you plan to hold. Distribute weight evenly across the shelf, and periodically inspect the brackets and anchors to verify they remain secure. This keeps your shelves safe and stable.
As an affiliate, we earn on qualifying purchases.
Conclusion
Now that you know how easy it is to build your own floating shelves, you’re ready to transform any room. Did you know that DIY projects like these can save you up to 50% compared to store-bought options? With a little effort and creativity, you’ll have stylish, functional storage that showcases your personal touch. So grab your tools, get started, and enjoy the satisfaction of creating something beautiful and practical yourself!
As an affiliate, we earn on qualifying purchases.
metal shelf supports for drywall
As an affiliate, we earn on qualifying purchases.
As an affiliate, we earn on qualifying purchases.
Fall yard work Picks
leaf blowers
As an affiliate, we earn on qualifying purchases.