
To install wainscoting for a classic look, start by measuring your wall and marking the desired height, usually around 32 inches. Attach a level chair rail at the top, then install wall panels between the chair rail and baseboard, securing with nails or adhesive. Fill any gaps or holes, sand smooth, and finish with paint or stain. Paying attention to detail guarantees a polished, timeless style—you’ll discover more tips to perfect your project as you continue.
Key Takeaways
- Measure and mark the wall height, typically around 32 inches, for accurate placement of wainscoting panels and molding.
- Install the top chair rail molding first, ensuring it is level for a polished, classic appearance.
- Attach wall panels between the chair rail and baseboard using adhesive or nails for secure, clean installation.
- Fill nail holes and gaps with wood filler, then sand smoothly for a seamless, refined finish.
- Paint or stain the wainscoting to complement your decor, enhancing the room’s timeless, elegant look.
Have you ever wondered how to transform a plain wall into a stylish feature? Installing wainscoting is an excellent way to add charm and sophistication to any room, and it all starts with choosing the right materials. You’ll want to consider options like panel molding and wall panels, which are essential components in creating that classic, polished look. Panel molding refers to the decorative strips of wood or composite material that you attach to the wall to frame sections or create intricate designs. Wall panels, on the other hand, are larger pieces that cover sections of the wall, giving your space texture and depth. Combining these elements allows you to craft a timeless aesthetic that elevates your room’s style.
Transform your walls with wainscoting using panel molding and wall panels for a classic, polished look.
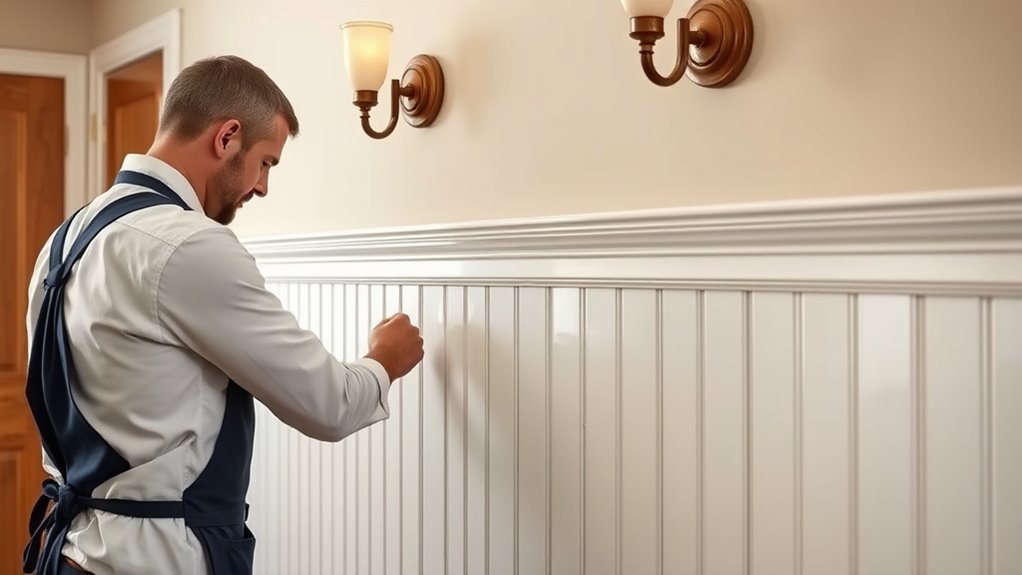
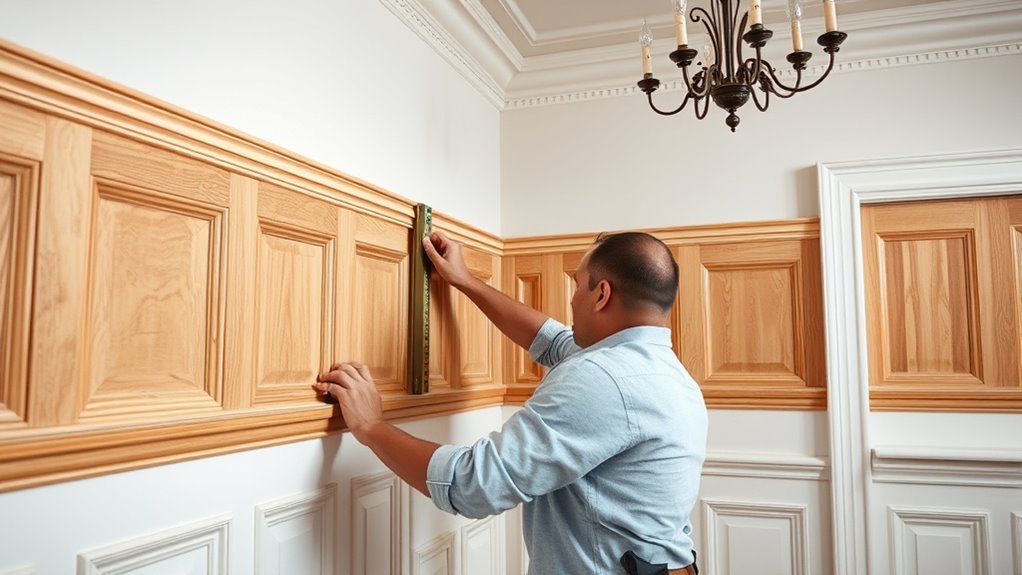
To begin, measure the area where you plan to install the wainscoting. Mark the height you want your panels to reach—usually around 32 inches from the floor for a traditional look. Once you have your measurements, cut your wall panels and panel molding accordingly. It’s best to use quality materials that are easy to work with, ensuring your finished project looks seamless. Before attaching anything, plan your layout carefully, marking where each piece will go with a pencil. This prep work helps you visualize the final result and prevents mistakes during installation.
When it’s time to install, start by attaching the chair rail, which is the top molding that caps the wainscoting. Secure it to the wall using a level and a nail gun or hammer, making sure it’s perfectly straight. Next, install the wall panels between the chair rail and the baseboard. You can opt for individual panels or a continuous wall of panels, depending on the style you’re aiming for. Use a strong adhesive or nails to fix the panels securely, and be precise to avoid gaps or misalignments. After the wall panels are in place, add the panel molding to frame each section. This molding acts as a decorative border that enhances the overall look and gives your wainscoting a cohesive, finished appearance.
Finally, fill any nail holes or gaps with wood filler, then sand smooth. Paint or stain your wainscoting to match or complement your existing decor, and you’ll have a stunning feature wall that exudes timeless elegance. Installing wainscoting with panel molding and wall panels isn’t just about aesthetics; it’s about creating a space that feels warm, inviting, and effortlessly stylish. With patience and precision, you can achieve a classic look that transforms your room into something truly special. Be sure to consider the material durability and how it will hold up over time as you select your materials.
Frequently Asked Questions
What Tools Are Essential for Installing Wainscoting?
You’ll need essential tools like a tape measure and a level to guarantee precise measuring techniques and straight lines. A saw, such as a miter or circular saw, helps cut panels accurately. You’ll also want a drill or nail gun for fastening, along with painter’s tape and a brush or roller for paint finishing. Don’t forget a pencil for marking measurements, ensuring your wainscoting fits perfectly and looks polished.
How Do I Choose the Right Wainscoting Style?
Choosing the right wainscoting style is easier than you think—just pick from various panel designs and material options that suit your home’s personality. Ironically, the hardest part is narrowing down your choices, as there are countless styles from traditional beadboard to sleek modern panels. Consider your space’s vibe, durability needs, and budget, then select a style that complements your decor and makes a statement.
Can I Install Wainscoting on Uneven Walls?
Yes, you can install wainscoting on uneven walls, but proper wall preparation is key. First, assess the unevenness and use a level to identify high and low spots. Smooth out imperfections with joint compound or shims if needed. When attaching, choose adhesive options like construction adhesive or panel adhesive designed for uneven surfaces. These help guarantee a secure, professional finish despite the wall’s irregularities.
What Are Common Mistakes to Avoid During Installation?
Think of installing wainscoting as building a sturdy bridge. You avoid common mistakes by carefully measuring to prevent uneven panels. Use correct fasteners, just like choosing the right beams to support weight. Don’t rush, or you’ll risk misalignment or gaps. Skipping proper prep or ignoring wall irregularities can weaken your work. Stay precise, double-check your measurements, and select the correct fasteners to guarantee a flawless, lasting finish.
How Do I Maintain and Clean Wainscoting?
To keep your wainscoting looking its best, regularly dust it with a soft cloth to prevent dirt buildup. Use gentle cleaning techniques, like a mixture of mild soap and water, avoiding harsh chemicals that can damage the finish. Maintenance tips include checking for loose panels and fixing any damage promptly. This routine care preserves the beauty of your wainscoting, ensuring it remains a charming feature in your space.
Conclusion
By installing wainscoting, you can transform your space with timeless elegance. Did you know that homes with classic architectural details like wainscoting often see a 10% increase in resale value? So, take pride in your project and enjoy the beautiful, sophisticated look it brings to your home. With a little effort, you’ll create a stunning space that combines style and tradition, making every moment spent there even more special.