To sharpen your hand saw, start by securing it firmly in a vise and choose the right file, like a flat or triangular one, matching the original tooth angles. Maintain consistent angles throughout, focusing on rake and clearance, and use smooth, even strokes to remove a little material at a time. Regularly check and adjust the teeth for sharpness and proper shape. Continuing will guide you through detailed techniques and tools to keep your saw cutting cleanly and safely.
Key Takeaways
- Use appropriate files (flat or triangular) to precisely shape and sharpen saw teeth, maintaining proper angles.
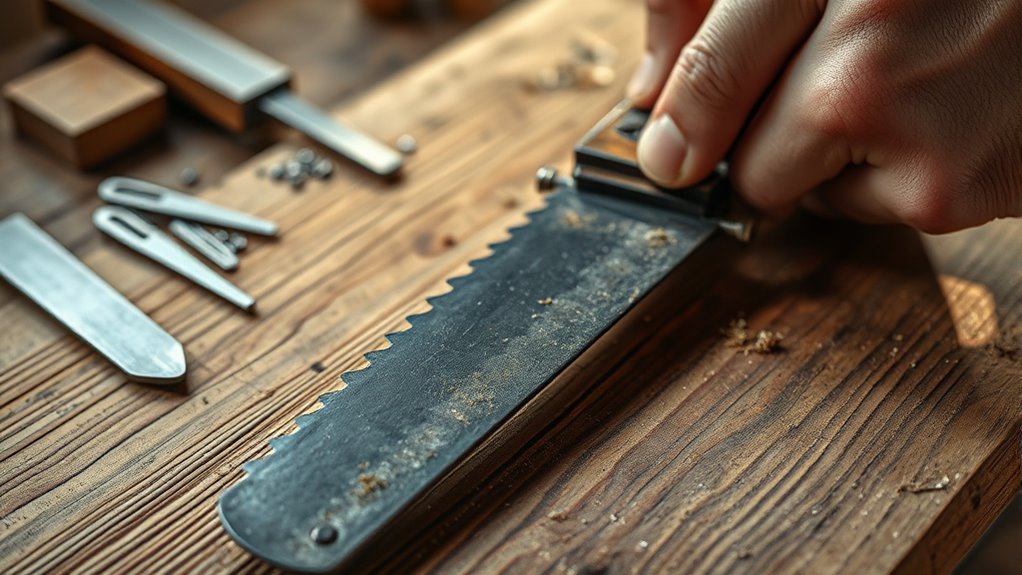
- Secure the saw firmly in a vise to ensure stability and control during filing.
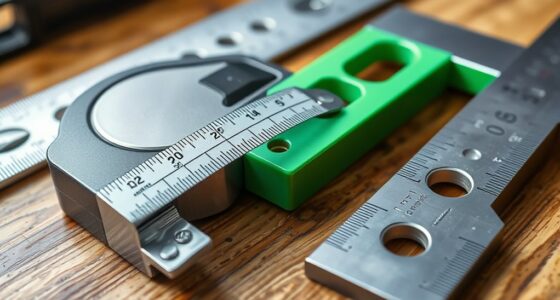
- Match the filing angle to the original tooth geometry (60-80°) for effective cutting performance.
- Regularly check and maintain tooth sharpness, removing minimal material each time to prevent performance loss.
- Employ guides or jigs to ensure uniform teeth shape, and consider lubrication to reduce metal clogging during filing.
Keeping your hand saw sharp is essential for making clean cuts and ensuring safety during woodworking. A sharp saw not only improves your work’s quality but also reduces the effort needed to cut through wood. To achieve this, understanding saw tooth geometry and mastering filing techniques is crucial. Saw tooth geometry refers to the shape, size, and angle of the teeth, which directly affect cutting performance. Properly aligned and shaped teeth ensure efficient removal of material and a smooth cut. When your saw teeth are dull or damaged, your cuts become rough, and the force required increases, making the process tiring and risking accidents.
Filing techniques are the key to maintaining the ideal saw tooth geometry. You need the right tools, such as a flat file or a triangular file, depending on your saw’s teeth. The first step is to secure the saw firmly in a vise, ensuring stability while you work. When filing, maintain a consistent angle that matches the original tooth angle; most saws have teeth angled between 60 and 80 degrees. Using a guide or jig can help keep your filing consistent, resulting in uniform teeth. Start by filing each tooth with smooth, even strokes, working from the heel to the toe of the saw. It’s important to remove only a small amount of material with each pass to prevent over-filing, which can alter the saw’s performance.
Pay close attention to the rake and clearance angles during filing. The rake angle influences how aggressively the tooth cuts, while the clearance angle affects how easily the saw moves through the wood. Correctly filing these angles ensures the saw teeth bite efficiently without binding or skipping. As you progress, alternate sides to keep the teeth evenly shaped and sharp. Regular maintenance involves checking the teeth’s sharpness and filing when they become dull or chipped. If your teeth are severely damaged, you might need to reset or replace them, but for routine sharpening, proper filing techniques will restore your saw’s performance. Additionally, using proper lubrication during filing can help prevent metal clogging and make the process smoother.
Frequently Asked Questions
How Often Should I Sharpen My Hand Saw?
You should sharpen your hand saw whenever you notice the blade’s durability declining or it’s not cutting as smoothly. Typically, this means sharpening every few months with regular use, but frequency depends on your projects. Keep an eye on the teeth for dullness or damage. Regular sharpening maintains peak blade performance, extends its lifespan, and ensures cleaner cuts, saving you time and effort during woodworking.
Can I Sharpen a Saw Without Professional Tools?
Yes, you can try DIY sharpening your hand saw without professional tools, but it’s challenging and might not yield perfect results. For effective hand saw maintenance, you’ll need a few basic supplies like a file and a guide. Carefully file each tooth at the proper angle, maintaining consistency. While it’s possible to do it yourself, investing in proper tools or consulting a professional guarantees your saw stays sharp and safe to use.
What Signs Indicate My Saw Needs Sharpening?
You notice your saw struggles to cut smoothly, like it’s fighting against the wood. If you see saw teeth damage or the blade drifting off course, it’s a clear sign your saw needs sharpening. Increased cutting difficulty, rough cuts, or a burning smell also indicate dull teeth. When these signs appear, it’s time to sharpen your saw to restore its cutting power and make your work easier.
Is It Better to Sharpen or Replace a Dull Saw?
It’s usually better to sharpen your dull saw rather than replace it, as this extends blade longevity and saves money. Regular sharpening reduces the need for frequent replacements and keeps your saw cutting efficiently. If your saw’s teeth are still in good shape, sharpening can restore performance. However, if the blade is severely damaged or worn out, swapping it might be the smarter choice to ensure safety and effectiveness.
How Do I Maintain the Sharpness After Sharpening?
To maintain your saw’s sharpness after sharpening, regularly clean the blade to prevent saw blade corrosion, and keep it dry and oil-coated. Check handle stability often—loose handles can affect cutting precision. Store your saw properly in a dry place, and avoid exposure to moisture. Simple maintenance like these helps preserve your saw’s edge, ensuring it stays sharp longer and performs well on every cut.
Conclusion
Now that you know how to sharpen your hand saw, you’re ready to bring new life to your tools. With the right techniques and tools, you can turn a dull blade into a razor-sharp edge that slices through wood like butter. Think of your saw as a loyal steed—you’ve just learned how to keep it running smoothly. Keep practicing, and soon, every cut will feel as effortless as gliding on a well-oiled track.