
To get cleaner results from an airless sprayer on big projects, focus on thorough paint preparation and regular equipment maintenance. Strain the paint to avoid clogs, mix it well, and follow manufacturer’s thinning guidelines. Inspect and clean your sprayer often, especially the tip and filters, to prevent buildup. Keep consistent spray techniques, such as steady speed and overlapping strokes. If you keep these steps in mind, you’ll be well on your way to a flawless finish.

Get business pricing on tools and workshop supplies
- Business-only prices and quantity discounts
- Tax-exempt purchasing
- Multiple users, one account, clear invoices
Key Takeaways
- Ensure thorough paint strain and proper thinning for smooth, clog-free spraying on large surfaces.
- Regularly inspect and maintain the sprayer, including tips and filters, to prevent clogs and inconsistent spray patterns.
- Keep a consistent distance (around 12 inches) and overlapping strokes for even coverage and minimal overspray.
- Clean the spray system thoroughly after each use to prevent buildup and ensure optimal performance.
- Practice steady, controlled motion and proper technique to achieve a smooth, professional finish on big projects.
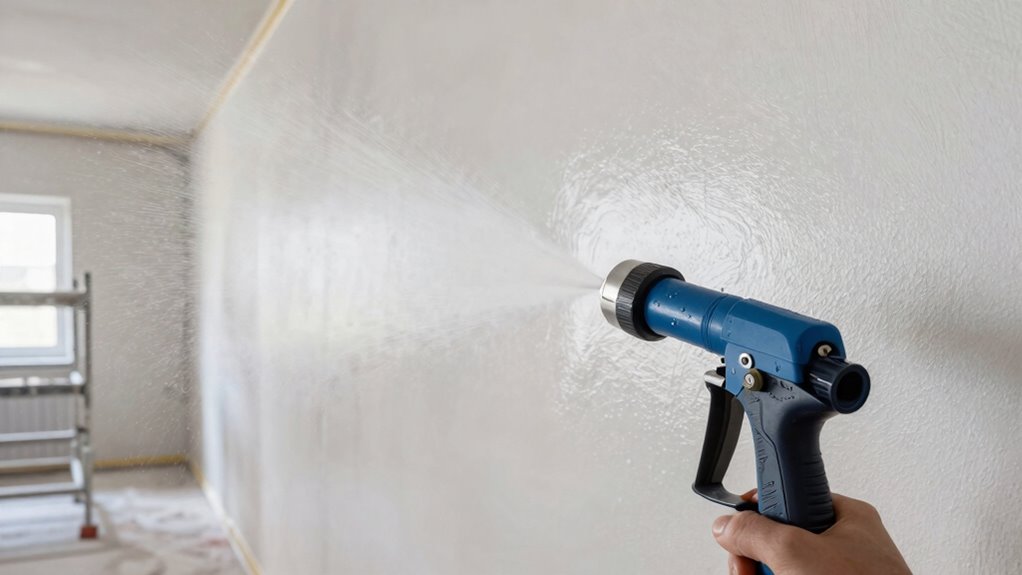
When tackling large projects with an airless sprayer, achieving clean, professional results depends on proper preparation and technique. The first step is confirming you’re well-versed in paint preparation. High-quality paint is essential, but it’s equally important to strain the paint to remove any debris, clumps, or thickened areas that could clog the sprayer or cause uneven spray patterns. Mix the paint thoroughly and follow the manufacturer’s recommended thinning ratios. Proper paint consistency not only ensures smooth application but also reduces overspray and drips. Using the right paint for your project and preparing it correctly lays a solid foundation for a clean, efficient spray job.
Proper paint preparation, including straining and mixing, ensures smooth application and prevents clogs for professional results.
Next, you must pay close attention to equipment maintenance. Before starting, inspect your airless sprayer for any worn or damaged parts—especially the spray tip, filters, and hoses. Clean all components thoroughly, removing any residual paint from previous jobs. Proper maintenance prevents clogs, uneven spray patterns, and equipment breakdowns mid-project. Regularly check the pressure settings to match the manufacturer’s recommendations and the specific requirements of your project. Keeping your equipment in top shape guarantees consistent atomization and a smoother finish. Additionally, understanding the importance of consistent pressure helps maintain a uniform application and reduces the chance of uneven coverage. It’s also wise to keep a record of your maintenance routines to identify any recurring issues and ensure optimal performance. Regularly assessing your equipment’s overall condition can help catch potential problems before they impact your project.
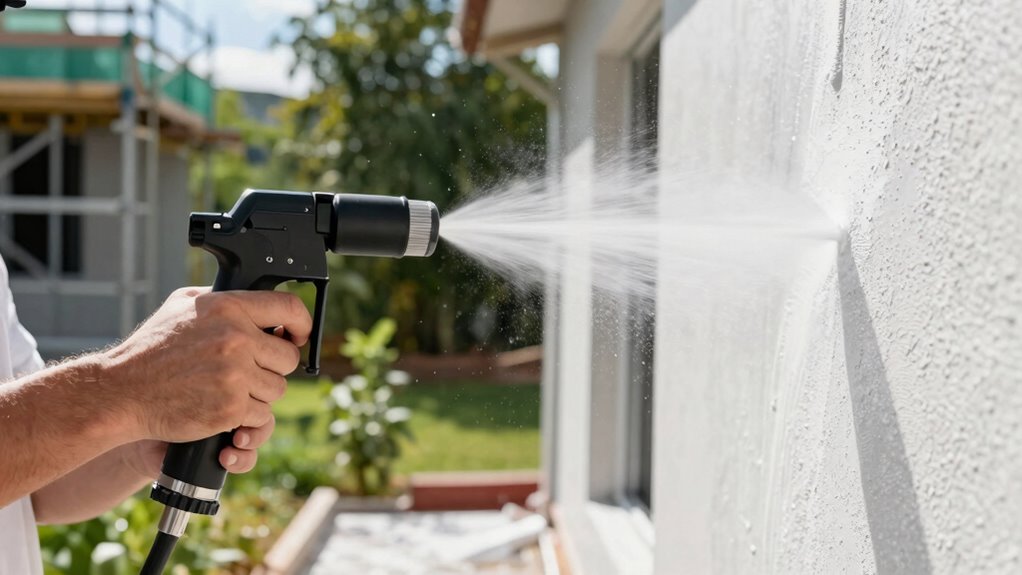
As you work, maintain a steady, consistent spray technique. Keep the sprayer at an even distance from the surface—usually about 12 inches—and use overlapping strokes to ensure even coverage. Move the sprayer at a consistent speed; rushing can lead to uneven coats and paint buildup, while moving too slowly may cause drips. Always start and finish each pass slightly beyond the edge of the surface to avoid thin spots. Maintain a perpendicular angle to the surface, and avoid tilting the spray gun, which can cause uneven spray patterns or excessive paint buildup. Remember, proper technique not only improves the appearance but also reduces material waste.
Periodically pause to clean the spray tip and filters, especially when switching between different sections or colors. This prevents clogs and maintains spray quality. A good practice is to regularly inspect and replace worn parts to ensure continued consistent spray quality. After finishing a day’s work, clean the entire spray system thoroughly according to the manufacturer’s instructions. Proper equipment maintenance not only prolongs the life of your sprayer but also ensures each spray remains consistent and clean. By combining meticulous paint preparation with diligent equipment care, you’ll achieve a flawless, professional finish on large projects with your airless sprayer.
Products Worth Considering

Levoit Vital 100S-P Air Purifier with Washable Pre-Filter

Ring Alarm 14-Piece Kit

Philips Hue White and Color Ambiance Smart Light Starter Kit, 2 A19 Bulbs with Hub
As an affiliate, we earn on qualifying purchases.
Frequently Asked Questions
How Often Should I Clean My Airless Sprayer During a Project?
You should clean your airless sprayer at least every few hours during a project, especially if you’re switching colors or types of paint. Follow maintenance tips like flushing the system with water or solvent after each use and during breaks to prevent clogs. Regular cleaning frequency guarantees your sprayer performs at its best, keeps paint flowing smoothly, and results in cleaner, more professional-looking finishes. Don’t skip these steps to avoid costly repairs later.
What Type of Paint Is Best for Airless Spray Application?
You should choose latex or acrylic paints for airless spray applications, as they offer good paint compatibility and flow easily through the sprayer. Avoid thick or oil-based paints unless you thin them properly. Also, select the right spray tip size—usually a larger tip for thicker paints—to ensure smooth, even coverage. Proper paint selection and spray tip choice help you attain cleaner, professional-looking results on your big projects.
Can I Use My Airless Sprayer for Outdoor or Indoor Projects Interchangeably?
You can switch your airless sprayer between indoor and outdoor projects, but be cautious. Did you know improper ventilation indoors can cause health issues? For indoor use, guarantee good ventilation and choose low VOC paints. Outdoors, focus on proper exterior preparation like cleaning surfaces thoroughly. Always clean your sprayer thoroughly after switching environments to prevent paint contamination and guarantee the best finish, whether inside or outside.
What Safety Precautions Should I Follow When Cleaning the Sprayer?
When cleaning your airless sprayer, wear protective gear like gloves, goggles, and a mask to avoid contact with paint or solvents. Make sure good ventilation by working outdoors or in well-ventilated areas to prevent inhaling fumes. Always follow manufacturer instructions for cleaning solutions and procedures. Disconnect the sprayer from power, depressurize the system, and handle all cleaning materials carefully to stay safe during the process.
How Do I Troubleshoot Inconsistent Spray Patterns?
Think of your sprayer like a symphony conductor—every part needs to work in harmony. If your spray pattern’s inconsistent, check for nozzle clogging, which disrupts the flow. Adjust the pressure to see if it smooths out uneven spray. Regularly clean the nozzle and fine-tune the pressure settings; this keeps your spray pattern steady and guarantees a flawless finish on your project.
Conclusion
Now that you know the tips for cleaner airless sprayer results, you’re ready to tackle big projects with confidence. Think of your sprayer as a paintbrush—if you take care of it and follow these steps, it’ll deliver smooth, professional finishes every time. Keep your equipment clean, test spray, and maintain steady movement. With practice, your projects will turn out as flawless as a mirror—making your hard work truly shine.