
To understand miter saw angles and cuts, you need to know how to adjust and lock the miter and bevel settings accurately. The miter angle controls the horizontal tilt for corner joints, while the bevel tilts the blade vertically for compound cuts. Always double-check your settings with the saw’s scale and test on scrap material before making your final cut. Mastering these adjustments guarantees precise, professional results—so continue exploring how to fine-tune your saw for perfect cuts.
Key Takeaways
- Miter saw angles control the horizontal tilt for corner joints, adjustable via a marked degree scale for precision.
- Bevel angles tilt the blade vertically, enabling complex cuts like crown molding and requiring secure locking.
- Always verify and test angle settings on scrap material before making final cuts for accuracy.
- Common detents at 45° or 22.5° help quickly set standard miter and bevel angles.
- Properly locking both miter and bevel adjustments ensures precise cuts and tight joints in woodworking projects.

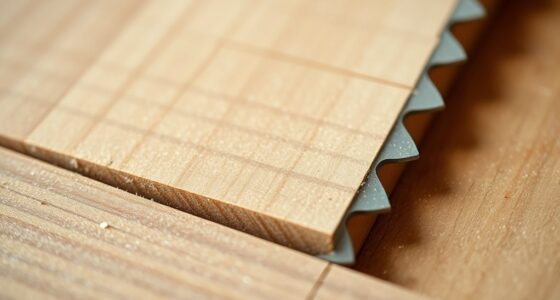
If you want to make precise, angled cuts with a miter saw, understanding the different angles and how to adjust the saw accordingly is essential. Whether you’re creating picture frames, crown molding, or complex furniture joints, knowing how to execute compound cuts is crucial. Compound cuts combine both miter and bevel angles, allowing you to cut at an angle across the face and the thickness of the material simultaneously. To master these, you’ll need to understand how to set and lock the miter angle and perform bevel adjustments accurately. The miter angle controls the horizontal tilt of the saw blade, which is essential for cuts that require a corner joint, while bevel adjustments tilt the blade vertically to cut across the face of the material. Both adjustments are vital when dealing with intricate projects that demand precise fit and finish.
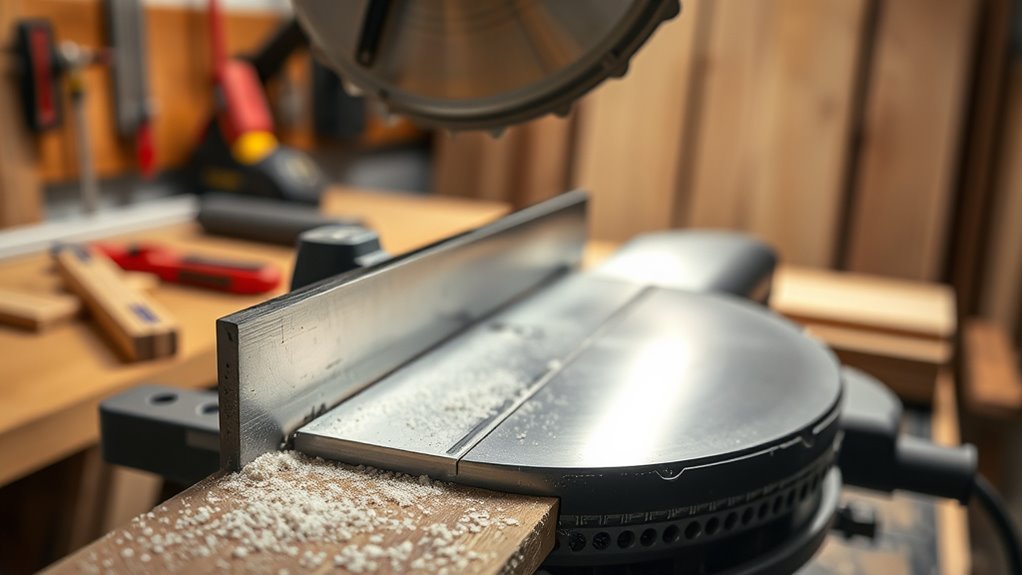
When preparing for a compound cut, start by identifying the exact angles your project requires. Most miter saws have a scale marked with degree measurements, making it straightforward to set the miter angle. Turn the saw’s miter adjustment knob or lever, and lock it into place at the desired degree. For bevel adjustments, loosen the bevel lock, tilt the blade to the specified angle, and tighten it securely. Many saws feature detents at common angles like 45° or 22.5°, streamlining the process for frequently used settings. Always double-check your settings before making a cut to ensure accuracy, especially when working with complex joints.
Practicing with scrap pieces helps build confidence in your ability to execute compound cuts. Once you’ve set the miter and bevel angles, make a test cut to verify the accuracy of your settings. Adjust as needed, ensuring the saw blade remains securely locked at the correct angles throughout the cut. Remember, precise bevel adjustments are key to achieving tight joints, especially for crown molding or beveled edges. The more comfortable you become with adjusting both the miter and bevel settings, the easier it will be to produce professional-quality cuts. Additionally, understanding the sound waves generated by the saw can help you maintain control and safety during operation.
Frequently Asked Questions
How Do I Calibrate My Miter Saw for Precise Cuts?
To calibrate your miter saw for precise cuts, start by using reliable angle measurement tools like a digital protractor or combination square. Check the saw’s bevel and miter angles against these tools, then modify the saw’s settings accordingly. Use calibration techniques such as aligning the saw’s indicator with zero or preset angles, and recheck after adjustments. Proper calibration ensures your cuts are accurate and consistent every time.
What Safety Precautions Should I Take When Adjusting Angles?
When adjusting your miter saw angles, always prioritize safety. Wear safety gear like goggles and hearing protection to shield yourself from debris and noise. Before making any adjustments, verify the saw is unplugged to prevent accidental starts. Use the angle locking mechanism to secure the saw firmly in place. Double-check your settings before cutting, and avoid rushing. These precautions help keep you safe and ensure precise, accurate cuts.
Can I Cut Composite Materials With Different Miter Angles?
Think of cutting composite materials with different miter angles like an artist blending colors. Yes, you can make precise cuts with various miter saw types, but make certain your saw is suitable for composites. Adjust your miter angles carefully, and use a blade designed for these materials to prevent chipping. Always follow safety precautions, and test small cuts first to get clean, accurate results.
How Do I Maintain Consistent Cuts Across Multiple Pieces?
To maintain consistent cuts across multiple pieces, you should focus on precise measurement tools and effective clamping techniques. First, measure and mark each piece carefully, then secure them firmly with clamps to prevent shifting. Use a stop block or a square as a guide for your miter saw to ensure each cut matches exactly. This approach minimizes errors and guarantees uniformity in all your cuts.
What Accessories Can Enhance Miter Saw Angle Accuracy?
To improve your miter saw angle accuracy, consider using digital angle gauges to get precise measurements quickly. Clamp guides are also valuable, helping you secure the saw and workpiece for consistent cuts. These accessories reduce human error and make sure each cut matches your intended angle. By incorporating digital gauges and clamp guides, you’ll achieve cleaner, more accurate results, making your woodworking projects look professional and save you time.
Conclusion
Now that you’ve explored miter saw angles and cuts, you’re better equipped to create precise, professional-looking projects. Remember, mastering these angles might take a bit of patience, but with practice, you’ll find your cuts becoming smoother and more confident. Think of it as fine-tuning your craft—each cut bringing you closer to perfection. Keep experimenting, trust your instincts, and soon, these skills will feel like second nature, opening up a world of woodworking possibilities.