
To build a DIY built-in bookcase from scratch, start by accurately measuring your space and sketching a plan that includes shelves and spacing. Choose sturdy materials like plywood or hardwood, then gather your tools. Build the frame, secure it to the wall, and install the shelves, making sure they are level. Finish with paint, trim, or wallpaper for a polished look. Keep exploring for detailed steps that will help you create a seamless, stylish feature.
Key Takeaways
- Measure your space accurately and plan the shelf layout to fit seamlessly into the room.
- Select sturdy plywood or hardwood and gather essential tools like a drill, saw, and level.
- Build the frame, secure it to the wall, then install evenly spaced, level shelves.
- Finish with paint, stain, molding, or backing panels for a polished look.
- Add lighting and decorative accessories to enhance style and functionality.
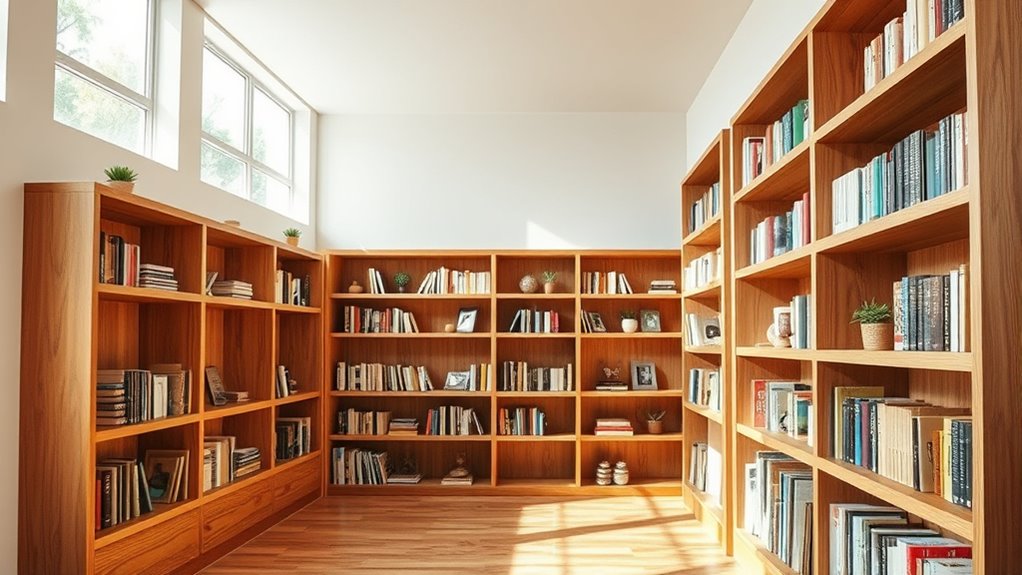
Ever wondered how to add a stylish and functional focal point to your home? Building a DIY built-in bookcase is a fantastic way to achieve that goal. Not only does it serve as a prominent wall decor feature, but it also enhances your space’s shelf organization, making it easier to keep your books and decorative items tidy and accessible. Creating a custom bookcase from scratch allows you to tailor it perfectly to your room’s dimensions and your personal style, giving your home a unique and polished look.
The first step is to measure your space carefully. Determine the height, width, and depth of the area where you want to install your built-in. This precision is vital because it guarantees your finished piece fits seamlessly without gaps or awkward overlaps. Once you have your measurements, sketch a basic plan that includes the number of shelves you want and their spacing. Remember, adjustable shelves can offer flexibility, so consider including support pegs or tracks for easy modifications later.
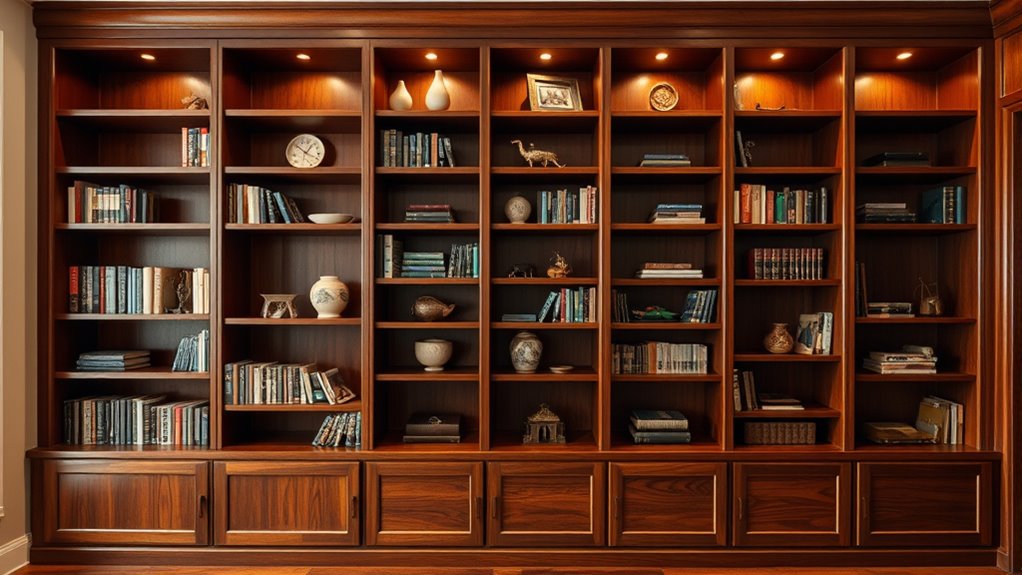
Next, gather your materials. Usually, sturdy plywood or hardwood works best for the shelves and sides, providing durability and a sleek appearance. For the frame, you can choose between paint-grade or stain-grade wood, depending on the style you want to achieve. You’ll also need screws, nails, a drill, a saw, and a level to guarantee everything is straight and secure. If you want a more refined finish, consider adding molding or trim at the top and bottom to give your built-in a finished, professional look.
When assembling, start by constructing the sides and top frame. Secure these to the wall using anchors or brackets for stability. Then, install the shelves, making sure they are level and evenly spaced. For added shelf organization, incorporate dividers or small compartments for different types of items. To make your wall decor pop, paint or stain the entire unit in a color that complements your room’s palette. You can also add backing panels or decorative wallpaper inside the back of the bookcase for extra visual interest.
Finally, accessorize your new built-in with a mix of books, plants, artwork, or decorative objects. This not only emphasizes your wall decor but also turns your DIY project into a centerpiece of your home. Incorporating proper lighting can further enhance its visual appeal and functionality. With a bit of effort, you’ll have a custom, stylish built-in that offers excellent shelf organization and enhances your space’s overall aesthetic. Building your own allows you to create a functional piece that reflects your personality, making your home truly yours.
Frequently Asked Questions
What Tools Are Essential for Building a Built-In Bookcase?
You need essential tools like a power drill and measuring tape to build a built-in bookcase. The power drill helps you securely attach shelves and panels, making the process faster and easier. The measuring tape guarantees your measurements are accurate, so everything fits perfectly. Don’t forget a level, saw, and screwdriver to complete your project smoothly. With these tools, you’ll create a sturdy and stylish bookcase that fits your space perfectly.
How Do I Ensure the Bookcase Is Level and Sturdy?
They say “a chain is only as strong as its weakest link,” so you need to make certain your bookcase is both level and sturdy. Check for levelness frequently with a spirit level during construction, and pay close attention to weight distribution by using quality materials. Properly anchoring the bookcase to the wall, along with reinforced joints, guarantees stability and safety, making your built-in a lasting feature in your space.
Can I Customize the Design to Fit My Space?
Absolutely, you can customize the design to fit your space. With design flexibility, you can modify the height, width, or style to match your decor. Choose from various material options like wood, MDF, or plywood to suit your preferences and budget. This way, you create a built-in that perfectly complements your room’s layout, giving you a personalized and functional addition that seamlessly integrates with your existing space.
What Safety Precautions Should I Follow During Construction?
You should always wear personal protective equipment like safety goggles, gloves, and a dust mask to protect yourself during construction. Keep your workspace tidy and be cautious when handling power tools to prevent accidents. Follow electrical safety guidelines if you’re wiring or working near outlets. Turn off power when working with electrical components, and make certain all tools are in good condition. Staying vigilant and safe helps you avoid injuries and completes your project smoothly.
How Much Will the Project Typically Cost?
Imagine the satisfying feel of sturdy wood under your hands; your project typically costs between $200 and $600, depending on your material choices. Careful cost estimation helps you stay on budget, whether you select affordable plywood or premium hardwoods. Remember, the type of materials you choose influences the overall expense, so plan your material selection wisely to create a beautiful, functional built-in that fits your budget and style perfectly.
Conclusion
As you step back to admire your new built-in bookcase, it feels like more than just a project—you’ve created a space that reflects your effort and vision. Sometimes, the smallest details come together just when you need them most, reminding you that patience and persistence pay off. Now, each time you glance at your handiwork, you’ll remember that even the simplest projects can turn into meaningful milestones, shaping not just your space, but your confidence too.