
To build a flip-top tool stand, start by selecting sturdy materials like hardwood or plywood for the frame and lid. Measure your workspace and tools carefully, then cut the components precisely. Assemble the frame, attaching strong hinges and locks for secure operation. Sand all edges and apply protective finishes to prevent moisture damage. Regularly inspect and tighten hardware to keep it functioning smoothly. If you keep going, you’ll discover detailed steps to create a reliable, space-saving stand.
Key Takeaways
- Select sturdy, durable materials like hardwood or plywood for the frame and lid to ensure stability and support heavy tools.
- Carefully measure and plan the design to fit your workspace and tool sizes before cutting components.
- Use secure hardware such as strong hinges and locks, and handle all tools with safety precautions during assembly.
- Assemble the frame and lid accurately, testing the flip-top mechanism for smooth operation and secure locking.
- Finish surfaces with protective coatings and regularly inspect hardware and mechanism for safety and longevity.
A flip-top tool stand is a versatile addition to any workshop, allowing you to store tools neatly and access them quickly when needed. When building your own, the key to a successful project lies in careful material selection and adherence to safety precautions. Choosing the right materials guarantees durability, stability, and ease of construction. For the frame, opt for sturdy plywood or hardwood like oak or maple, which can withstand frequent use and support the weight of heavy tools. The flip-top lid should be made from a solid, durable material—plywood or MDF are good choices—since it needs to hold weight without sagging. For hardware, select strong hinges and reliable locking mechanisms to keep the top secure and safe during operation.
A sturdy, well-chosen material ensures a durable, safe, and functional flip-top tool stand for your workshop.
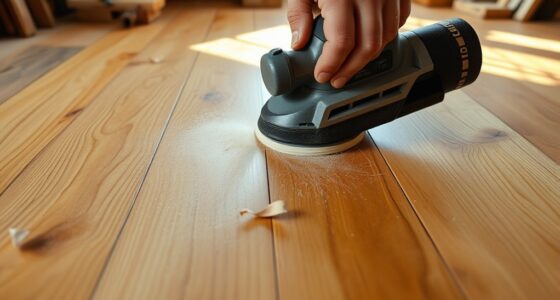
The first step involves planning your design, measuring the dimensions to fit your workspace and tools. Once you have your design, gather your materials, making certain they are free of defects, warping, or cracks. When working with wood, always wear safety gear, including eye protection and gloves, especially when cutting or sanding. Use appropriate tools, such as a circular saw or jigsaw, and double-check measurements before making cuts to avoid mistakes. Sand all edges smoothly to prevent splinters and guarantee safety when handling. Additionally, understanding material properties can help you choose the best options for your project’s durability and safety. Incorporating proper construction techniques enhances the stand’s stability and longevity. Knowing how to properly seal surfaces can further protect your project from moisture damage and wear. It’s also important to consider the ergonomics of your design, ensuring it is comfortable and functional during use. Paying attention to hardware installation details can prevent issues with the flip-top mechanism over time.
Material selection plays a crucial role in the stand’s longevity. Hardwoods are ideal because they resist dents and scratches, but quality plywood or MDF can be just as effective if you’re looking for a more budget-friendly option. Be sure to seal the surfaces with a protective finish—like polyurethane or varnish—to prevent moisture damage and make cleaning easier. During assembly, follow safety precautions: secure your workpiece firmly, use clamps, and keep your hands away from cutting blades and moving parts. When attaching hinges and locks, tighten all screws securely, but avoid overtightening to prevent splitting the wood.
Once assembled, test the flip-top mechanism to confirm it moves smoothly and locks securely in place. Regularly inspect your tool stand for signs of wear or damage, and replace hardware as needed. Proper material selection and diligent safety precautions make this project straightforward and safe, resulting in a practical, durable tool stand that keeps your workshop organized and your tools easily accessible. Whether you’re a seasoned builder or a DIY enthusiast, building your own flip-top tool stand is a rewarding project that will serve you well for years to come.
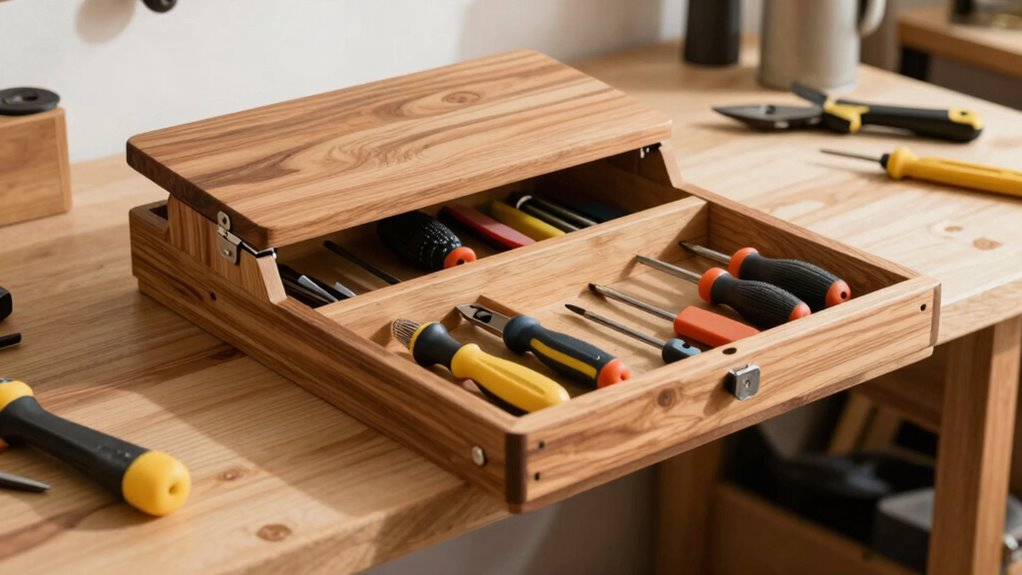
heavy-duty flip-top tool stand
As an affiliate, we earn on qualifying purchases.
As an affiliate, we earn on qualifying purchases.
Frequently Asked Questions
What Materials Are Best for Constructing a Flip-Top Tool Stand?
You should choose sturdy materials like hardwood or plywood for constructing your flip-top tool stand, as their material durability guarantees stability and longevity. Hardwood offers superior strength, while plywood provides a good balance of durability and ease of woodworking techniques. Use quality hardware and proper joinery to enhance stability. By selecting the right materials and applying precise woodworking techniques, your flip-top stand will be both functional and durable for years to come.
How Much Weight Can a Flip-Top Tool Stand Safely Hold?
Did you know some flip-top tool stands support up to 200 pounds? Your material selection directly impacts the weight capacity; sturdy hardwood or metal can safely hold significant loads. If you choose quality materials and reinforce joints properly, your stand can easily support heavy tools without wobbling or breaking. Always consider the weight of your tools and materials, and double-check the stand’s weight capacity before use to guarantee safety and longevity.
What Safety Precautions Should I Take During Assembly?
During assembly, you should wear personal protective equipment like safety glasses and gloves to prevent injuries. Make certain your workspace is well-organized, keeping tools and materials tidy to avoid accidents. Work in a well-lit area with stable surfaces, and double-check all parts and fasteners before proceeding. Taking these safety precautions helps you stay safe, minimizes hazards, and guarantees your flip-top tool stand is assembled correctly and securely.
Can I Customize the Size of the Flip-Top Stand?
Think of your flip-top stand as a blank canvas waiting for your personal touch. Yes, you can customize its size to fit your workspace, just like selecting the perfect frame for a painting. Consider your aesthetic design and color options, blending functionality with style. Adjust dimensions to suit your needs, ensuring it’s a seamless fit. Your stand becomes a unique piece, reflecting your workshop’s character and your craftsmanship.
How Do I Ensure the Flip-Top Mechanism Is Durable?
To guarantee your flip-top mechanism is durable, regularly maintain the hinges by lubricating them to prevent wear. Choose high-quality, corrosion-resistant materials like stainless steel or coated metals to avoid material corrosion over time. Check hinges frequently for signs of rust or damage, and replace them if needed. Proper hinge maintenance and selecting durable materials will keep your flip-top stand functioning smoothly and last longer in your small workshop.
workshop tool storage cabinet
As an affiliate, we earn on qualifying purchases.
As an affiliate, we earn on qualifying purchases.
Conclusion
Now, as you finish your flip-top tool stand, it’s funny how the right tools and a little effort can turn a simple idea into a game-changer for your workshop. Just like discovering that perfect spot for your favorite tool, building this stand might seem small, but it’s a coincidence that it’ll make your projects smoother and more enjoyable. Sometimes, the best solutions come when you least expect them—so enjoy your new setup and keep creating!
DIY flip-top workbench
As an affiliate, we earn on qualifying purchases.
As an affiliate, we earn on qualifying purchases.
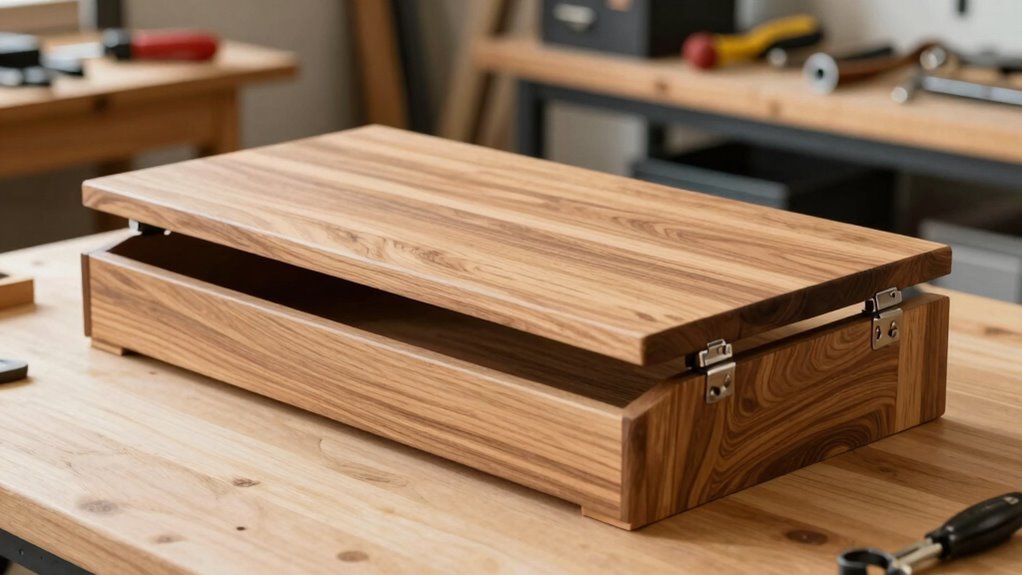
wooden tool stand with hinges
As an affiliate, we earn on qualifying purchases.
As an affiliate, we earn on qualifying purchases.