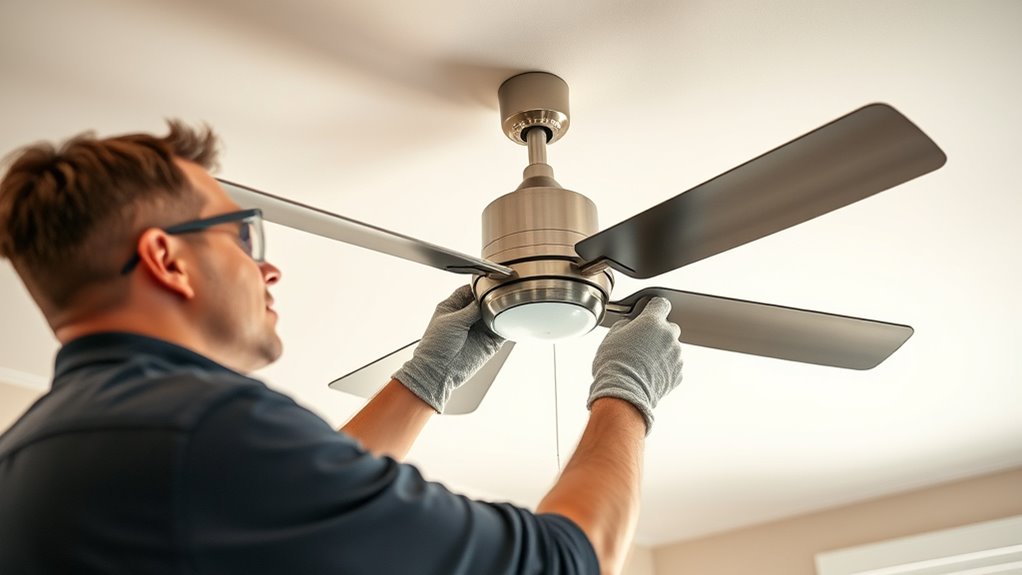
To install a ceiling fan safely, start by turning off power at the breaker and preparing your workspace. Remove the old fixture and inspect the ceiling box to make certain it’s secure and rated for a fan. Mount the support bracket properly, then connect the wiring securely, matching color-coded wires. Attach the fan, balance blades, and tighten all screws. Finally, test the fan for smooth operation and safety features—continue for detailed steps to make certain a safe, lasting installation.
Key Takeaways
- Turn off power at the circuit breaker before beginning any wiring work.
- Ensure the ceiling box is securely rated for fan weight and properly supported.
- Follow manufacturer instructions carefully for wiring, assembly, and mounting procedures.
- Use a voltage tester to verify power is off before handling electrical connections.
- Test the fan’s operation and safety features thoroughly after installation before restoring full power.
ceiling fan installation kit
As an affiliate, we earn on qualifying purchases.
As an affiliate, we earn on qualifying purchases.
Gather the Necessary Tools and Materials
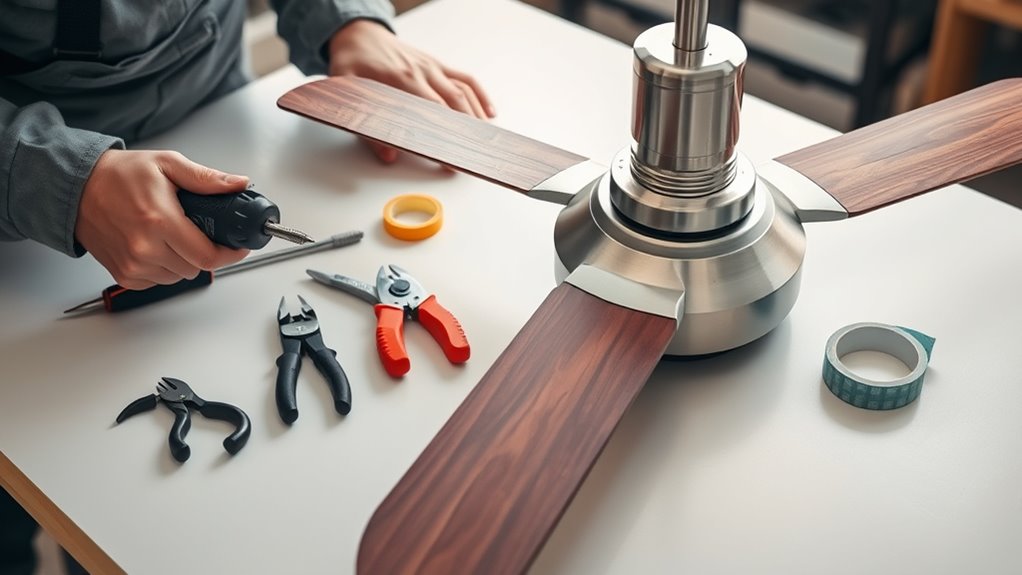
Before you begin installing your ceiling fan, it’s important to gather all the tools and materials you’ll need. First, consider the mounting options available for your ceiling and verify your fan size matches your room’s dimensions. You’ll want a sturdy ladder, a screwdriver, wire strippers, and a voltage tester to handle electrical connections safely. Make sure you have mounting brackets, screws, and any hardware specific to your fan model. If your ceiling height is high, you might need an extension rod. It’s also helpful to have a flashlight and a level to ensure proper installation. Confirm that your fan’s size is suitable for the space, and double-check the manufacturer’s instructions for any additional tools or materials required. Proper preparation makes the installation smoother and safer. Additionally, understanding the industry trends can help you select the most efficient and modern fan model for your space.
electrical wire strippers for ceiling fans
As an affiliate, we earn on qualifying purchases.
As an affiliate, we earn on qualifying purchases.
Turn Off Power and Prepare the Work Area
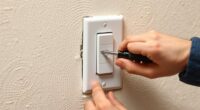
Before you start, turn off the power at the circuit breaker to guarantee safety. Clear the work area of furniture and obstacles to give yourself enough space. Double-check that the power is off before handling any wiring to prevent accidents. Additionally, familiarize yourself with best practices for electrical safety to ensure a secure installation.
Power Shutoff Procedures
Have you turned off the power supply to the ceiling fan’s circuit? Before starting work, make certain you locate and turn off the correct circuit breaker, practicing good grounding safety. This step prevents electrical shock and protects you from accidental contact with live wiring. Use the circuit breaker identification method: turn off one breaker at a time and test the fixture to confirm it’s dead. Never assume the power is off without verification. Remember, grounding safety is essential—avoid touching grounded or metal parts that could still carry residual current. Once you’ve confirmed the circuit breaker is off and the power is shut down, keep the breaker in the off position. Additionally, understanding the basic home wiring principles can help you work more confidently and safely. This careful procedure helps you work safely and reduces the risk of electrical accidents during ceiling fan installation.
Work Area Preparation
Wondering how to guarantee a safe workspace for installing your ceiling fan? Start by turning off the power at the breaker to prevent accidents. Clear the area around the fixture and move furniture if needed, ensuring enough space to work comfortably. Check the ceiling height to confirm it’s suitable for your fan’s size and lighting placement plans. If the ceiling is low, be extra cautious to avoid hitting your head. Cover nearby furniture and floors with drop cloths to protect against debris. Ensure your lighting fixtures are turned off and removed if necessary, to avoid interference. Creating a clean, organized work area minimizes hazards, helping you work safely and efficiently throughout the installation process. Additionally, reviewing home safety tips can further reduce potential risks during the project.
ceiling fan mounting bracket
As an affiliate, we earn on qualifying purchases.
As an affiliate, we earn on qualifying purchases.
Remove the Old Fan and Inspect the Ceiling Box
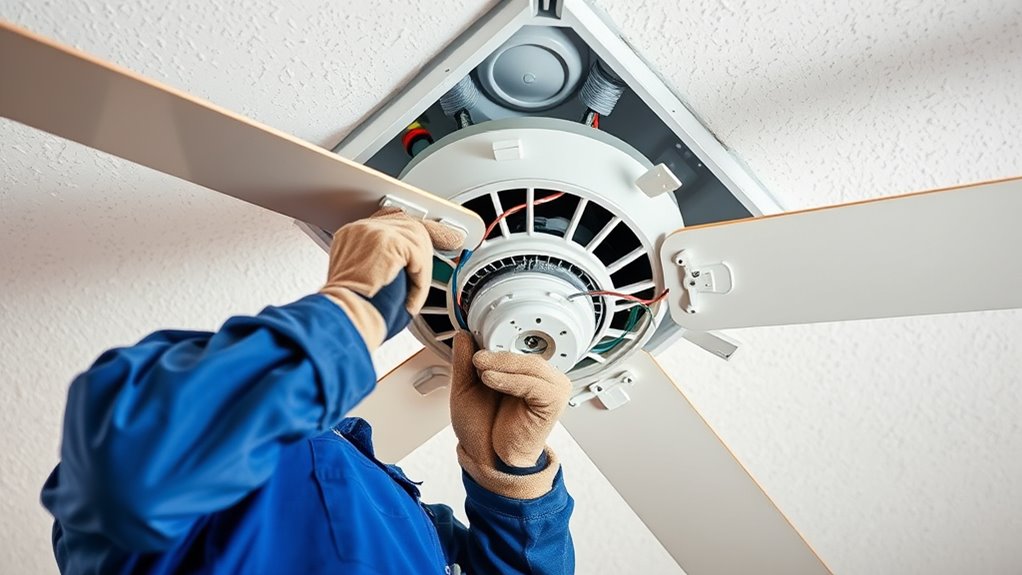
To begin removing the old fan, turn off the power at the circuit breaker to guarantee safety. Next, carefully disconnect the fan’s wiring, ensuring you observe proper electrical safety procedures. Once the fan is free, inspect the ceiling box for compatibility with your new fan. Here are key steps:
- Check that the ceiling box is securely mounted and rated for fan weight.
- Look for signs of damage or wear, which could compromise support.
- Confirm that the electrical wiring is in good condition and accessible.
If the ceiling box isn’t rated for ceiling fans or shows any damage, replace or reinforce it before proceeding. Proper inspection ensures safety and supports the new ceiling fan effectively.
voltage tester for electrical wiring
As an affiliate, we earn on qualifying purchases.
As an affiliate, we earn on qualifying purchases.
Install the Mounting Bracket and Support System
Installing the mounting bracket and support system correctly is essential for a secure and safe ceiling fan installation. First, align the mounting bracket with the ceiling box, ensuring it’s level. Use the provided screws to firmly attach the bracket, supporting the weight of the fan. The support system, such as a brace or additional support, helps handle the fan’s weight and prevents wobbling. Ensuring trust issues are addressed in the installation process can prevent future problems with stability. Here’s a quick overview:
| Step | Tip |
|---|---|
| Attach the mounting bracket | Use the right screws and tighten fully |
| Secure the support system | Reinforce if ceiling is weak |
| Check alignment | Ensure level before proceeding |
| Tighten all connections | Double-check for stability |
Proper installation of the mounting bracket and support system guarantees safety and longevity of your ceiling fan.
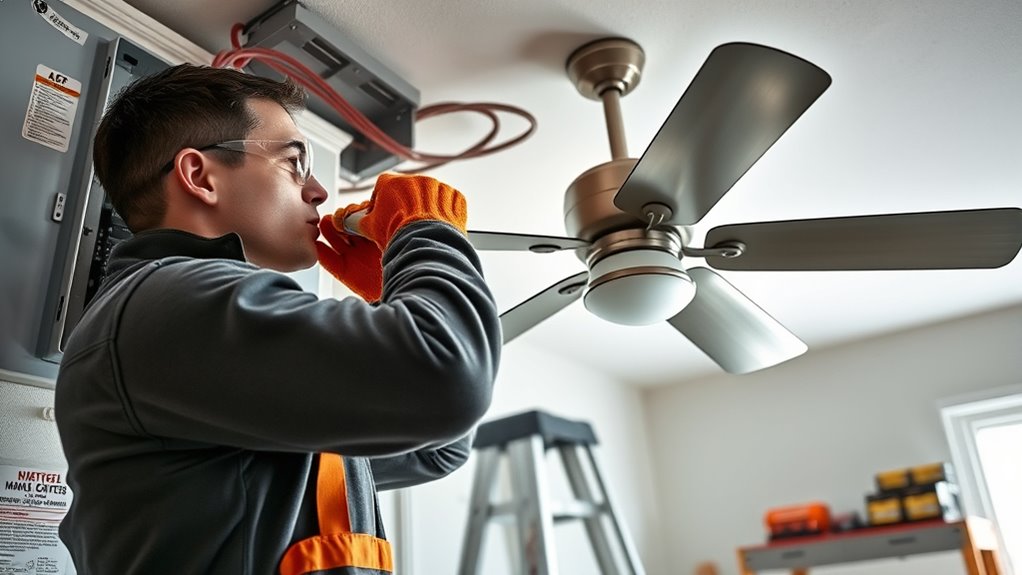
Connect Wiring and Secure the Fan Assembly
Now it’s time to connect the wiring and secure the fan assembly properly. You’ll need to follow the wiring connection steps carefully to guarantee everything lines up correctly. Make sure to fasten the fan securely to prevent any wobbling or safety issues. Regularly inspecting the installation can help ensure continued safety and optimal operation.
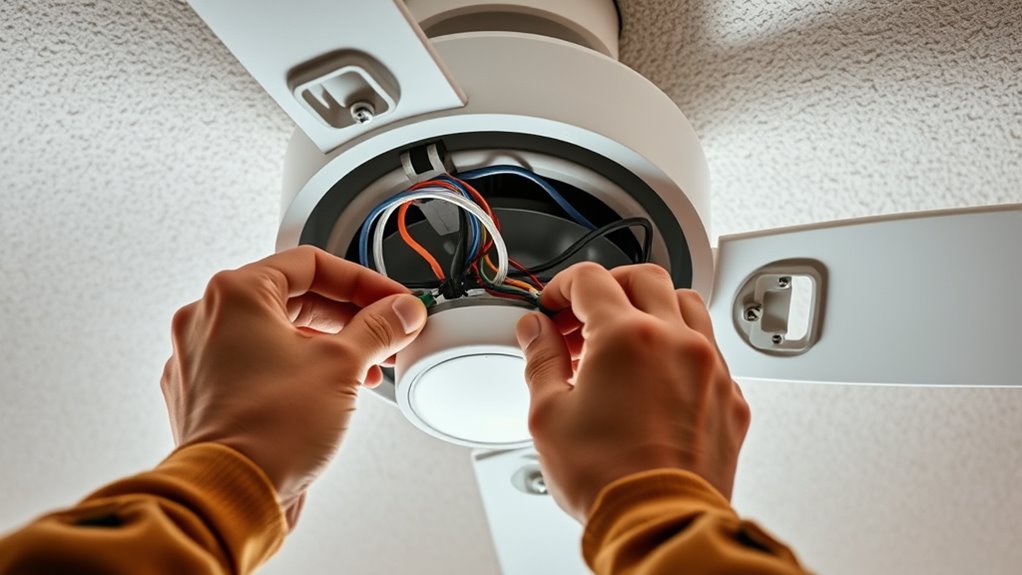
Wiring Connection Steps
Before connecting the wiring, turn off the power at the circuit breaker to guarantee safety. Then, follow these steps:
- Identify the wires by their color coding—usually black for hot, white for neutral, and green or copper for ground.
- Use wire stripping tools to remove about ¾ inch of insulation from each wire, exposing clean metal.
- Connect the wires: match black to black, white to white, and green or copper to ground wire, twisting them securely and wrapping with wire nuts.
- Be aware that proper wiring connections are essential to prevent electric hazards and ensure the safe operation of your ceiling fan.
Ascertain all connections are tight and properly insulated. Double-check the wiring matches the color coding, and avoid loose or exposed wires. This careful process helps prevent shorts and ensures a safe, reliable connection for your ceiling fan.
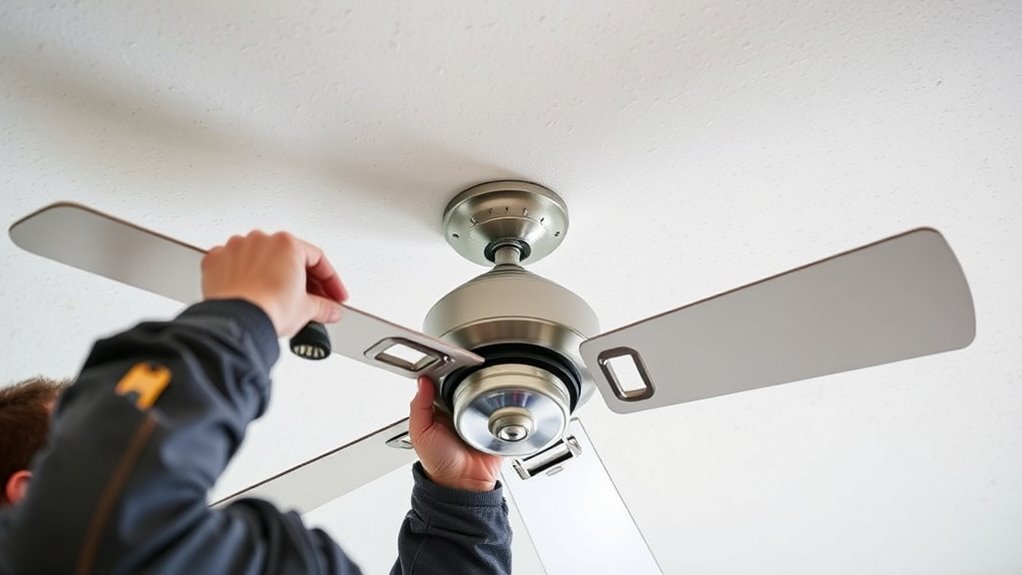
Fastening the Fan Securely
After completing the wiring connections, it’s time to securely fasten the fan to make sure it stays in place. Start by choosing the right mounting hardware compatible with your ceiling and fan model. Tighten the mounting bracket securely to the electrical box, ensuring it can support the fan’s weight. Once the fan assembly is attached, check for stability by gently shaking it. To prevent wobbling, balance the fan blades by adjusting or replacing any that are out of alignment. Properly balanced blades reduce noise and ensure smooth operation. Double-check all screws and connections to confirm everything is tight. A securely fastened fan not only operates quietly but also reduces safety risks, giving you peace of mind with your installation. Additionally, understanding the mechanics of pinball machines can help you appreciate the importance of secure mounting to prevent accidents.
Test the Fan and Final Safety Checks
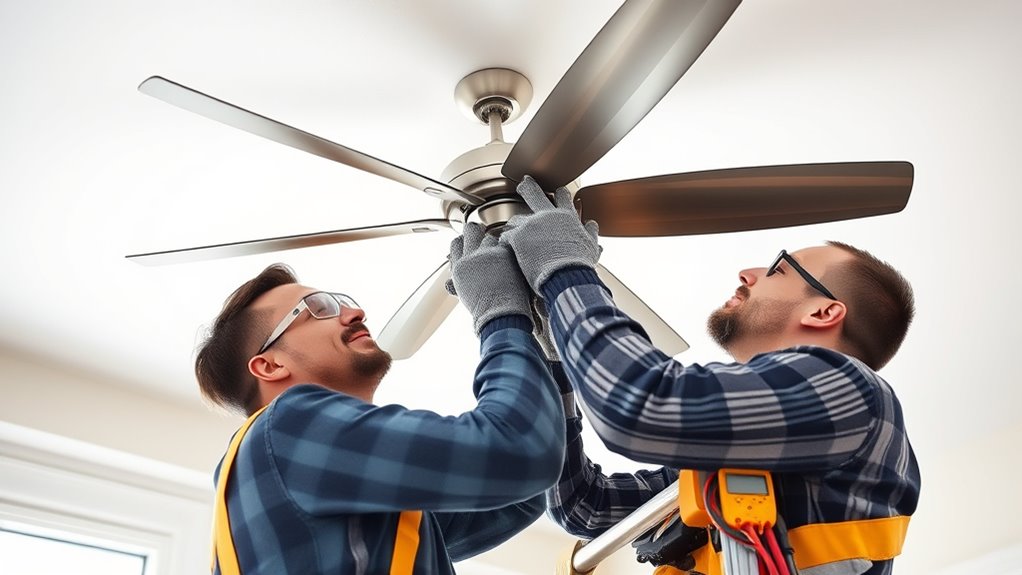
Have you properly connected and secured the ceiling fan? Now it’s time to test the fan operation. Make sure the blades spin smoothly at all speed settings and listen for any unusual noises. Next, check safety features like the pull chains or remote controls to ensure they work properly. Finally, inspect the wiring connections, mounting brackets, and pull chain switches for security. To keep safety in check: proper maintenance ensures the fan operates safely and efficiently over time. 1. Test fan operation at each speed setting. 2. Check all safety features, including switches and remote controls. 3. Examine wiring and mounting for stability.
Frequently Asked Questions
Can I Install a Ceiling Fan Without an Electrical Background?
You can try DIY wiring a ceiling fan, but it’s risky if you lack electrical experience. Different ceiling fan types, like those with remote controls or pull chains, require specific wiring steps. If you’re unsure, it’s best to consult a professional. Proper installation guarantees safety and functionality, preventing electrical hazards or damage. So, assess your skills carefully before attempting, and don’t hesitate to get expert help if needed.
What Safety Precautions Should I Take During Installation?
Think of electrical safety as your shield and tool safety as your trusted sword. When you install a ceiling fan, always turn off power at the breaker to avoid shocks. Use insulated tools to prevent accidental shorts, and double-check connections before turning the power back on. Wearing safety gear, like gloves and goggles, keeps you protected. Prioritize these safety precautions to guarantee your installation is safe, confident, and successful.
How Do I Identify the Correct Ceiling Box for Support?
To identify the correct ceiling box for support, first check its compatibility with ceiling fan weight and size. Look for a box labeled “fan-rated” or “support bracket required,” ensuring it meets support bracket requirements. You should also verify that it’s securely attached to a solid ceiling joist or reinforced to handle the fan’s weight. Proper support guarantees safety and ensures safe operation once installed.
Is It Necessary to Hire an Electrician for Installation?
Ever wonder if you need an electrician to install a ceiling fan? While some handy homeowners can handle basic wiring, it is crucial to follow the electrical code and perform a thorough safety check. Hiring a licensed electrician ensures proper grounding, secure mounting, and compliance with local regulations. Don’t risk electrical hazards or damage—consult a professional if you’re unsure. Your safety and peace of mind are worth the extra step.
What Should I Do if the Ceiling Wiring Is Damaged?
If you find damaged ceiling wiring, start with a thorough damage assessment to determine the extent of the wiring repair needed. Avoid attempting to fix electrical issues yourself if you’re unsure, as improper repairs can be dangerous. Instead, hire a licensed electrician who can safely handle the wiring repair, ensure everything is up to code, and prevent future hazards. Prioritizing professional help keeps your home safe and guarantees a proper fix.
Conclusion
Installing a ceiling fan safely is essential for your home’s comfort and safety. Did you know that improperly installed fans can cause injuries or damage? According to safety reports, over 30% of ceiling fan accidents happen due to incorrect installation. By following these steps carefully, you reduce risks and guarantee your fan operates smoothly. Take your time, double-check connections, and enjoy the cool breeze safely and confidently. Your effort makes all the difference!