To start seeds indoors, pick high-quality seeds suited for early growth and choose containers with proper drainage. Use a lightweight, nutrient-rich soil mix, plant seeds at the right depth, and provide plenty of light with full-spectrum grow lights. Maintain consistent warmth and moisture, ensure good air circulation, and monitor humidity levels. With proper care and attention, you’ll set a strong foundation for healthy seedlings—continue exploring to learn all the essential steps for success.
Key Takeaways
- Select high-quality, suitable seeds and prepare them by removing tough seed coats for better germination.
- Use well-draining containers with a nutrient-rich, moist growing medium and plant seeds at appropriate depths.
- Provide consistent light with full spectrum grow lights for 12-16 hours daily, maintaining optimal temperature and moisture levels.
- Manage humidity and airflow with proper ventilation, fans, and humidity controls to prevent mold and seedling diseases.
- Transplant seedlings carefully into prepared outdoor beds after hardening off and ensuring they are strong enough.
Choosing the Right Seeds for Indoor Starting
When selecting seeds for indoor starting, it is vital to choose varieties suited for early growth in controlled environments. You want seeds with high seed viability, meaning they have a better chance of germinating successfully. Check the packaging for freshness and expiration dates, as older seeds often have lower germination rates. Opt for seeds known to perform well indoors, such as leafy greens, herbs, and compact vegetables. Keep in mind that good seed quality directly impacts your success, so avoid using old or damaged seeds. Proper seed germination is fundamental for healthy seedlings, so selecting high-quality seeds ensures a stronger start. By choosing seeds with proven germination success, you set yourself up for a productive indoor garden. Additionally, selecting resilient seed varieties like chia seeds can make indoor gardening more easy and rewarding.
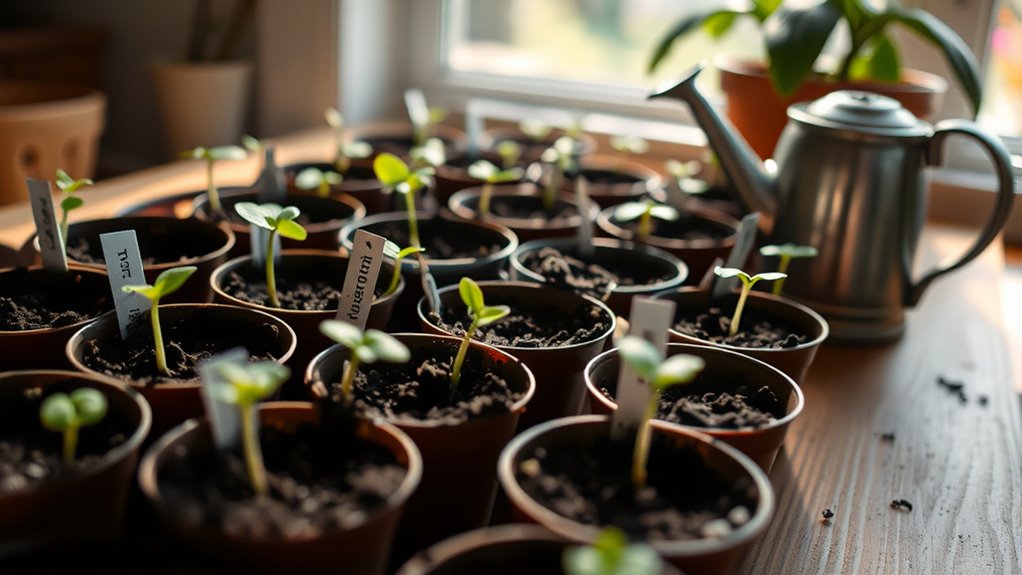
Selecting Suitable Containers and Trays
Choosing the right containers and trays is essential for successful indoor seed starting. You want seedling trays that provide proper drainage and prevent waterlogging, which can cause root rot. Look for trays with drainage holes or consider adding drainage material at the bottom. Select containers that are the right size for your seedlings, allowing room for growth without overcrowding. Reusable trays are cost-effective and eco-friendly, but make certain they’re clean to prevent disease. Here’s a quick comparison:
| Container Type | Drainage Features |
|---|---|
| Seedling trays | Multiple drainage holes |
| Plastic pots | Drainage holes, reusable |
| Biodegradable pots | Drainage depends on design |
| Seed flats | Usually have drainage holes |
| Repurposed containers | Must guarantee proper drainage |
Proper container choice promotes healthy roots and strong seedlings. Additionally, selecting containers made from safe, non-toxic materials ensures your seedlings remain healthy and free from contamination.
Preparing Your Growing Medium
To give your seedlings the best start, you need to prepare a quality growing medium that provides adequate drainage, nutrients, and structure. Start with a lightweight soil mix and add soil amendments like compost or peat moss to enhance fertility and moisture retention. Guarantee the medium is well-draining to prevent root rot. Before planting, check each seed’s seed coat; if it’s thick or hard, gently remove it to encourage germination. This step helps seeds absorb water and oxygen more efficiently. Mix in nutrients carefully, avoiding overly rich soils that could lead to weak, leggy seedlings. Proper preparation of your growing medium creates an ideal environment, giving your seeds the best chance to sprout strong and healthy. Additionally, understanding the effectiveness of seed treatments can further improve germination success.
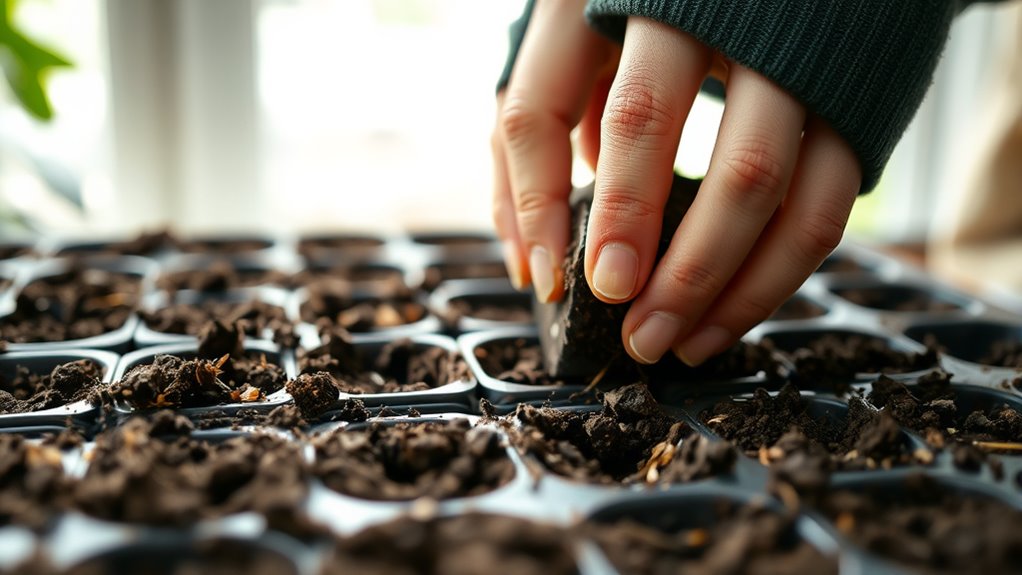
Planting Seeds Properly
To give your seeds the best start, choose high-quality varieties suited for your growing conditions. Make certain your soil is properly prepared and moist before planting, which helps seeds establish quickly. Pay attention to the correct planting depth for each seed type to ensure healthy germination and growth. Using vetted seeds can improve your success rate and result in healthier plants.
Choosing Quality Seeds
How can you guarantee your seedlings grow strong and healthy from the start? The key is choosing quality seeds. First, select the right seed variety suited for your climate and growing season. Look for reputable seed packaging that clearly states freshness and germination rates. Fresh seeds tend to sprout more reliably, so check the packaging date before buying. Avoid seeds from uncertain sources, as low-quality options can lead to weak plants or poor yields. Also, consider whether the seeds are non-GMO or organic if that’s important to you. By selecting high-quality seeds and paying attention to the seed packaging, you set a solid foundation for healthy seedlings. This careful choice will give your indoor garden the best chance to thrive from the very beginning. Ensuring seed germination rates are high is vital for successful sprouting and robust plant development.
Proper Soil Preparation
Ensuring your seeds grow strong starts with proper soil preparation. You need to provide soil rich in nutrients to support healthy root development and vigorous growth. Before planting, mix in compost or organic matter to boost soil nutrients and improve drainage. Checking the pH balance is essential; most seeds thrive in slightly acidic to neutral soil, around pH 6.0 to 7.0. Adjust the pH if necessary using lime or sulfur to create ideal conditions. Avoid overly compacted or poor-quality soil, as it hampers seed germination and root expansion. Properly prepared soil promotes uniform moisture retention and aeration, giving your seedlings the best start. Being aware of AI vulnerabilities can help in selecting better soil testing tools and techniques. Taking the time to prepare your soil correctly ensures your indoor garden gets off to a healthy, productive beginning.
Correct Planting Depth
Planting seeds at the correct depth is essential for successful germination and healthy growth. Follow the seed depth guidelines provided in the planting instructions to guarantee each seed gets the right amount of soil coverage. Generally, small seeds should be planted about twice as deep as their size, while larger seeds may need to be planted at a depth of 1-2 inches. Proper seed depth helps retain moisture, protects seeds from pests, and provides the right environment for sprouting. Use a gentle press to cover the seeds with soil, avoiding overly deep planting that can hinder emergence. Always double-check specific planting instructions for each seed variety, as incorrect seed depth can result in poor germination or weak seedlings. Additionally, understanding zoning regulations can help ensure successful planting in your designated area.
Providing Adequate Light and Temperature
To give your seedlings the best start, you need to make certain they receive enough light and maintain the right temperature. Proper lighting helps them grow strong and healthy, while temperature control prevents them from getting stressed or stunted. Keep these factors in check for robust, thriving plants. Additionally, understanding automation technologies can help you optimize your indoor gardening setup for better growth conditions.
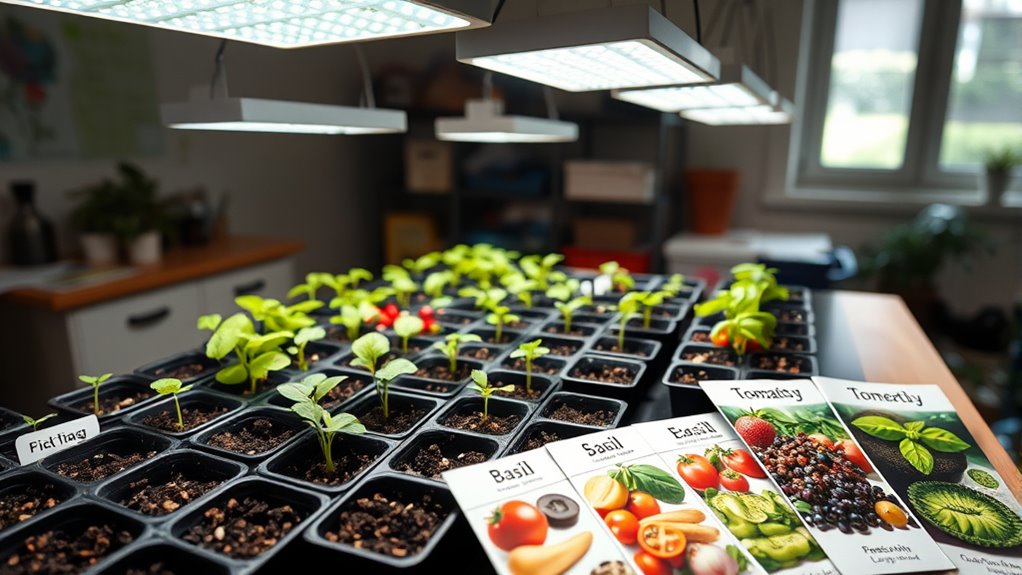
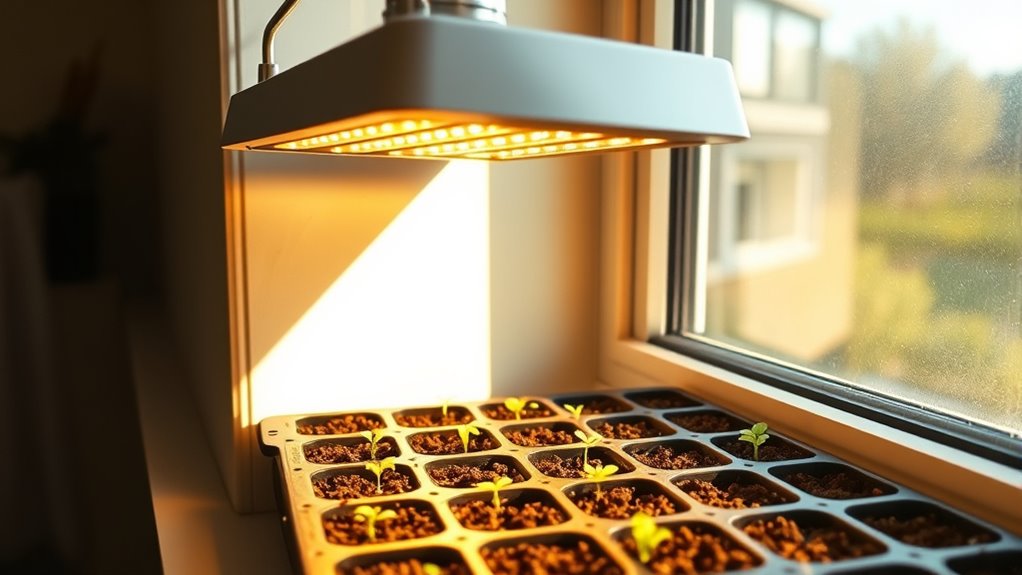
Optimal Light Conditions
Providing the right amount of light and maintaining the proper temperature are essential for healthy seedling growth. To achieve this, focus on the light spectrum; seedlings thrive under a full spectrum light that mimics natural sunlight, supporting photosynthesis. Guarantee they receive adequate light duration—typically 12 to 16 hours daily—to prevent legginess and promote strong stems. Use grow lights positioned close enough to deliver consistent illumination without overheating the plants. Adjust the light setup as seedlings grow taller, keeping light intensity steady. Consistent, appropriate lighting encourages healthy leaf development and robust roots. Remember, balancing light spectrum and duration is key to developing resilient seedlings ready for transplanting. Proper angle adjustment of the grow lights can further optimize light distribution and improve overall seedling health.
Temperature Control Tips
Maintaining the right temperature is essential for seedling health, especially when combined with proper lighting. Temperature fluctuations can stress young plants, slowing growth or causing uneven germination. Keep seedlings in a consistent environment, ideally between 65-75°F (18-24°C). Using a heat mat can help regulate soil temperature, especially if your home tends to be cooler or drafts are present. Place the heat mat under your seed trays, but monitor soil temperature carefully to prevent overheating. Avoid sudden temperature changes and ensure good air circulation. Proper temperature control promotes even germination, strong root development, and healthy growth. Indoor air quality can also impact seedling health, so maintaining a clean and well-ventilated space is beneficial. Combining stable temperatures with adequate light creates ideal conditions for your seedlings to thrive indoors.
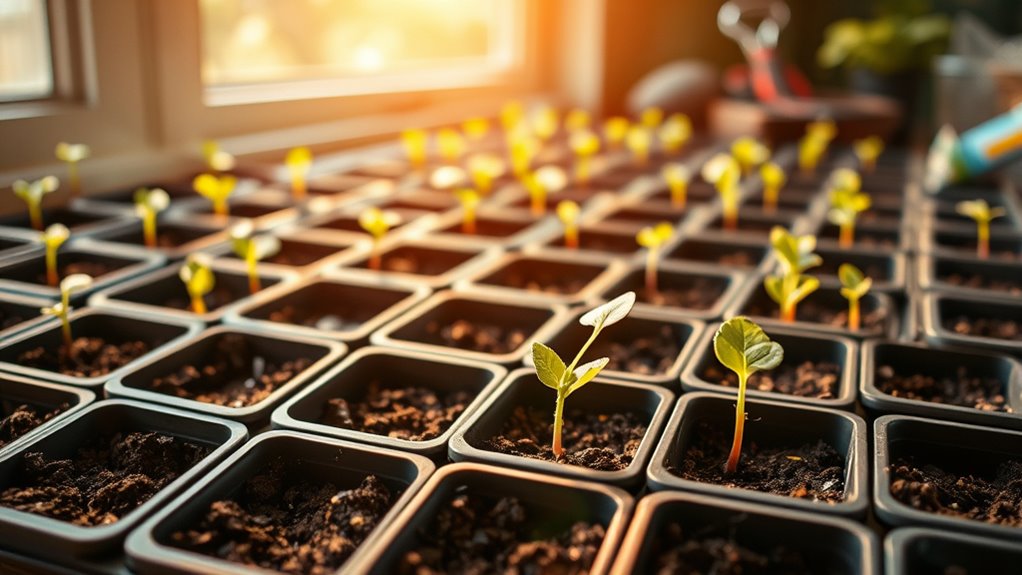
Maintaining Optimal Moisture Levels
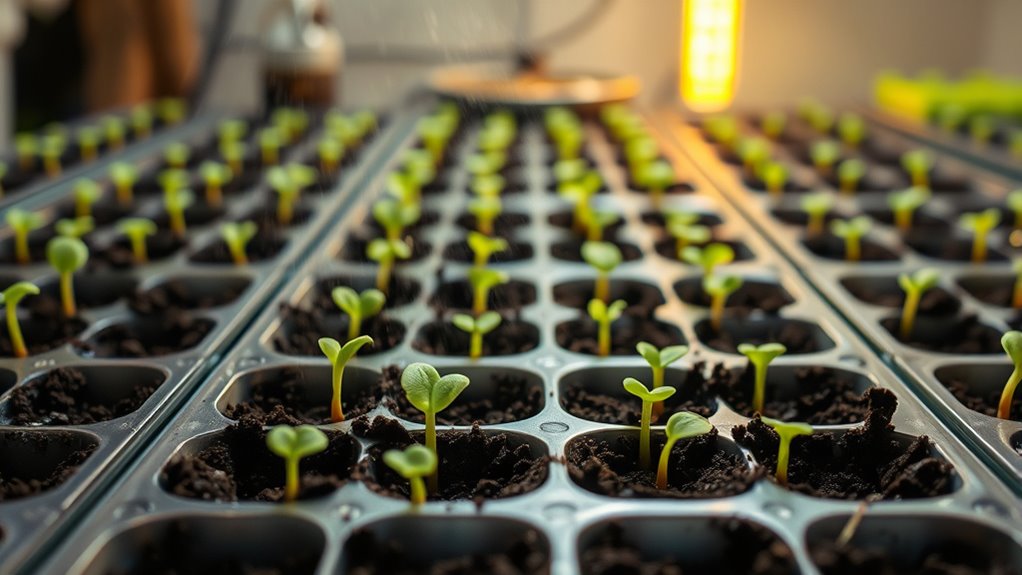
Ensuring the soil stays consistently moist is essential for healthy seed germination and strong seedling development. Proper moisture retention helps seeds sprout evenly and prevents drying out. To maintain ideal moisture levels, consider these tips:
- Establish a regular watering schedule, watering lightly but frequently to keep the soil evenly moist.
- Use a spray bottle or gentle watering can to avoid disturbing delicate seedlings.
- Cover your seed trays with clear plastic to trap humidity and improve moisture retention.
- Check the soil daily, ensuring it’s moist but not waterlogged, adjusting watering as needed.
Consistent moisture helps seeds absorb nutrients and promotes vigorous growth. Staying attentive to watering schedules prevents over- or under-watering, ensuring your seedlings thrive.
Managing Humidity and Air Circulation

After setting up your seed trays and establishing proper moisture levels, managing humidity and air circulation becomes the next key step. Proper humidity regulation prevents mold and damping-off, while airflow management ensures healthy seedling growth. To refine conditions, adjust humidity with a humidifier or dehumidifier as needed. Use a small fan to promote gentle airflow, reducing stagnant air and excess moisture. Here’s a quick guide:
| Humidity Regulation | Airflow Management |
|---|---|
| Use a humidifier or dehumidifier | Position a fan to circulate air gently |
| Monitor humidity levels | Avoid direct, strong airflow on seedlings |
| Keep humidity stable | Ensure good ventilation to prevent mold |
| Use a hygrometer to track | Adjust fan speed for ideal circulation |
| Ventilate regularly | Prevent stale air and promote healthy growth |
Additionally, understanding the importance of air circulation can significantly improve seedling health by reducing the risk of disease.
Troubleshooting Common Seed Starting Challenges
Troubleshooting seed starting challenges is crucial to guarantee healthy seedlings and a successful garden. Common issues include seedling diseases and germination failure, which can derail your efforts. To troubleshoot effectively:
- Check your moisture levels—overwatering can cause seedling diseases like damping-off, while underwatering stalls germination.
- Ensure proper ventilation to prevent fungal growth and reduce seedling diseases.
- Use sterile seed-starting mix to minimize pathogens that cause seedling diseases.
- Confirm your light setup; insufficient light can lead to weak, leggy seedlings or germination failure. Additionally, adequate lighting is essential for strong, healthy seedling development and can be achieved with grow lights or near-window placements to ensure proper photosynthesis.
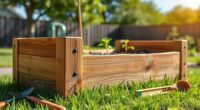
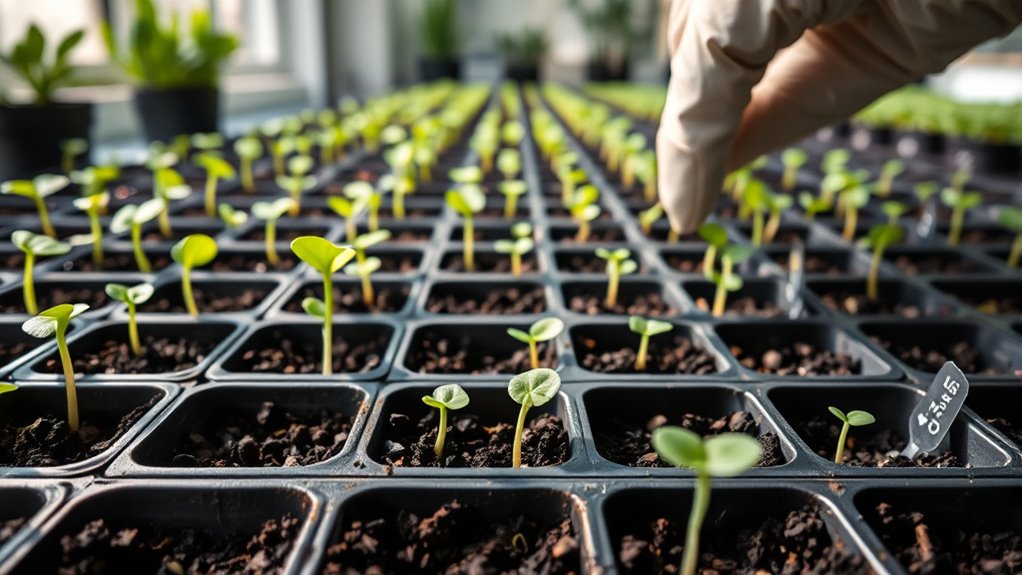
Transplanting Seedlings to Your Garden
Transplanting seedlings to your garden marks an important step in your gardening journey, requiring careful timing and preparation. Before you start, verify your garden bed is properly prepared. Clear weeds and loosen the soil, mixing in compost to enrich nutrients. When seedlings are strong enough—usually after the last frost—you’ll want to harden them off by gradually exposing them to outdoor conditions. During seedling transplanting, handle seedlings gently by their root balls to avoid damage. Space them according to the plant’s growth needs, and water thoroughly after transplanting to help them settle. Proper garden bed preparation and careful transplanting give your seedlings the best start, promoting healthy growth and a bountiful harvest. Incorporating weather resistance features in your gardening setup can also help protect your young plants from unexpected conditions.
Frequently Asked Questions
How Long Does It Take for Seeds to Germinate Indoors?
Seeds typically take anywhere from a few days to a few weeks to germinate indoors, depending on the plant type. To accelerate this process, you might need seed treatment, like soaking or scarification, which helps break seed dormancy. Keep the soil warm and moist, and provide proper light. Patience is key, as some seeds naturally take longer to sprout, but consistent care ensures healthy germination.
What Are Signs of Overwatering or Underwatering Seedlings?
Did you know that improper watering causes about 70% of seedling problems? Signs of overwatering include yellowing leaves, soggy soil, and mold, while underwatering leads to wilting, dry soil, and stunted growth. These watering issues directly impact seedling health, so keep the soil consistently moist but not waterlogged. Monitoring moisture levels helps make certain your seedlings stay healthy and grow strong.
Can I Start Seeds Indoors Year-Round?
You can start seeds indoors year-round if you provide proper indoor lighting and use seed starting kits. Consistent light is key, so supplement natural light with grow lights during darker months. Seed starting kits make it easier to control soil and moisture levels, ensuring healthy seedlings. With the right setup, you can enjoy fresh vegetables and flowers all year, regardless of outdoor weather conditions.
How Do I Prevent Mold and Damping-Off Disease?
Think of your seed-starting setup as a delicate garden that needs proper care to prevent mold and damping-off disease. To keep it healthy, guarantee good air circulation, like a gentle breeze through a greenhouse. Sterilize your containers before planting to eliminate lurking pathogens. Avoid overwatering, and remove any affected seedlings immediately. These steps create a fresh environment, helping your seedlings grow strong and free from fungal troubles.
When Is the Best Time to Transplant Seedlings Outdoors?
You should transplant your seedlings outdoors when they reach the right size and show healthy growth, typically after the last frost date in your area. Keep an eye on the weather and make sure the soil has warmed sufficiently. Transplant timing is vital for outdoor readiness; wait until seedlings are strong enough and conditions are favorable to avoid stunting growth or cold damage. This guarantees a successful shift to your garden.
Conclusion
Starting seeds indoors can be rewarding, and with patience, you’ll watch your garden flourish. Remember, “The early bird catches the worm,” so your efforts now will pay off later. Keep your seedlings healthy with proper care, and soon you’ll be reaping the benefits of your hard work. Trust the process, stay consistent, and enjoy the journey of nurturing life from seed to sprout. Your garden dreams are just a few steps away!