This guide provides step-by-step instructions for beginners to use a cordless drill set effectively. Whether assembling furniture, hanging shelves, or doing basic repairs, mastering your drill ensures safety and successful results. This task is suitable for those new to power tools and takes roughly 30 to 45 minutes to complete.

BLACK+DECKER 20V MAX* PowerConnect Cordless Drill Driver Kit with 100-Piece Bit Set
- ✔ Battery: 20V MAX* lithium-ion
- ✔ Clutch: 24-position
- ✔ Included: 100-piece bit and accessory set

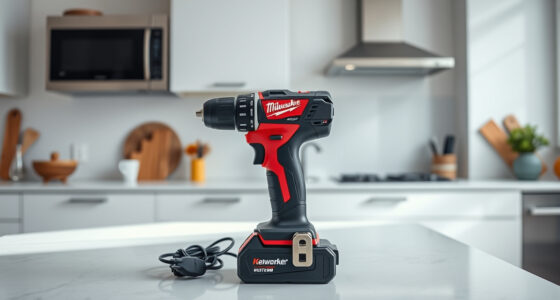
DEKOPRO Cordless Drill 20V Electric Power Drill Set with Battery and Charger
- ✔ Power Source: Battery Powered
- ✔ Maximum Rotational Speed: 1350 RPM
- ✔ Voltage: 20 Volts

COMOWARE 20V Cordless Drill Set with 1 Battery & Charger, 3/8" Keyless Chuck, 2 Variable Speeds, 266 In-lb Torque, 25+1 Clutch, 3…
- ✔ Voltage: 20V
- ✔ Max Torque: 266 In-lb
- ✔ Speed: 0-350 & 0-1300 RPM
Difficulty: Beginner | Time: 30-45 minutes
What You’ll Need
Tools & Materials:
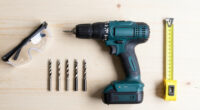
- Cordless drill set with charger and batteries
- Set of drill bits
- Safety goggles
- Work gloves
- Measuring tape
- Pencil
Knowledge:
- Basic understanding of safety precautions when using power tools
- Ability to identify different drill bits
Charge the drill’s battery fully before starting. Choose the correct drill bits for your material. Wear safety goggles and gloves during operation.
Amazon Product B0079IRIG0
As an affiliate, we earn on qualifying purchases.
BLACK+DECKER 20V MAX* PowerConnect Cordless Drill Driver Kit with 100-Piece Bit Set
This model stands out for its powerful 20V lithium-ion battery, making it suitable for a wide range of projects from simple assembly to light construction. Its 24-position clutch provides precise control, which is essential for beginners learning to avoid overdriving screws or damaging materials. Compared with lighter, less powerful options, this set offers more room to grow into larger projects. However, the battery life may be limited during prolonged use, and it lacks a dedicated charger description, which could be inconvenient for those needing quick turnaround. The interchangeable PowerConnect system adds convenience but requires familiarity with compatible tools.
Pros:
- Powerful 20V lithium-ion battery for reliable performance
- Includes a comprehensive 100-piece bit set for various applications
- Interchangeable battery system for added flexibility
Cons:
- Battery life may be limited for extended, heavy-duty tasks
- No explicit mention of included charger in the description
Best for: Beginners who want a versatile, expandable drill set with ample power for various tasks.
Not ideal for: Users seeking a lightweight, budget-friendly option for occasional light use or strictly small projects.
Bottom line: A powerful, versatile choice ideal for beginners planning to tackle a broad range of projects with room to upgrade.
“A powerful, versatile choice ideal for beginners planning to tackle a broad range of projects with room to upgrade.”
Amazon Product B0CC1RHJY1
As an affiliate, we earn on qualifying purchases.
DEKOPRO Cordless Drill 20V Electric Power Drill Set with Battery and Charger
This kit is tailored for casual users and DIY enthusiasts who prioritize portability and simplicity. Its lightweight design (just 2.5 pounds) makes it easier to maneuver, especially for extended periods. The two-speed operation and adjustable torque provide enough control for small projects like shelves or furniture assembly. Compared to more powerful sets, it has a limited drilling capacity and may struggle with larger or tougher materials. The battery capacity is modest, so frequent recharging might be necessary during intensive use. Its basic design keeps costs lower but lacks advanced features for heavy-duty tasks.
Pros:
- Lightweight and portable at only 2.5 pounds
- Includes multiple drill and screwdriver bits for versatility
- Two-speed settings and adjustable torque for control
Cons:
- Limited drilling capacity for larger projects
- Battery may require frequent recharging for extended use
- Basic design lacks advanced features
Best for: Beginners focused on light DIY projects, home repairs, and occasional use.
Not ideal for: Those planning to undertake larger, more demanding projects requiring greater power or longer battery life.
Bottom line: A straightforward, lightweight drill set perfect for beginners doing small-scale projects around the home.
“A straightforward, lightweight drill set perfect for beginners doing small-scale projects around the home.”
Amazon Product B08YJTYDD4
As an affiliate, we earn on qualifying purchases.
COMOWARE 20V Cordless Drill Set with 1 Battery & Charger, 3/8" Keyless Chuck, 2 Variable Speeds, 266 In-lb Torque, 25+1 Clutch, 3…
This set makes a strong case for those who want a versatile drill with adjustable speed and a comprehensive accessory kit. The 3/8-inch keyless chuck and 25+1 clutch settings offer precise control, while the included 34-piece accessory set supports a variety of tasks from drilling to driving screws. The built-in LED light enhances visibility, especially in tight or dark spaces. Compared to more basic models, its adjustable features and larger accessory collection provide more flexibility, though the battery life may be limiting for heavy-duty tasks, and the torque might fall short for very tough materials. The fast-charging feature reduces downtime, making it suitable for frequent use.
Pros:
- Versatile with two speed settings and adjustable clutch
- Includes a large set of accessories and a compact storage case
- Built-in LED light for better visibility
Cons:
- Battery life may be limited during intensive tasks
- Lack of extra batteries for prolonged use
- Some may find the torque insufficient for very tough materials
Best for: Beginners engaged in home improvement and DIY projects that require adaptability and accessory variety.
Not ideal for: Users needing high torque for heavy-duty construction or extended, continuous use without additional batteries.
Bottom line: A highly adaptable, accessory-rich drill set ideal for DIYers seeking versatility and convenience.
“A highly adaptable, accessory-rich drill set ideal for DIYers seeking versatility and convenience.”
As an Amazon Associate we earn from qualifying purchases.
Before You Start
Ensure your workspace is clear, well-lit, and stable. Confirm the drill battery is fully charged. Select the appropriate drill bit for your task and attach it securely to the drill before proceeding.
Step-by-Step Instructions
Step 1: Wear safety gear
Put on safety goggles and gloves to protect your eyes and hands from debris and accidental slips.
Tip: Double-check your safety equipment before starting to prevent injuries.
Check: Safety gear is properly worn, and you feel prepared to operate the drill.
Step 2: Select and install the correct drill bit
Choose a drill bit suitable for your material (wood, metal, masonry). Insert the bit into the drill’s chuck and tighten securely using the drill’s keyless chuck or key, ensuring it is firmly in place.
Tip: Ensure the drill bit is tightly secured to prevent slipping during drilling.
Check: The bit is centered, tight, and does not wobble when the drill is shaken gently.
Step 3: Adjust the drill’s speed and torque settings
Set the speed and torque controls on your drill according to your task. Use lower speed and torque for delicate materials, higher for tougher materials. Refer to your drill’s manual for specific recommendations.
Tip: Test on scrap material to verify the settings before working on your actual project.
Check: The drill responds smoothly to trigger presses, and the settings match your material’s needs.
Step 4: Mark the drilling spot
Use a pencil and measuring tape to mark precisely where you want to drill. Double-check measurements before proceeding.
Tip: Use a center punch or small nail to create a guide point for the drill bit, especially on hard surfaces.
Check: Markings are clear and accurate, with a visible guide for drilling.
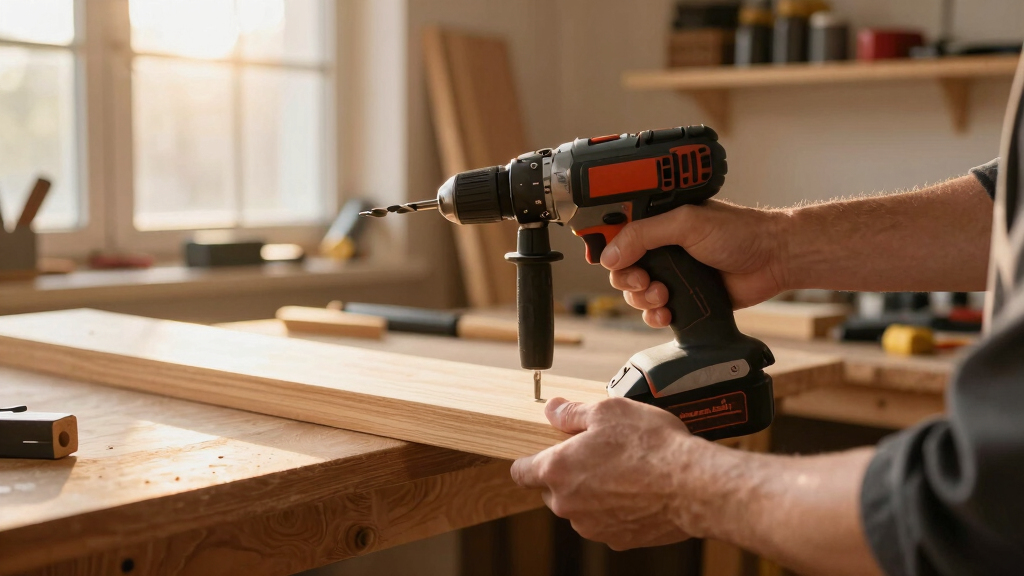
Step 5: Position the drill and start drilling
Hold the drill perpendicular to the surface at the marked spot. Squeeze the trigger gently to start the drill, gradually increasing pressure once the bit engages the material.
Tip: Apply steady, moderate pressure; avoid forcing the drill, which can cause bit slipping or damage.
Check: The drill penetrates smoothly without wandering or slipping off the mark.
Step 6: Complete the drilling and withdraw the bit
Once the hole reaches the desired depth, release the trigger and carefully withdraw the drill while still spinning to clear debris.
Tip: Do not force the drill out immediately; let it stop spinning naturally to avoid damage.
Check: Hole is clean, correctly sized, and free of debris around the edges.
Step 7: Turn off and disconnect the drill
Release the trigger and set the drill to off. Remove the battery if finished or for safety during storage.
Tip: Store the drill and bits in a safe, dry place away from children.
Check: The drill is turned off, battery removed, and stored properly.
Common Mistakes to Avoid
- Using the wrong drill bit for the material. — Match the drill bit type to your material (wood, metal, masonry) before starting.
- Applying excessive pressure while drilling. — Use steady, moderate pressure; let the drill do the work to avoid damaging the bit or surface.
- Not securing the drill bit properly in the chuck. — Ensure the bit is tightly inserted and clamped before operation to prevent slipping.
- Ignoring safety precautions. — Always wear safety goggles and gloves, and work in a clear, stable area.
Troubleshooting
Problem: The drill bit slips or wobbles during use.
Solution: Check if the bit is properly seated and tightened in the chuck. Replace the bit if damaged.
Problem: The drill doesn’t turn on.
Solution: Ensure the battery is fully charged and inserted correctly. Test the battery in another device if needed.
Problem: The drill overheats or stops working.
Solution: Pause use to let the drill cool down. Avoid overloading by using appropriate settings and pressure.
Problem: The hole is not the correct size or depth.
Solution: Verify you are using the correct bit and set the depth stop if available. Mark depth with tape for consistency.
What Success Looks Like
You have successfully drilled a clean, precise hole at the marked location, with the drill operating smoothly and securely. The hole matches the size of your drill bit, and the drill remains stable and controlled throughout.
Next Steps
Remove the drill bit and clean your workspace. Store your drill and bits properly. Review safety tips for future use. Practice on different materials or larger projects as confidence grows.
Frequently Asked Questions
How do I choose the right drill bit?
Select drill bits based on the material: wood bits for wood, high-speed steel bits for metal, masonry bits for brick or concrete. Match the bit size to your project requirements.
How do I maintain my cordless drill?
Keep the drill clean and dry, store batteries in a cool place, and recharge fully before use. Check and tighten the chuck regularly.
Can I use my cordless drill for screwing as well?
Yes, most cordless drills have a clutch setting for screwing and unscrewing. Use the appropriate bit and torque setting to prevent stripping screws.