To build a patio planter box, start by gathering quality wood, screws, a drill, saw, and safety gear. Choose a level, sunny spot with good drainage, then measure and sketch your design. Cut the wood carefully, assemble the sides with screws, and add drainage holes near the bottom. Finish by sealing or painting for weather protection. Filling it with rich soil and selecting your plants completes the process—keep going to learn more detailed steps.
Key Takeaways
- Select suitable materials and plan your design based on available space and sunlight conditions.
- Cut and assemble the wood carefully, following safety procedures and using proper fasteners.
- Drill drainage holes to ensure proper water flow and prevent root rot.
- Finish the planter with weatherproof sealants or paint to protect against outdoor elements.
- Fill with high-quality soil, arrange plants appropriately, and maintain regularly for healthy growth.
Gathering Materials and Tools
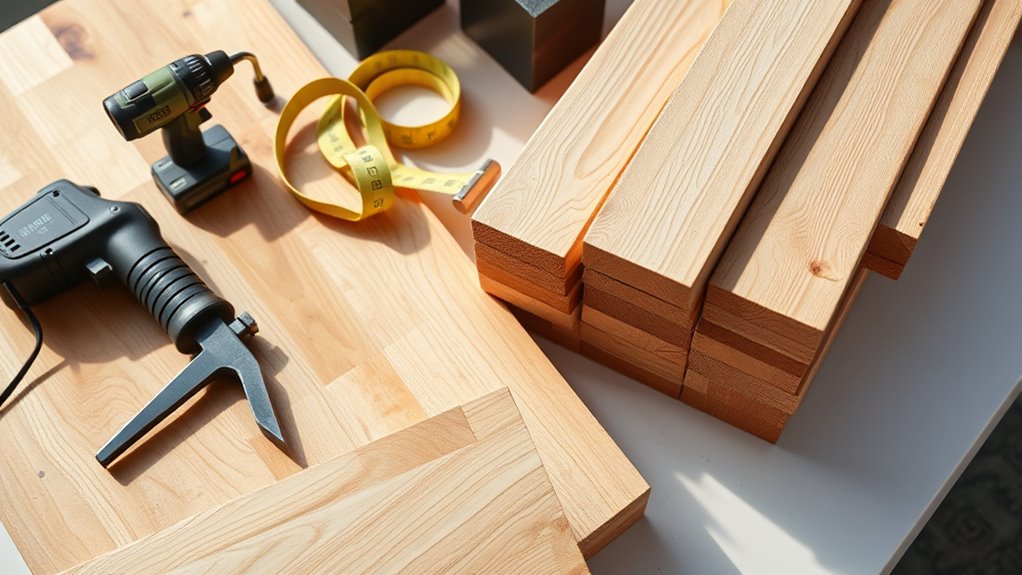
Before you begin building your patio planter box, it is vital to gather all the necessary materials and tools. Start by collecting high-quality wood or composite material for the box, along with screws, a drill, and a saw. You’ll also need a level and measuring tape to ensure precise construction. Don’t forget gloves and safety glasses for protection. When it comes to soil preparation, choose nutrient-rich soil and consider adding compost or organic matter to promote healthy plant growth. Pest control supplies, such as natural repellents or organic pesticides, are also essential to protect your plants from pests. Having everything ready beforehand helps streamline the building process, making it easier to focus on construction and planting without interruptions. Additionally, consider cost and budgeting factors to ensure your project stays within your financial plan.
Choosing the Right Location for Your Planter Box
When selecting a spot for your planter box, consider how much sunlight it will get each day to keep your plants healthy. Make sure the location is easy for you to access and tends to be convenient for watering and maintenance. A well-chosen spot will help your plants thrive and make gardening more enjoyable. Additionally, thinking about proper placement for a Gold IRA can serve as a metaphor for selecting the optimal position for your garden, ensuring long-term growth and security.
Sunlight Exposure Needs
Choosing the right location for your planter box depends heavily on sunlight exposure, as plants need adequate light to thrive. To determine the best spot, consider your plants’ sunlight requirements; some varieties need full sun, while others tolerate shade. If your plants have high sun requirements, place the box where they’ll get at least six hours of direct sunlight daily. For shade-tolerant plants, a partially shaded area works better. Observe your yard’s sunlight patterns throughout the day to find the most suitable spot. Keep in mind that too much direct sunlight can scorch sensitive plants, so balancing sunlight exposure with shade tolerance is key. Proper placement ensures your plants grow healthy and vibrant, making your patio garden a success. Additionally, understanding the importance of sunlight exposure in plant growth can help you create a thriving and beautiful outdoor space.
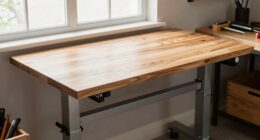
Accessibility and Convenience
Have you considered how easy it will be to tend your planter box on a daily basis? Choosing a location with good accessibility is key. An ergonomic design means placing your planter at a comfortable height, reducing strain while watering or harvesting. Think about mobility considerations—placing it near a pathway or on a level surface makes movement simple. Avoid spots that are hard to reach or require awkward bending or stretching. Position your planter where you can easily access tools and water sources. If you plan to tend to your plants frequently, proximity to your home or seating area enhances convenience. Prioritizing accessibility guarantees you enjoy gardening without unnecessary effort, keeping your gardening routine enjoyable and efficient. Additionally, considering site accessibility and how it affects your gardening routine can help you select the best spot for your planter.
Measuring and Planning Your Design
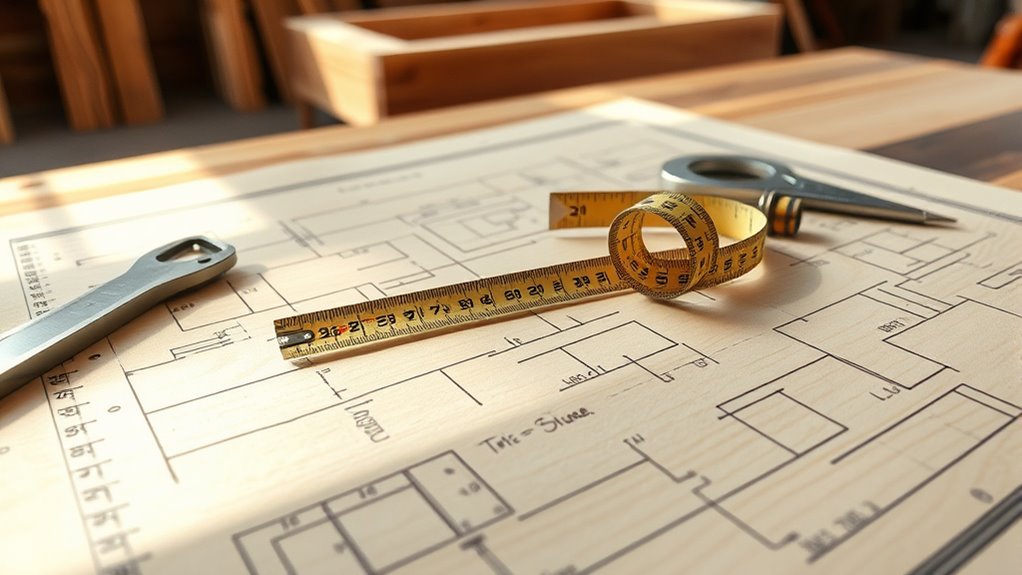
Before you start building your patio planter box, it is essential to carefully measure your available space and plan your design accordingly. Accurate measurements help determine the size and shape of your planter, ensuring it fits comfortably. Consider how much sunlight and shade the spot receives to guide your plant selection. Think about soil preparation too—choose a suitable soil mix for your plants and plan for proper drainage. Sketch your design, including dimensions and layout, so you have a clear blueprint to follow. This step prevents mistakes and saves time during construction. Remember, a well-measured and thought-out plan results in a sturdy, functional planter that complements your patio and supports healthy plant growth. Incorporating fire pit accessories and tools can also enhance your outdoor space, making it more inviting and functional.
Cutting the Wood to Size
Before cutting the wood, double-check your measurements and mark your lines carefully. Use the right saw and tools to guarantee clean, accurate cuts. Always follow safety procedures to protect yourself during the cutting process. Considering crochet styles for locs can inspire creative ways to decorate your patio planter box with personalized embellishments.
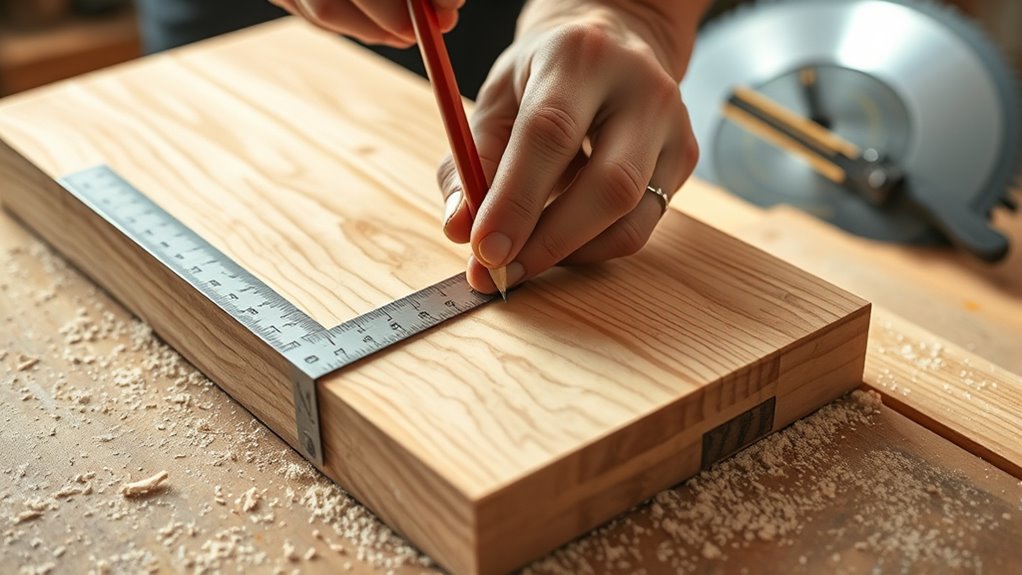
Measure and Mark Properly
How do you guarantee your wood pieces are cut accurately for your planter box? The key is focusing on measurement accuracy and proper marking techniques. Use a reliable measuring tape or square to double-check your measurements before marking. When marking, use a sharp pencil or marking knife for clean, precise lines. Make certain your markings are clearly visible and aligned correctly with your measurements. Take your time to verify each mark before cutting. Consistent measurement and careful marking prevent errors that could compromise the structure’s stability. Remember, accurate measurement and precise marking are the foundation for clean cuts and a sturdy, well-built planter box. Master these steps, and your project will come together smoothly and accurately. Proper measurement techniques are essential for achieving professional-looking results.
Use Correct Cutting Tools
Choosing the right cutting tools is essential to guarantee your wood pieces are cut accurately and cleanly. For straight, precise cuts, a handsaw is a reliable choice. Make sure it’s sharp and suited to the wood type to prevent splintering. Rotary cutters can also be useful for cutting thin plywood or veneer panels, offering clean edges and quick results. Always measure and mark your cuts carefully before using any tool to ensure accuracy. Keep your handsaw steady and use smooth, even strokes, applying consistent pressure. When working with rotary cutters, follow manufacturer instructions for safety and proper handling. Using the correct tools not only improves the quality of your cuts but also makes the entire building process smoother and more efficient. Being aware of toilet maintenance and troubleshooting can help in maintaining your tools and workspace properly.
Follow Safety Procedures
To guarantee safety while cutting wood to size, always wear appropriate personal protective equipment, such as safety glasses and gloves. This gear protects your eyes from flying debris and your hands from splinters or accidental cuts. Remember, practicing good tool safety is essential; follow the manufacturer’s instructions for each tool, and verify they are in proper working condition before use. Keep your workspace clean and free of clutter to prevent accidents. Use clamps or a vise to stabilize the wood, reducing the risk of slips. Never rush through cuts—accuracy and caution are key. Additionally, understanding industry transformations can help you stay updated on the latest safety innovations and best practices. By following these safety procedures, you minimize the risk of injury and ensure your project progresses smoothly. Prioritizing personal protective equipment and tool safety makes the entire process safer and more efficient.
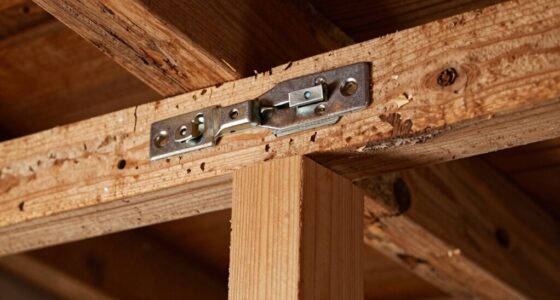
Assembling the Frame of the Planter Box
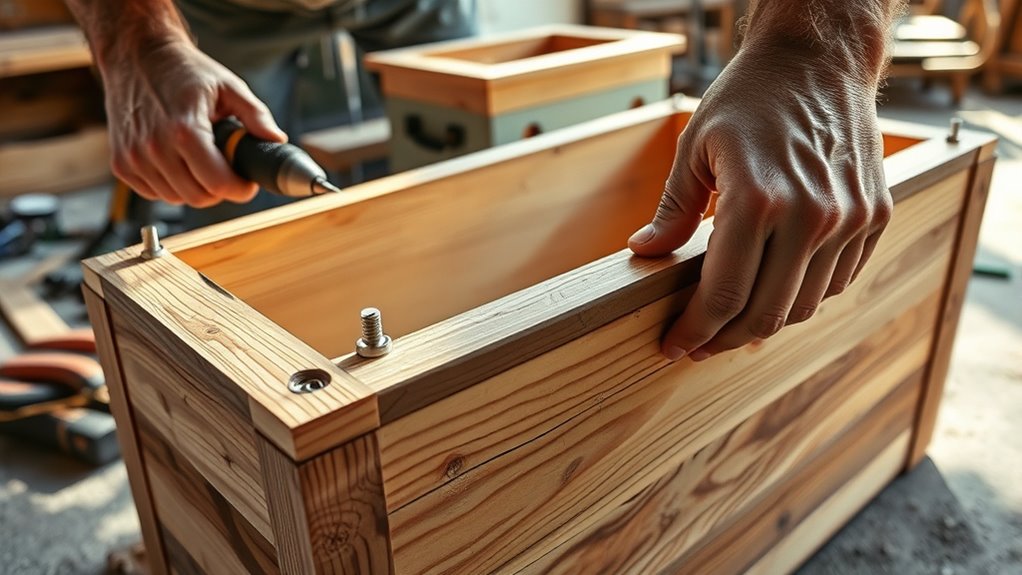
Before you start assembling the frame of your planter box, gather all the necessary materials, including lumber, screws, and a drill. Begin by measuring and cutting your wood pieces to size. Use wood joints, such as butt or corner joints, to connect the sides securely. To guarantee your frame is sturdy, consider adding frame reinforcement, like cleats or corner braces, at key stress points. When attaching the pieces, drill pilot holes first to prevent splitting, then screw the joints tightly together. Take your time aligning each part to keep the frame square. Properly reinforced wood joints will provide stability, so your planter box remains durable over time. Additionally, ensure your wood is free of surface contaminants to promote better adhesion of paint or sealants. Once assembled, double-check all connections before moving on to securing it further.
Securing the Structure With Fasteners
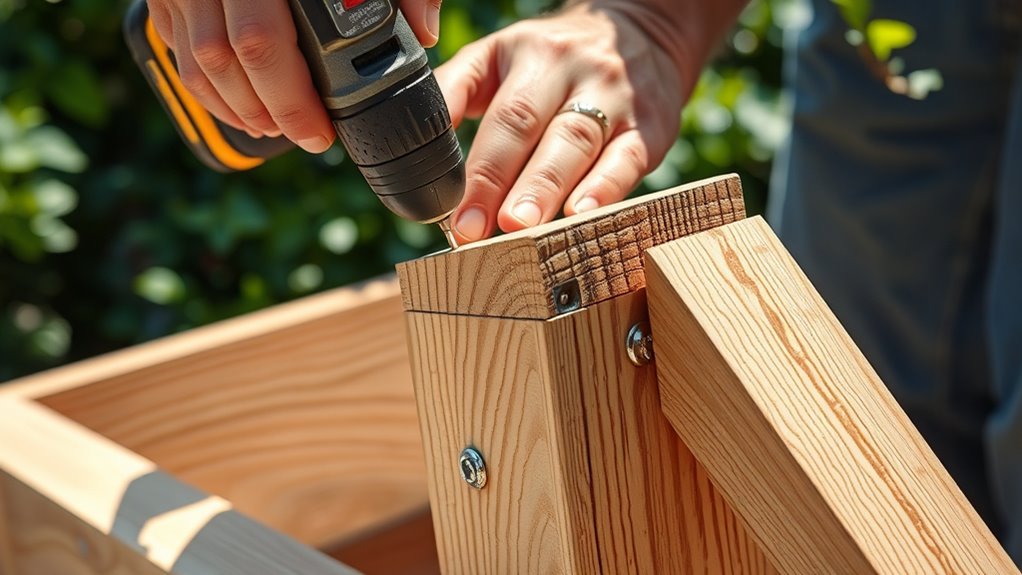
Securing the structure with fasteners is essential to guarantee your planter box stays sturdy over time. Using the right fastener types and securing techniques guarantees durability and safety. Choose from screws, nails, bolts, or staples, depending on your materials. Use galvanized or stainless steel fasteners to prevent rust. When securing, make sure to drill pilot holes to avoid splitting wood. Apply even pressure and tighten fasteners securely but avoid overtightening, which can damage the wood. For added stability, consider using brackets or corner braces. Always double-check that all joints are tightly secured. Proper fastener selection and technique help your planter box withstand weather and daily use, ensuring it remains a sturdy feature in your patio. Additionally, selecting appropriate fastener materials can prevent corrosion and prolong the lifespan of your project.
Drilling Drainage Holes
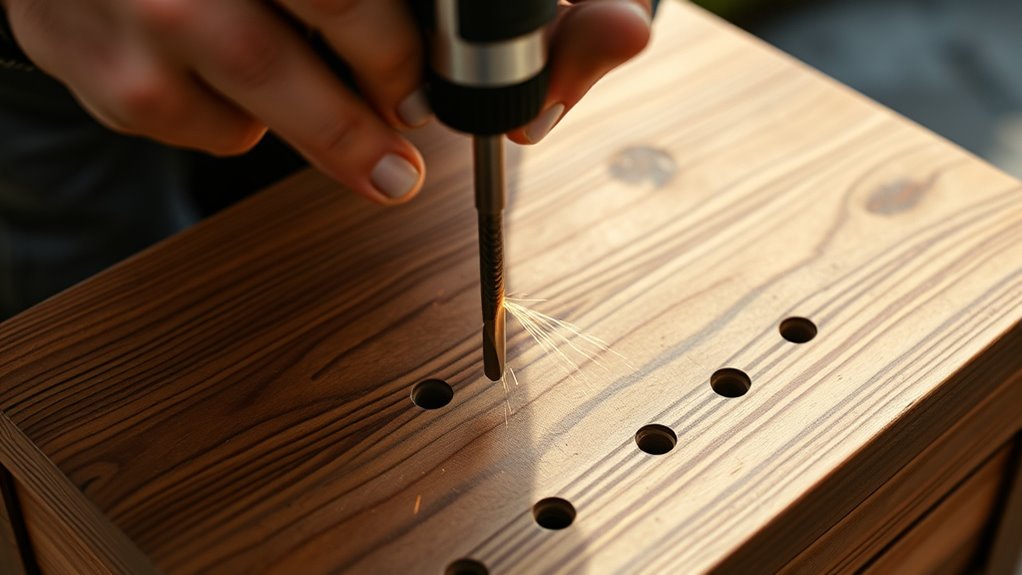
Have you considered how proper drainage can extend the life of your planter box? Drilling drainage holes guarantees effective water management, preventing water from pooling and causing root rot. Place holes near the bottom of the sides, not the base, to allow excess water to escape while maintaining soil drainage. To visualize, here’s a quick overview:
| Hole Location | Size | Purpose |
|---|---|---|
| Bottom corners | 1/4 inch | Drain excess water |
| Center bottom | 1/4 inch | Soil aeration |
| Side panels | 1/8 inch | Prevent water buildup |
This setup helps your plants thrive by maintaining proper moisture levels and avoiding overwatering. Proper drainage is essential to extending your planter’s durability and ensuring healthy plant growth.
Finishing Touches and Painting or Sealing

Once you’ve assembled and prepared your planter box, adding finishing touches like painting or sealing can markedly enhance its appearance and durability. Decorative finishes allow you to customize the look, making your planter stand out. Applying weatherproof coatings protects the wood from moisture and decay, extending its lifespan. Consider these options:
- Use exterior-grade paint for vibrant, long-lasting color
- Apply clear sealants for a natural wood appearance
- Add decorative finishes like stains or patterns
- Ensure coatings are suitable for outdoor use
- Reapply weatherproof coatings annually for ongoing protection
- Incorporating sealing techniques can help prevent moisture infiltration and prolong the life of your planter.
These steps not only improve aesthetics but also shield your planter from the elements, ensuring it stays beautiful and functional for years to come.
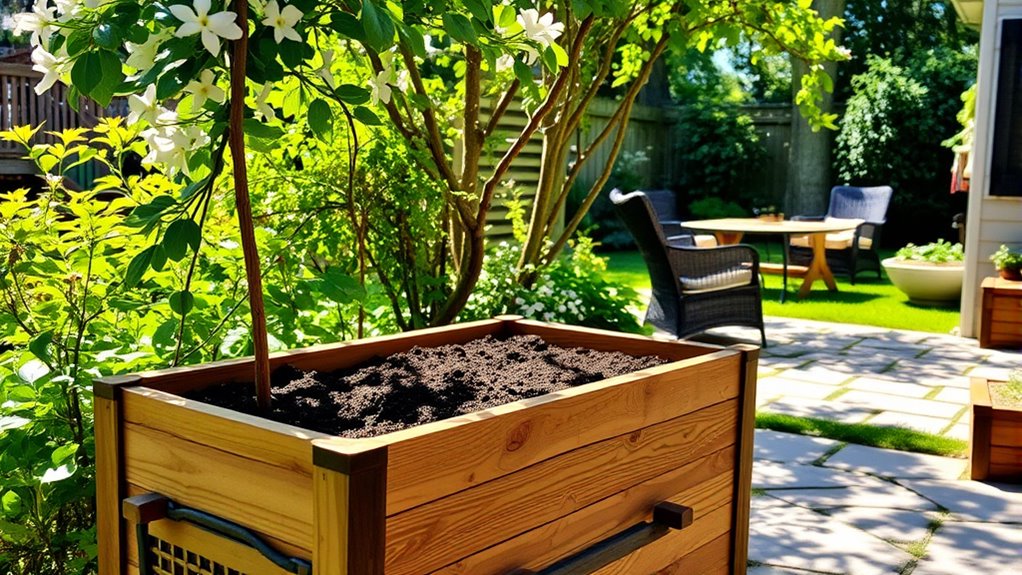
Filling Your Planter Box and Planting
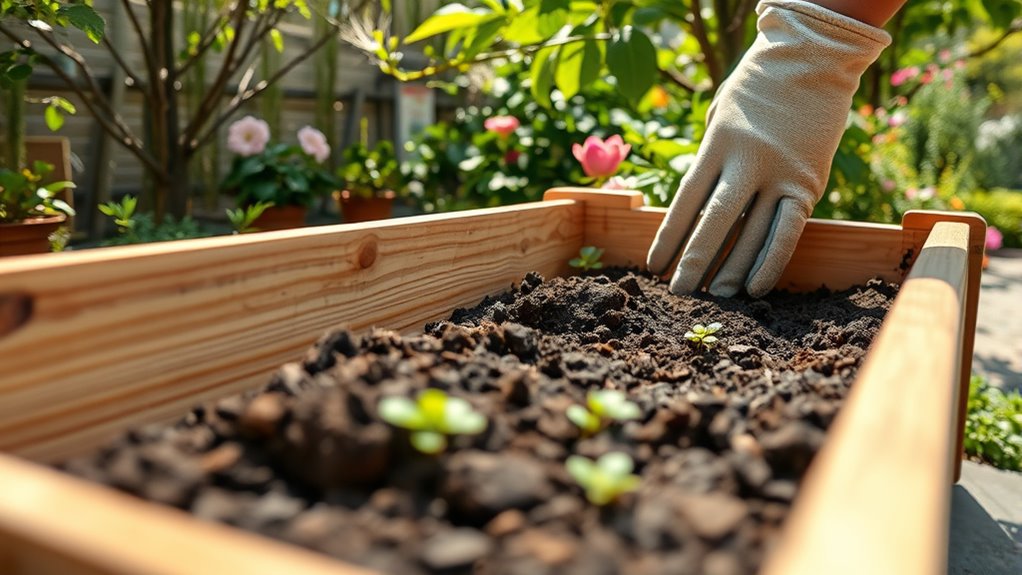
Before filling your planter box, choose the right soil to guarantee healthy plant growth. Proper soil preparation is essential; use a high-quality, well-draining mix suited for containers. Remove any debris or old soil, and mix in compost or organic matter to enrich nutrients. When selecting plants, consider their sunlight, water needs, and growth habits to ensure compatibility with your space. Arrange taller plants at the back and shorter ones in front for visual balance. Gently fill the box with soil, leaving some space at the top for watering. Plant your chosen varieties, spacing them according to their mature size. Water thoroughly after planting, and add mulch if desired to help retain moisture and suppress weeds. Additionally, incorporating drainage features into your planter box can prevent waterlogging and promote healthier root development.
Frequently Asked Questions
What Types of Plants Are Best Suited for a Patio Planter Box?
When choosing plants for your patio planter box, consider plant selection and container compatibility. Opt for plants that thrive in your climate, like herbs, flowers, or small vegetables, and verify they suit the size of your container. Select varieties with similar water and light needs to keep maintenance simple. By matching plant types to your planter’s conditions, you’ll create a vibrant, healthy display that enhances your patio space.
How Often Should I Water Plants in My Planter Box?
Did you know that most plants in patio planter boxes need water every 2-3 days? Your watering schedule depends on the plant type, weather, and soil. To guarantee proper plant hydration, check the soil moisture regularly—stick your finger about an inch deep; if it feels dry, it’s time to water. Consistent watering keeps your plants healthy, vibrant, and thriving in your outdoor space.
Can I Build a Planter Box Without Power Tools?
You can definitely build a planter box without power tools, especially if you’re using manual tools like a hand saw, screwdriver, and hammer. This approach is perfect for beginner projects, as it keeps things simple and manageable. Just measure carefully, take your time, and follow safety precautions. With patience and the right manual tools, you’ll create a sturdy, beautiful planter box without needing any power tools.
How Do I Prevent Pests From Damaging My Plants?
Did you know that pests can cause up to 50% of plant damage annually? To prevent pests and protect your plants, you should start with pest prevention techniques like introducing natural predators, using organic barriers, and regularly inspecting your plants. Keep your garden clean and healthy, avoid overwatering, and consider companion planting to deter pests naturally. These steps will help guarantee your plants stay healthy and thrive.
What Are the Best Materials for Environmentally Friendly Planter Boxes?
You’re looking for sustainable materials and eco-friendly options for your planter boxes. Opt for reclaimed wood, bamboo, or recycled plastic, as these are durable and environmentally conscious choices. These materials reduce waste and have a lower carbon footprint compared to traditional options. By choosing eco-friendly options, you support sustainability and create a beautiful, functional planter box that’s good for the planet and your garden.
Conclusion
Now that you’ve built your patio planter box, enjoy the process of planting, nurturing, and watching your garden thrive. Embrace the satisfaction of creating a beautiful space, the joy of nurturing your plants, and the pride of customizing your outdoor area. Remember, each step brings you closer to a vibrant, inviting patio. Keep experimenting, keep learning, and keep enjoying the simple pleasure of gardening—because your effort turns your patio into a personal oasis.