
To fix a leaky faucet yourself, first identify your faucet type and gather essential tools like wrenches and screwdrivers, along with replacement parts such as washers or O-rings. Turn off the main water supply and plug the drain to prevent losing small parts. Remove the handle and inspect the inner components for damage or buildup. Reassemble everything carefully, turn the water back on, and check for leaks. If the leak persists, troubleshooting tips can help you resolve it efficiently.
Key Takeaways
- Turn off the main water supply and drain the faucet to prevent water flow during repairs.
- Remove the faucet handle and inspect internal parts like washers, O-rings, or cartridges for damage.
- Replace worn or damaged components with matching parts to ensure a proper seal.
- Reassemble the faucet, tighten connections, and slowly turn the water back on to check for leaks.
- Regularly inspect and clean faucet aerators and seals to prevent future leaks and maintain water flow.
Identifying the Type of Faucet You Have
How can you tell which type of faucet you have? Start by examining the faucet’s overall style and handle design. Faucet styles vary, including single-handle, double-handle, and pull-down models. Each style affects how you turn and control water flow, which impacts water pressure. For example, a single-handle faucet typically combines hot and cold water in one lever, making it easier to adjust water pressure quickly. Double-handle faucets separate hot and cold controls, often providing more precise pressure regulation. Pay attention to the spout type as well—whether it’s a traditional or modern design. Recognizing these features helps you identify your faucet type and prepares you for the repair process, ensuring you select the right parts and tools for fixing leaks effectively. Additionally, understanding the faucet materials can help in choosing the correct replacement components and maintaining durability.
Gathering the Necessary Tools and Supplies
Before you start fixing your faucet, gather all the tools and supplies you’ll need. Make sure you have an essential tool checklist, including wrenches and screwdrivers, along with any required replacement parts. Don’t forget safety equipment like gloves and goggles to protect yourself during the repair. Additionally, understanding the home plumbing system can help you identify potential issues more effectively.
Essential Tool Checklist
To successfully fix a leaky faucet, you need to gather the right tools and supplies first. Understanding plumbing terminology helps you identify the parts you’ll work with, such as washers, cartridges, or valves. Essential tools include an adjustable wrench, screwdrivers, pliers, and a bucket to catch water. A flashlight helps you see inside tight spaces, while plumber’s tape guarantees a secure seal during faucet maintenance. You might also need a Allen wrench if your faucet has hex screws. Having these tools ready ensures you can disassemble and reassemble the faucet efficiently. Remember, proper tool selection minimizes damage and speeds up the repair process. Familiarity with plumbing components can help you better understand the repair steps and troubleshoot effectively. With this essential checklist, you’re set to fix your leaky faucet confidently and correctly.
Required Replacement Parts
Gathering the right replacement parts is essential to guarantee your faucet repair is successful and leak-free. You’ll need specific faucet components to ensure a proper fix. Visualize having a set of fresh O-rings, new washers, replacement cartridges, valve seats, and sealing washers. These replacement parts are crucial for stopping leaks and restoring proper water flow. Imagine opening your toolbox to find these small but vital pieces, each designed to fit perfectly into your faucet. Without the correct faucet components, your repair might be incomplete or ineffective. Double-check the model number of your faucet and purchase parts compatible with it. Having these replacement parts ready ensures a smoother, quicker repair process, saving you time and preventing future leaks. Replacement parts are often designed to match specific faucet models, which can help ensure a proper fit.
Safety Equipment Needed
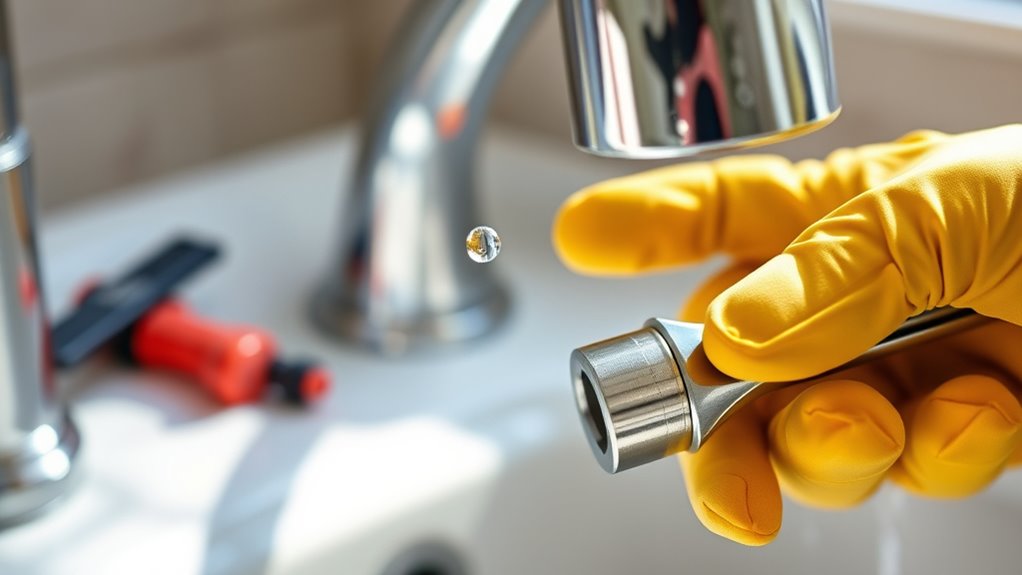
Having the right replacement parts is only part of a successful faucet repair. Before you start, gather your safety equipment to protect yourself. Wear appropriate personal protective gear, such as gloves and safety glasses, to prevent injury from sharp tools or debris. If you’re working near electrical outlets or wiring, prioritize electrical safety by turning off the water supply and shutting off power to nearby electrical devices. Use insulated tools when necessary to avoid electrical shocks. Keep a flashlight handy to see clearly in tight spaces. Always ensure your workspace is dry to prevent slips or accidental shocks. Being prepared with the right safety equipment minimizes risks and keeps you safe throughout the repair process. Additionally, understanding the sound vibrations involved in certain repair procedures can help you work more efficiently and avoid unnecessary damage.
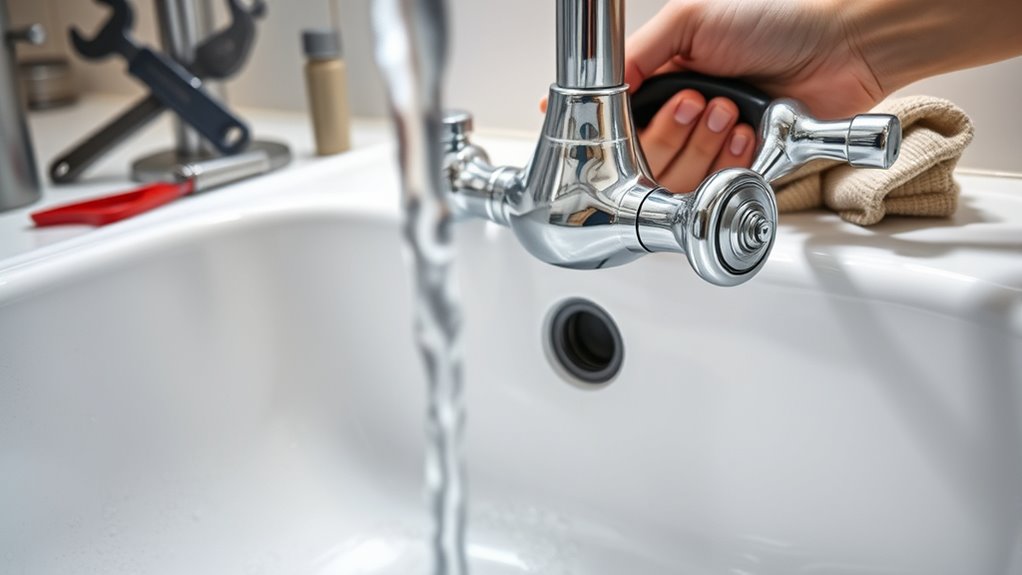
Turning Off the Water Supply
Start by locating your main shutoff valve, usually found near the water meter or where the main line enters your home. If you prefer a quicker option, turn off the valve under the sink to stop water flow just to that fixture. Make sure the water is completely off before you begin working on the faucet. Also, consider security vulnerabilities in your plumbing system to prevent potential issues during repairs.
Locate Main Shutoff Valve
Before you begin fixing the leak, it’s essential to locate the main shutoff valve to stop the water flow. This valve controls the entire water supply to your home, so finding it quickly is vital. Typically, you’ll find it:
- Near the perimeter of your house, often in a basement or utility area
- In a cabinet or closet close to the main water line
- Outside, on the side of the house, sometimes behind a weatherproof box
- In a garage, near the water heater or furnace
- Underneath the kitchen or bathroom sink, if there’s a local shutoff
Once located, turn the valve clockwise to shut off the water, preventing further leaks and damage while you work on fixing the faucet.
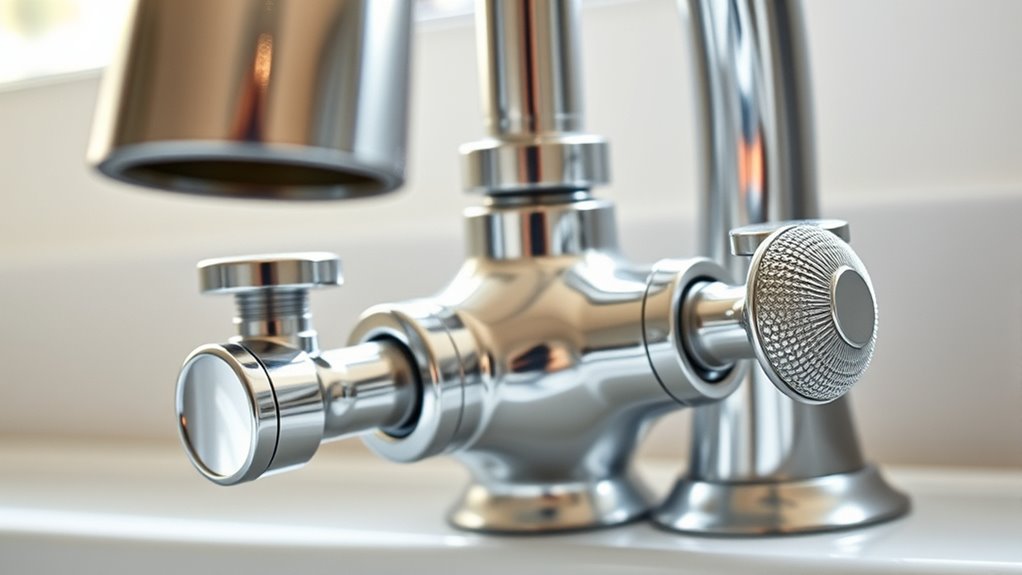
Turn Off Under Sink
To turn off the water supply under the sink, locate the shutoff valves attached to the pipes beneath the fixture. These valves are usually small and round, and you can turn them clockwise to shut off the water. Be aware that the faucet material might influence how easily you can access or manipulate these valves. Once shut, check that the water pressure has dropped by turning on the faucet; no water should flow. If your sink has separate hot and cold valves, turn both off. Turning off the water supply prevents leaks or flooding while you work on fixing the faucet. Always ensure the water pressure is fully off before proceeding to avoid accidental spills or damage. According to home security systems, turning off the water supply can also help prevent water damage in case of unexpected leaks while working on plumbing.
Plugging the Drain to Prevent Losing Parts
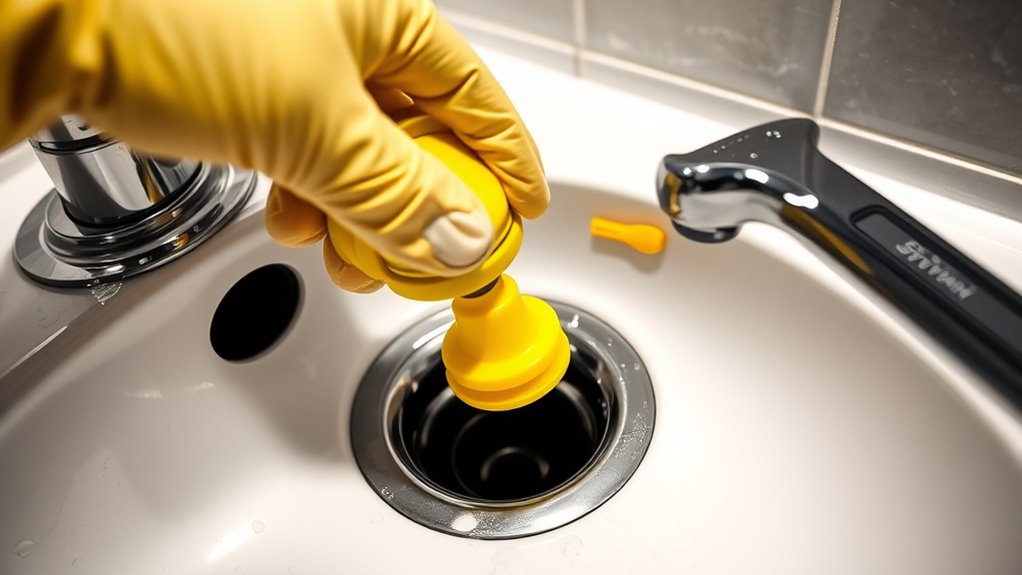
When working under the sink, it’s easy to accidentally drop small parts like washers or screws down the drain, making them difficult to retrieve later. To avoid losing anything, plug the drain securely before starting any work. You can use a rubber stopper, cloth, or even a piece of plastic wrap to block the opening. Imagine:
- A soft cloth fitting snugly inside the drain opening
- A rubber stopper creating an airtight seal
- A piece of plastic wrap pressed firmly around the drain
- Catching loose parts with a small bowl nearby
- Preventing debris from falling into the trap during drain cleaning or trap removal
- Ensuring the effectiveness of the seal to keep small parts from slipping through during repairs
This simple step saves you time and frustration. Always double-check that the drain is well sealed before proceeding with drain cleaning or removing the trap.
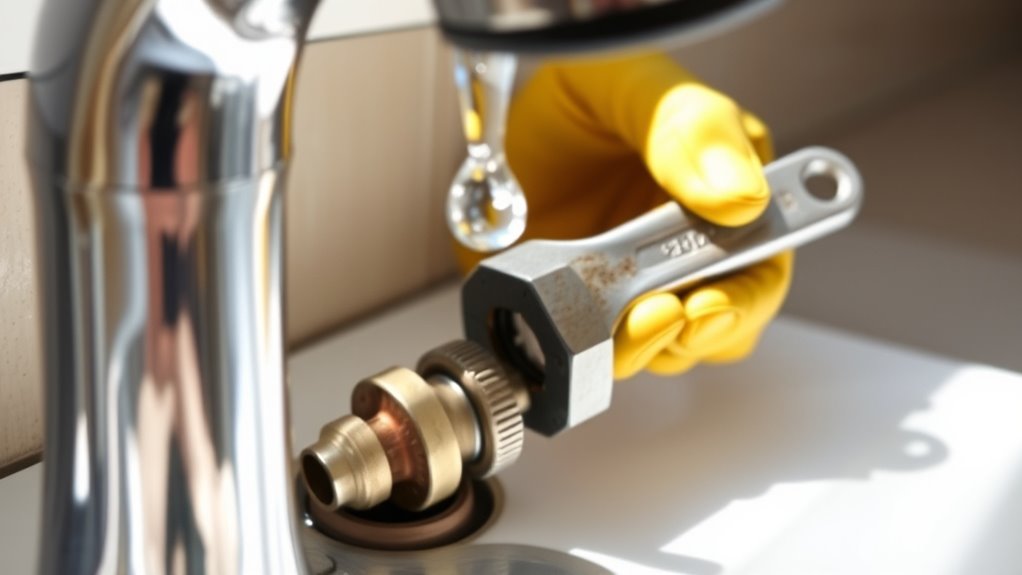
Removing the Faucet Handle
Before removing the faucet handle, make sure to turn off the water supply to avoid messes. Next, lift off the decorative cap to access the screw underneath. Finally, unscrew the handle assembly carefully to free it from the faucet. It’s also helpful to identify if your faucet uses a standard design, which can make the repair process more straightforward.
Turn Off Water Supply
Before removing the faucet handle, you need to turn off the water supply to prevent any leaks or water spraying everywhere. This step is vital to manage water pressure and protect your faucet materials from damage. Locate the shut-off valves under the sink; they control water flow. Turn these valves clockwise until tight. Visualize:
- The small handles shutting off water flow
- Water pressure dropping to zero
- The sink becoming silent
- Your hand gripping the valve
- The faucet handle loose and ready for removal
This process guarantees no unexpected water flow, making handle removal safe and straightforward. Once the water supply is off, you won’t have to worry about water pressure causing splashes or damaging faucet parts during the repair. Understanding city dynamics can help you better anticipate potential issues during your move.
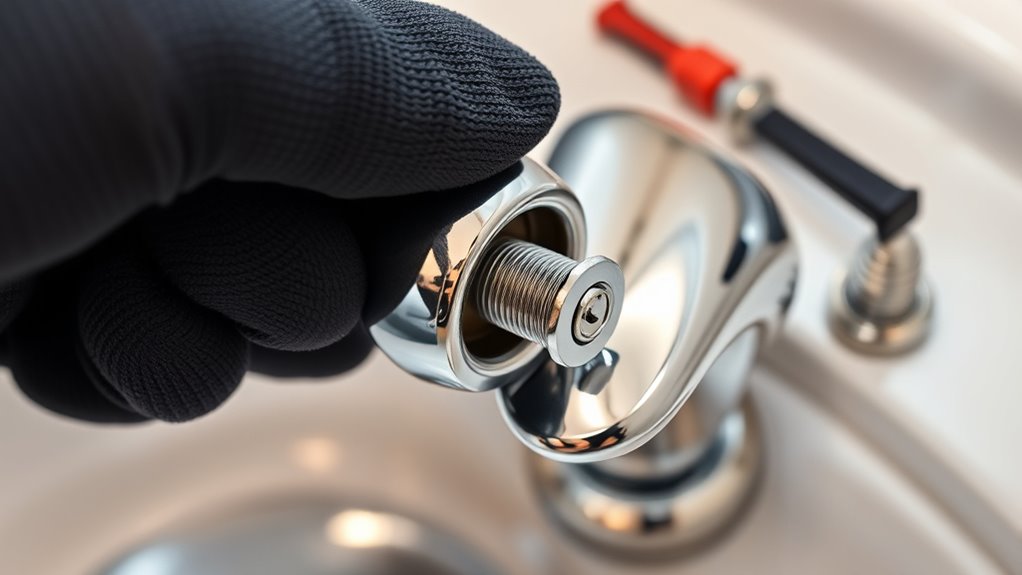
Remove Decorative Cap
Have you located the decorative cap on your faucet handle? Many faucet styles feature decorative caps that hide screws and give a finished look. To remove the cap, gently pry it off using a flat-head screwdriver or your fingernail. Be careful not to scratch or damage the finish. Once the cap pops loose, you’ll see the screw underneath, which secures the handle. Removing the decorative cap is a simple step that allows you to access the handle assembly and proceed with fixing the leak. Keep track of the cap, as you’ll need to put it back later. Different faucet styles may have caps that are pressed in or screwed on, so adjust your approach accordingly. If your faucet is a Flat Iron Bike style, the cap may be more securely attached and require a bit more force to remove.
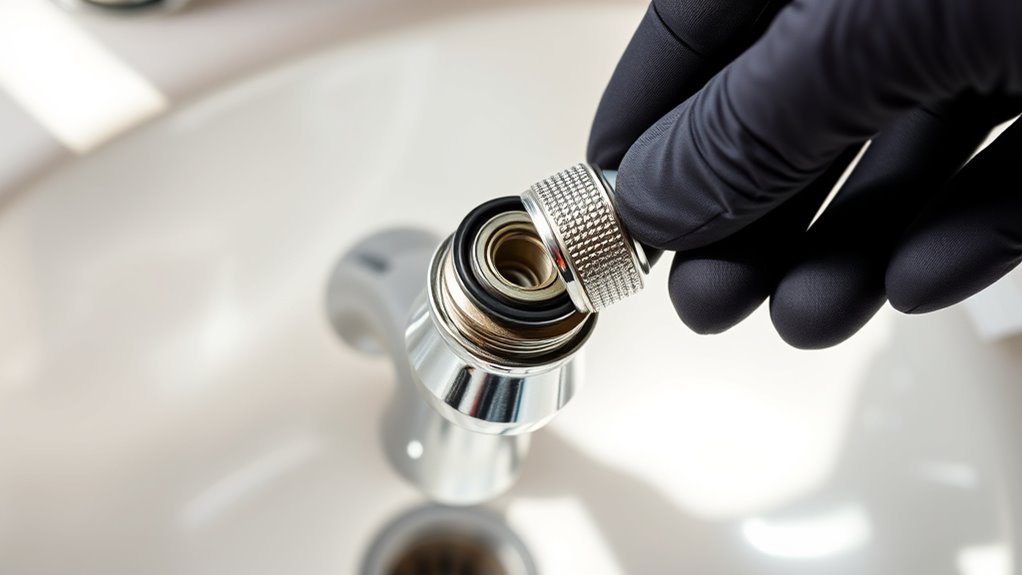
Unscrew Handle Assembly
Once the decorative cap is removed, you can see the screw securing the handle. To handle removal, grip the handle firmly and gently pull it upward. You might feel some resistance, but don’t force it; wiggle it slightly if needed. As you unscrew the handle assembly, imagine:
- The shiny metal surface reflecting your progress
- The threads of the screw turning smoothly under your screwdriver
- The handle lifting away, revealing the inner parts
- Small debris or mineral buildup around the base
- The exposed valve stem ready for inspection
- Noticing how proper handle removal facilitates effective repair of your faucet.
Keep track of all parts you remove to ensure a smooth assembly reinstallation later. Carefully set the handle aside, clean the area, then proceed with fixing your leak. Proper handle removal makes the entire repair easier and more effective.
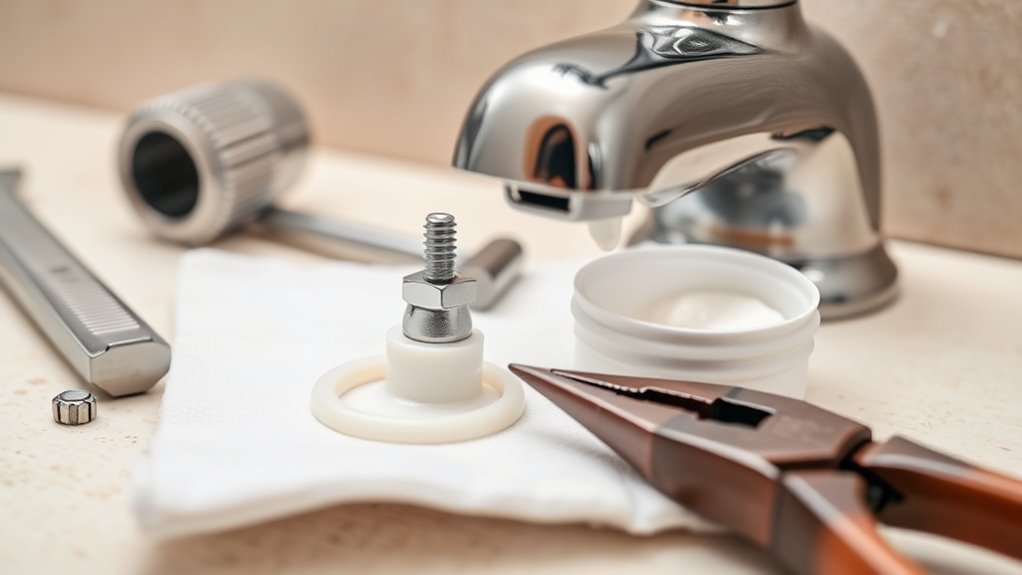
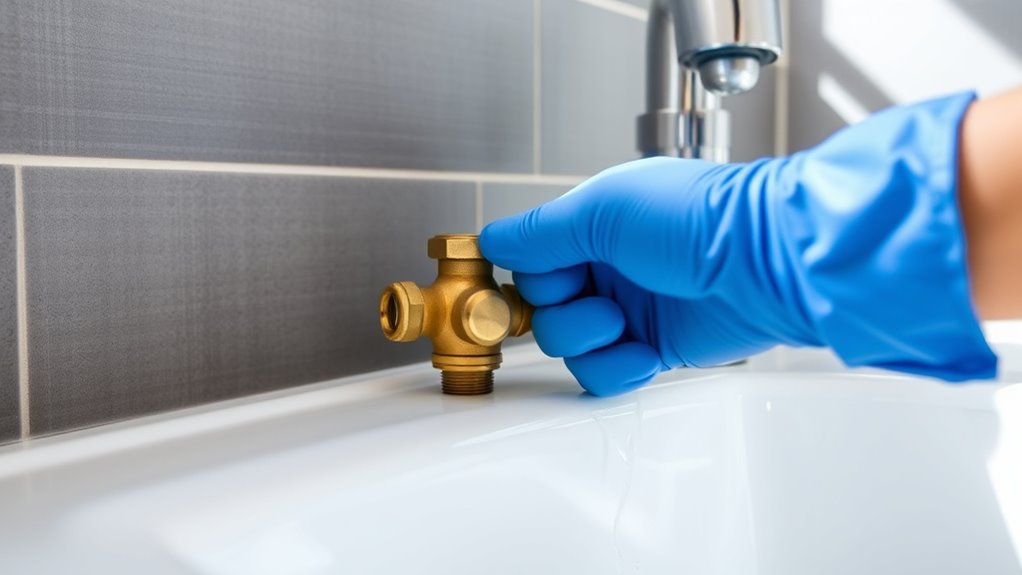
Inspecting and Replacing Worn or Damaged Washers and O-Rings

Worn or damaged washers and O-rings often cause leaks in your faucet, so inspecting them is a vital step in fixing a leaky fixture. Start by carefully removing the washer and O-ring to check for cracks, warping, or mineral buildup. If they look worn or damaged, it’s time for washer replacement and O-ring inspection. These small parts are crucial for a tight seal. Use a flat-head screwdriver to gently lift the components, then compare them to new replacements to ensure a proper fit. Proper faucet maintenance can prevent future leaks and extend the life of your fixture.
Reassembling the Faucet Components
After replacing the worn or damaged washers and O-rings, it’s time to reassemble the faucet components carefully. Proper reassembly guarantees effective faucet maintenance and leak prevention. Picture yourself aligning the spout, tightening the retaining nut, and securing the handle. Keep these in mind:
- Fit the cartridge or stem back into place smoothly
- Tighten the mounting nuts securely but avoid over-tightening
- Reattach the faucet handle, ensuring it moves freely
- Replace the escutcheon or decorative cover for a finished look
- Double-check all connections to prevent future leaks
Take your time during reassembly, as rushing can cause misalignment or damage. Ensuring each part is properly seated will help your faucet run smoothly and prevent leaks, saving you time and money on future repairs.
Turning the Water Back On and Checking for Leaks
Before turning the water back on, double-check that all faucet components are securely reassembled and tightened. Slowly turn the shut-off valves back on, watching for any sudden drops or irregularities in water pressure. As water begins to flow, listen closely for leaks around the faucet and underneath the sink. Check for signs of pipe corrosion, which can cause leaks or reduced water flow, indicating a potential issue beyond the faucet itself. If you notice any dripping or decreased water pressure, turn the water supply off immediately. Tighten any loose fittings and recheck connections. Once satisfied, run the water for a minute to ensure no leaks develop, and observe that the flow remains steady without signs of corrosion or pressure drops. Additionally, monitoring for water pressure fluctuations can help identify underlying issues that may need professional attention.
Troubleshooting Common Issues if the Leak Persists
If the leak continues despite reassembling and tightening all components, it’s time to identify potential causes. You might notice issues like worn-out parts, mineral buildup, or improper installation. To troubleshoot effectively, consider these common problems:
- Damaged or misaligned washer or O-ring
- Corroded valve seat
- Cracked or broken cartridge
- Loose or stripped mounting nuts
- Mineral deposits causing blockages
Addressing these issues can often be a cost-effective solution, saving you money on professional repair options. You might try replacing washers or O-rings yourself or clearing mineral buildup with vinegar. Additionally, inspecting for mineral deposits that can cause blockages is crucial in maintaining a proper seal. If the problem persists or seems complex, consulting a professional can ensure a reliable fix without further damage. This approach balances DIY effort with smart investment in long-term leak prevention.
Tips for Preventing Future Leaks

To prevent future leaks, regular maintenance and mindful usage are essential. Conduct preventative maintenance by inspecting your faucet periodically for signs of wear or corrosion. Address minor issues early to avoid bigger problems down the line. Leak detection is key; listen for drips or check for water spots under the sink, which can indicate hidden leaks. Use gentle cleaning methods to prevent damaging seals or fittings. Avoid over-tightening parts, as this can cause cracks or leaks. Keep an eye on water pressure; excessive pressure can strain components and lead to leaks. Installing a leak alarm or automatic shutoff valve adds an extra layer of protection. Staying proactive with preventative maintenance and leak detection helps you catch issues early and extend your faucet’s lifespan. Additionally, understanding water quality concerns and monitoring for pollutants can help maintain the integrity of your plumbing system.
Frequently Asked Questions
Can I Fix a Leaky Faucet Without Turning off the Main Water Supply?
You can attempt DIY plumbing to fix a leaky faucet without turning off the main water supply, but it’s risky. If you decide to proceed, shut off the local water valve under the sink first to prevent water wastage and conserve water. Remember, fixing leaks promptly helps with water conservation and avoids bigger issues. If you’re unsure, it’s safer to turn off the main supply and follow proper steps for a successful repair.
What Safety Precautions Should I Take During Repair?
When repairing a faucet, safety is key. You should always wear personal protective equipment like gloves and safety glasses to protect yourself from sharp edges and debris. Make sure to use proper tools correctly to avoid accidents or damage. Turn off the water supply before starting, and work in a well-lit area. Being cautious helps prevent injuries and guarantees your repair goes smoothly.
Are There Eco-Friendly Alternatives to Traditional Repair Parts?
Like the wise owl choosing eco-friendly nests, you can opt for sustainable repair parts. Eco-friendly materials and recycled components are great alternatives to traditional ones, reducing environmental impact. These options often come from repurposed metals or biodegradable substances, ensuring your repair is both effective and kind to the planet. By selecting these greener choices, you help conserve resources and promote a healthier environment, all while fixing your faucet efficiently.
How Do I Identify if My Faucet Has a Cartridge or Ball Valve?
To identify if your faucet has a cartridge or ball valve, first examine the faucet type. If it’s a single handle, lift the handle and look inside; a cartridge typically has a plastic or brass cylindrical shape. For a ball valve faucet, you’ll see a rounded ball inside the tap. Knowing the faucet type helps determine the repair process, as cartridge and ball valve repairs differ.
When Should I Consider Replacing the Entire Faucet Instead of Repairing?
When deciding whether to replace your faucet instead of repairing, consider its faucet lifespan and repair cost analysis. If your faucet is over 15-20 years old, frequent leaks, or costly repairs keep adding up, it’s smarter to replace it. A new faucet offers better efficiency and fewer future problems. Repairing might only be temporary if the fixture is worn out, so weigh costs and longevity before making your decision.
Conclusion
Fixing a leaky faucet is like patching a tiny hole in a boat; with the right tools and steps, you can keep everything running smoothly again. By identifying your faucet type, turning off the water, and carefully reassembling parts, you can stop that drip in its tracks. Remember, patience is your best tool—if one fix doesn’t work, troubleshoot like a detective until everything’s sealed tight and water flows without leaks.