
To install a tile backsplash, start by preparing the wall—cleaning, patching holes, and drawing guidelines for a straight layout. Choose the right grout type and color based on your tile size and style. Apply adhesive evenly, place tiles carefully with spacers, and check alignment as you go. Once the adhesive cures, grout the joints, clean off excess grout, and wait for everything to set. For detailed steps, keep exploring—more tips await you.
Key Takeaways
- Prepare and clean the wall surface thoroughly, patch imperfections, and mark guidelines for accurate tile placement.
- Select the appropriate grout type and color based on tile size, location, and desired aesthetic.
- Apply adhesive evenly, set tiles with spacers, and ensure proper alignment before the adhesive cures.
- Grout the joints, wipe off excess grout, and wait for it to set before cleaning residual haze.
- Inspect and clean the finished backsplash for a professional, durable, and attractive result.

Installing a tile backsplash is a rewarding way to update your kitchen’s appearance and protect the walls from splashes and stains. Before you start laying tiles, the first step is thorough area preparation. You need to clean the wall surface to remove grease, dirt, and any loose paint or wallpaper. Use a mild detergent and warm water, then let the wall dry completely. If there are any imperfections or holes, patch them with spackle or wall filler and sand smooth once dry. A flat, clean surface ensures your tiles will adhere properly and look professional. It’s also wise to measure the area carefully. Mark the center points and use a level to draw guidelines, which will help you keep tiles straight as you work. This planning minimizes cuts and ensures a balanced layout from the start.
Next, focus on grout selection, which plays an essential role in both the appearance and durability of your backsplash. There are various grout types—unsanded, sanded, epoxy, and cement-based—each suited for different tile sizes and locations. For a typical kitchen backsplash with smaller tiles, unsanded grout is often the best choice, as it can fill narrow joints smoothly. For larger grout lines, sanded grout provides added strength. Consider the color carefully; matching grout to your tiles creates a seamless look, while contrasting grout can add visual interest. Also, think about stain resistance and ease of cleaning—epoxy grout is highly resistant to stains and moisture but can be more challenging to work with. Whichever grout you choose, purchase a little more than your calculated need to account for waste and touch-ups. Additionally, understanding tile adhesion principles can help ensure your tiles stay securely in place over time.
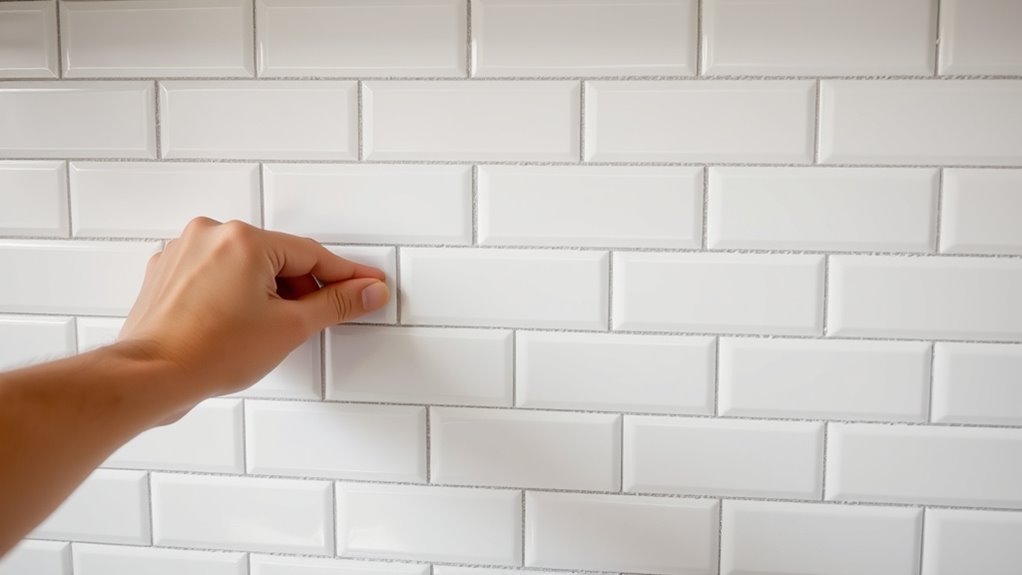
Once your area is prepped and you’ve selected the right grout, you’re ready to start tiling. Apply the adhesive evenly with a notched trowel, following the tile manufacturer’s instructions. Place each tile carefully, pressing firmly and using spacers to maintain consistent grout lines. As you go, periodically check the alignment with your level and guidelines. When you finish laying the tiles, allow the adhesive to cure fully before applying grout. When it’s time, mix your grout to a smooth, peanut butter-like consistency and spread it over the tiles with a rubber float, pressing it into the joints. Wipe off excess grout with a damp sponge, being careful not to disturb the joints. After the grout has set, typically 24 hours, clean the tiles with a soft cloth to remove any residual haze. Proper area preparation and thoughtful grout selection set the foundation for a beautiful, long-lasting tile backsplash that transforms your kitchen.
Frequently Asked Questions
What Are the Best Types of Tiles for a Backsplash?
When choosing the best tiles for a backsplash, consider durability, style, and maintenance. Porcelain and ceramic tiles are popular because they’re resistant to moisture and stains. Make sure to use high-quality tile adhesives to securely set the tiles and choose a grout that matches your design while being easy to clean. Avoid porous tiles that absorb stains, and always seal them properly to guarantee your backsplash stays beautiful and functional for years.
How Long Does a Typical Tile Backsplash Installation Take?
You’re probably wondering about the installation timeline, which typically takes 1 to 3 days, depending on your project planning. As you prepare, consider the size of the area and the complexity of the design. Proper planning helps avoid delays. If you’re DIY-ing, allocate extra time for curing and setting. Hiring professionals can streamline the process, ensuring your backsplash gets installed efficiently within your desired schedule.
Can I Install a Tile Backsplash Over Existing Wallpaper?
They say, “Don’t put the cart before the horse,” so before installing a tile backsplash, you need proper surface prep. You can’t just install over wallpaper; it’s best to remove the wallpaper first because poor wallpaper removal can lead to uneven tiles or future damage. Proper surface preparation ensures a smooth, long-lasting finish. Take your time with wallpaper removal, then clean and prime the wall for the best results.
What Tools and Materials Are Essential for Installation?
To guarantee a successful tile layout and proper surface preparation, you’ll need essential tools and materials. Gather a notched trowel, tile cutter or wet saw, spacers, level, and measuring tape. You’ll also need surface primer, adhesive or thin-set mortar, grout, and sealing sealant. These help you achieve even spacing, secure placement, and a clean finish, making your tile installation durable and visually appealing.
How Do I Maintain and Clean My New Tile Backsplash?
Imagine you’re a modern-day knight, protecting your castle’s walls. To keep your tile backsplash looking fresh, regularly clean the grout with a gentle brush and mild cleaner. Seal the tiles every year to prevent stains and water damage. Avoid harsh chemicals, and wipe spills immediately. This routine maintenance keeps your backsplash vibrant and durable, ensuring it stays a stunning feature in your kitchen for years to come.
Conclusion
Once you’ve installed your tile backsplash, you’ll enjoy a stylish, easy-to-clean space that truly transforms your kitchen. For example, imagine a homeowner who took on this project and now loves how the backsplash reflects their personality and elevates their entire space. It shows that with a little effort, you can create a beautiful, personalized feature that boosts your home’s value and makes everyday cooking more enjoyable. Your new backsplash is just the beginning of your DIY transformation.