
To restore wooden tool handles before they split for good, start by inspecting for splinters, cracks, or looseness. Sand away any splinters and smooth the surface to prevent further damage. Apply natural oils or wood conditioner to keep the handle flexible and protected. Reinforce loose handles with wedges and waterproof glue, then clamp until secure. For major damage, replacing the handle may be necessary. Keep caring for your handles, and you’ll extend their lifespan considerably. More tips await as you continue.
Key Takeaways
- Inspect for splinters, cracks, or looseness, and remove splinters with sandpaper or a utility knife.
- Apply natural wood oils or penetrating conditioner to strengthen and hydrate the handle fibers.
- Use waterproof wood glue and clamps to stabilize and secure minor cracks or splits.
- Fit a new handle tightly if the original is too damaged, and secure with wedges or tapering.
- Regularly maintain with protective finishes and inspect for early signs of damage to prevent worsening.
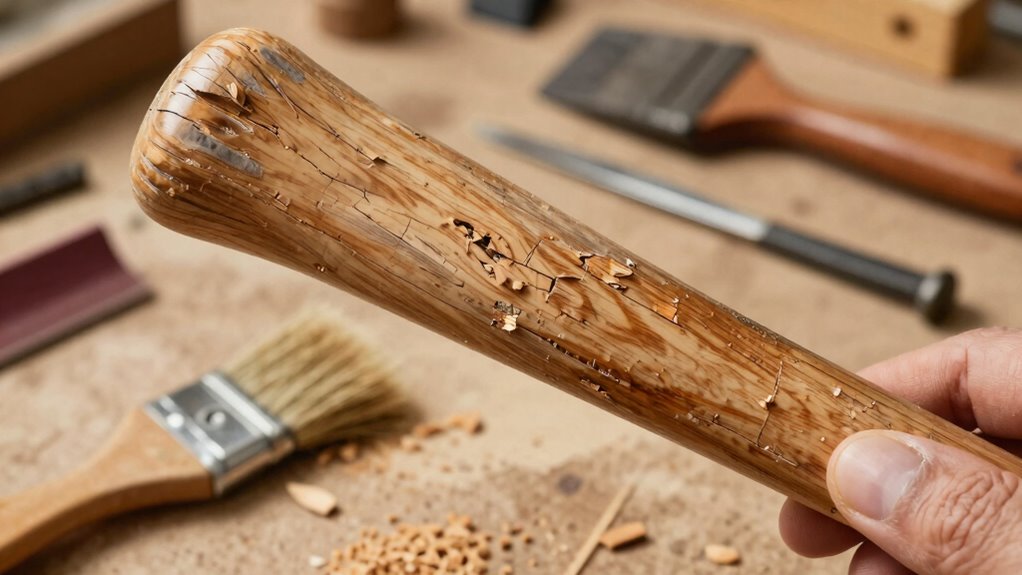
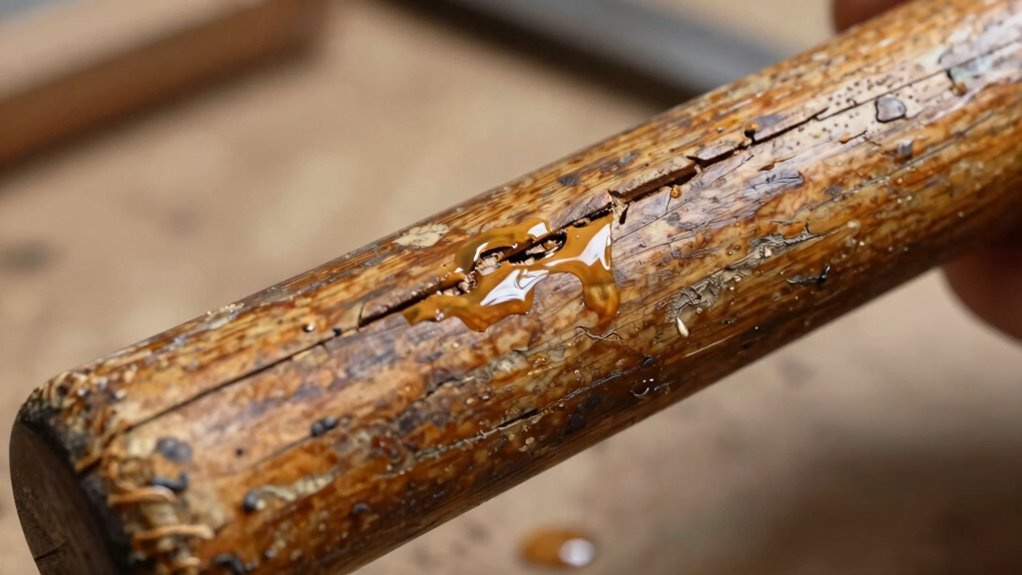
Over time, wooden tool handles can become worn, splintered, or loose, affecting both safety and performance. If you notice your handle showing signs of damage, don’t rush to replace the entire tool. Instead, consider restoring the handle through proper wood preservation techniques, which can extend its life and save you money. Restoring a wooden handle begins with evaluating the damage. If it’s just splintered or slightly cracked, you can often repair it without full handle replacement. Start by removing any loose splinters with sandpaper or a utility knife, smoothing out the surface to prevent further splitting. Proper wood preservation techniques, such as applying a conditioner or penetrating oil, can help maintain the handle’s integrity over time. These products seep into the fibers, offering added flexibility and resistance to moisture, which is a major cause of wood deterioration. If the handle is loose on the tool, you’ll want to tighten or secure it before proceeding. Use a mallet to tap the handle firmly into place or consider adding a wedge or adhesive for a more secure fit. When applying glue, opt for a strong, waterproof wood glue designed for tool handles. Spread it evenly, insert it into the handle’s socket, then clamp it securely until the glue cures. This step not only restores stability but also helps preserve the handle for longer use. Additionally, applying natural wood oils can further enhance the wood’s resilience and appearance. Regular maintenance with protective finishes can also prevent future damage by creating a barrier against moisture and wear. Using appropriate wood repair techniques can significantly prolong the lifespan of your tools. If the handle has significant cracks or splinters that can’t be fixed with gluing or sanding, handle replacement might be your best option. Removing the old handle involves carefully carving or cutting the handle away from the tool head. Once you have the old handle out, you can select a suitable replacement, usually a hardwood like hickory or ash, which offers durability and good wood preservation qualities. Fit the new handle into the tool head, ensuring a snug, secure fit. You might need to taper the handle or use wedges to secure it tightly. Finish by sanding the handle to smooth out any rough edges and applying a wood preservative or oil to protect it from moisture and wear. To ensure lasting durability, consider proper maintenance practices that can help extend the lifespan of your handles and tools.
As an affiliate, we earn on qualifying purchases.
Frequently Asked Questions
How Long Does It Take for the Restore Process to Dry Fully?
The drying time for the restoration process usually takes about 24 to 48 hours, but it depends on the type of finish you used and environmental conditions. During the curing process, avoid using the tool to guarantee the handle sets properly. To get the best results, wait until the finish feels hard and fully dry before putting the tool back to work. Patience ensures a durable, long-lasting repair.
Can I Use Any Type of Wood Glue for This Repair?
Think of your tool handle as a woven tapestry of wood grain, each thread essential. You shouldn’t just use any wood glue; opt for a high-quality adhesive with strong bonding capabilities to match the handle’s natural strength. Not all glues share the same adhesive strength or work equally well with wood grain. Choosing the right glue ensures your repair holds firm, restoring both appearance and function without compromising the handle’s integrity.
Is It Necessary to Remove Old Paint or Stain Before Restoring?
It’s crucial to remove old paint or stain before restoring your wooden tool handle. Paint removal or stain stripping ensures the new glue or finish adheres properly, preventing future splits. Use a paint stripper or sandpaper to clean the surface thoroughly. Skipping this step can trap moisture or debris, weakening the repair. Taking time for paint removal and stain stripping results in a stronger, longer-lasting restoration.
What Safety Precautions Should I Take During Restoration?
You don’t want your hands to turn into a paint-covered disaster, so wear protective gear like gloves and goggles. Make sure you work in proper ventilation to avoid inhaling fumes—your lungs will thank you. Keep a fire extinguisher nearby if you’re using flammable solvents. Always read safety instructions, and never skip safety gear; after all, your health’s worth more than a perfect finish!
How Often Should I Reapply Oil or Finish After Restoration?
You should reapply oil or finish every few months, depending on usage and exposure. Establish a maintenance schedule to keep the handle in good condition, especially if it’s frequently used or exposed to moisture. Choose a suitable finish based on your handle’s material and environment. Regular reapplication helps maintain the handle’s durability, prevents splitting, and keeps it looking good. Always clean the handle thoroughly before reapplying the finish.
waterproof wood glue for tool handles
As an affiliate, we earn on qualifying purchases.
As an affiliate, we earn on qualifying purchases.
Conclusion
Taking the time to restore your wooden tool handles isn’t just about prolonging their life; it’s about respecting the craftsmanship and patience poured into each piece. When you care for your tools, you’re nurturing their silent stories and ensuring they serve you well for years to come. Remember, a well-maintained handle isn’t just functional—it’s a quiet reminder that with a little effort, you can breathe new life into things that matter.
wood conditioner for tool handles
As an affiliate, we earn on qualifying purchases.
As an affiliate, we earn on qualifying purchases.
wooden handle replacement for tools
As an affiliate, we earn on qualifying purchases.
As an affiliate, we earn on qualifying purchases.